SU-76 Sliced To Finished -Clean Up Through Priming
Made some really great progress on the SU-76
After letting the model sit on the printer for awhile to drain uncured resin, I popped it off, dropped it into my ultrasonic cleaner (into a plastic bag filled with IPA) and ran it for a minute or so.
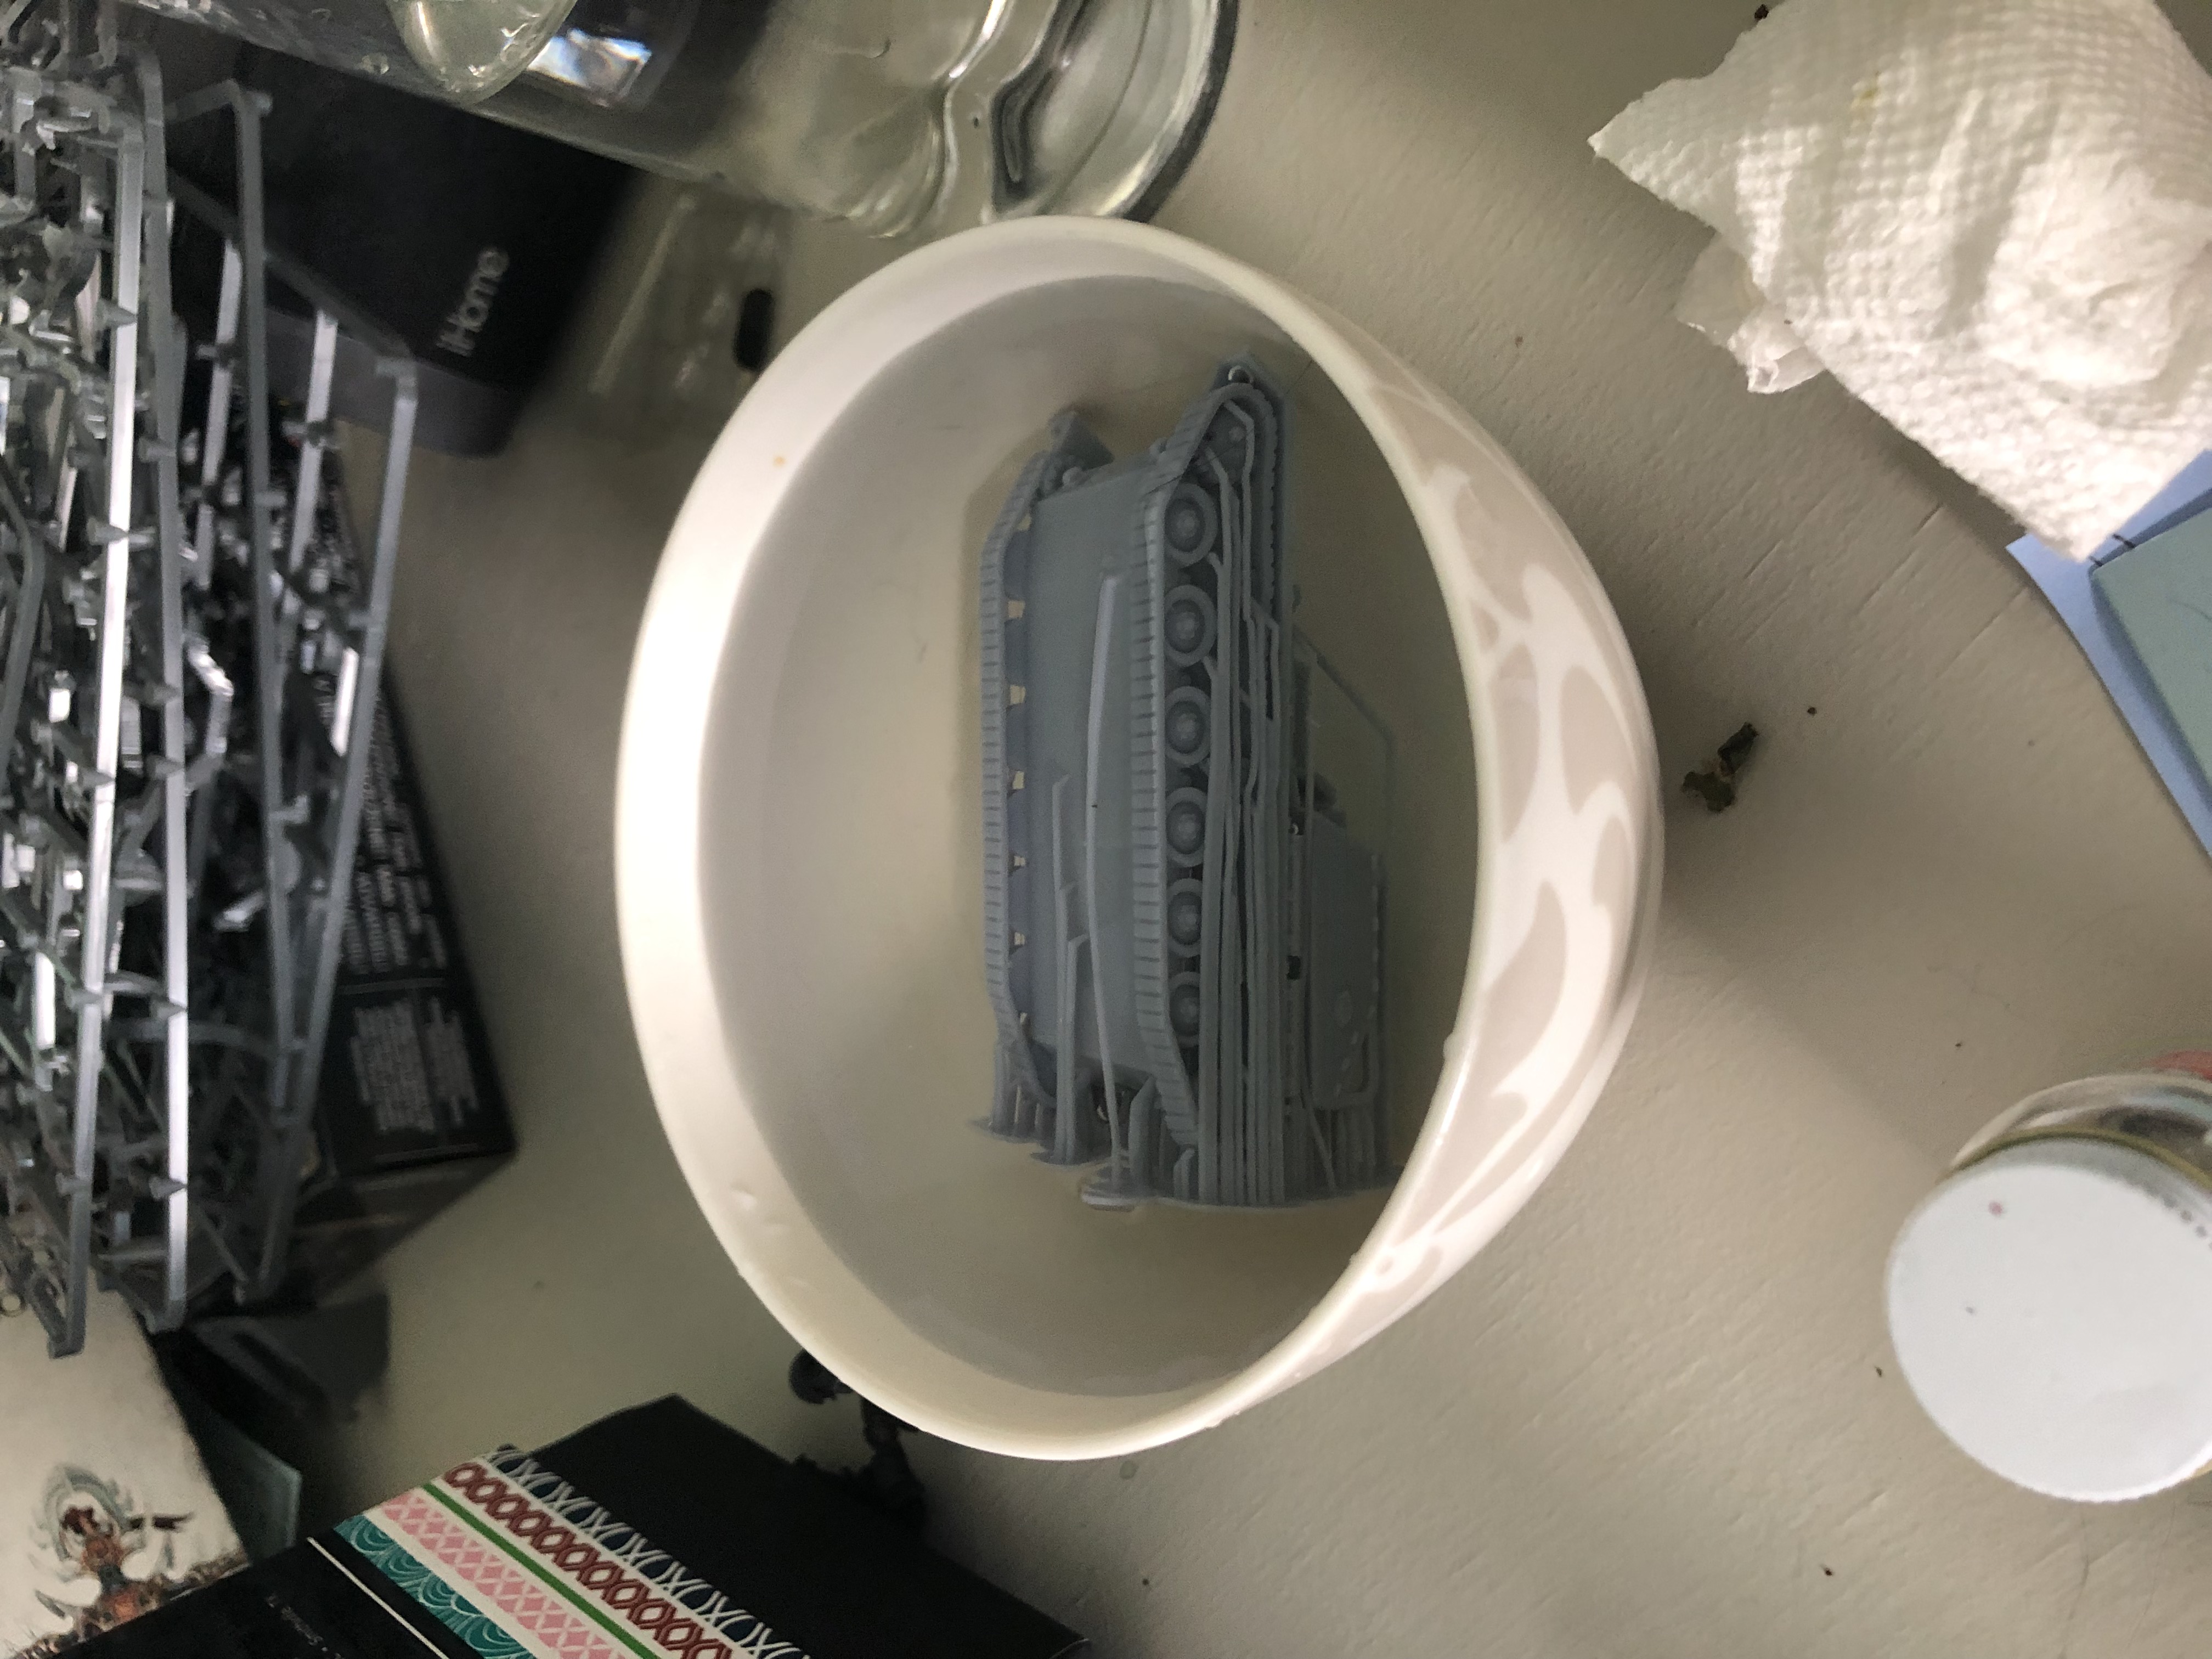
Once the model dried, it was time to get it wet again…
Somebody let Vasily drive after too much vodka again…
In all seriousness this was a trick that took me about a year to figure out. Dunking an uncured supported model in hot water makes removing the supports MUCH easier - they practically just fall off.

Looking good! I’m pretty happy with the model, good print quality, and only a few details look a bit odd post-resize (nothing that’ll be noticeable from tabletop height anyway).
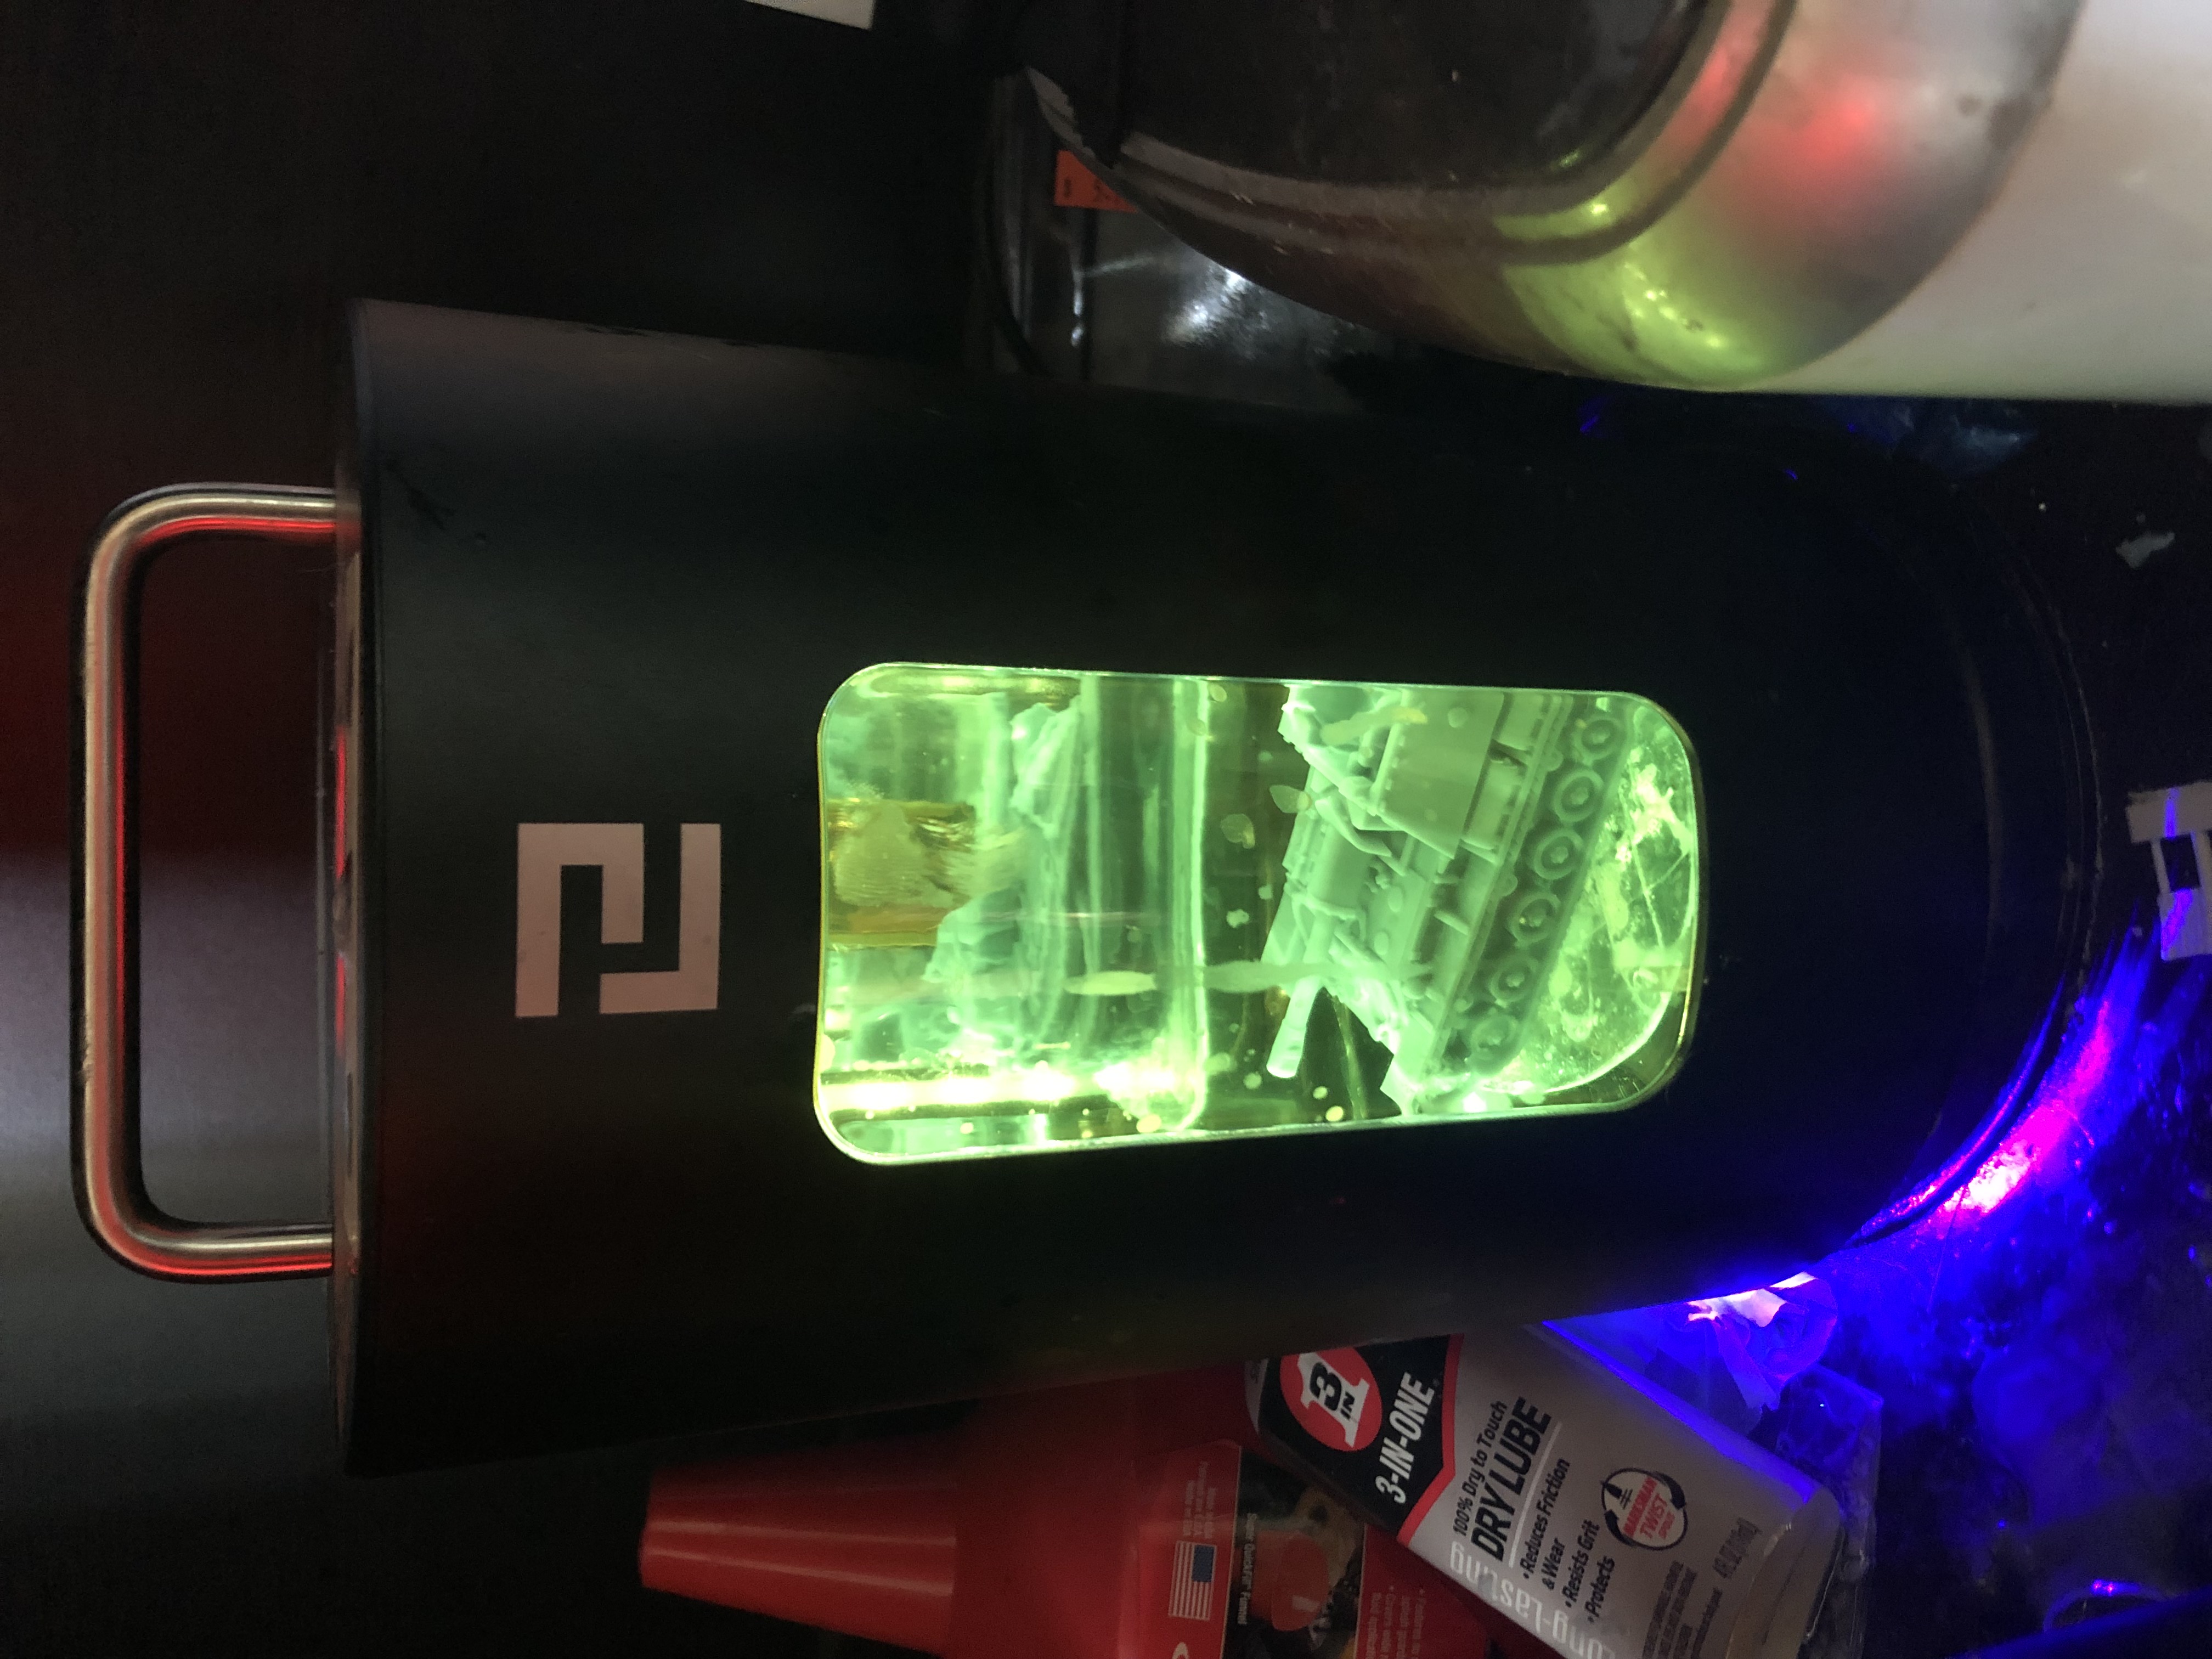
Next, cure! The cure station is really handy, much faster and more consistent than using natural light. Also, its glowy.
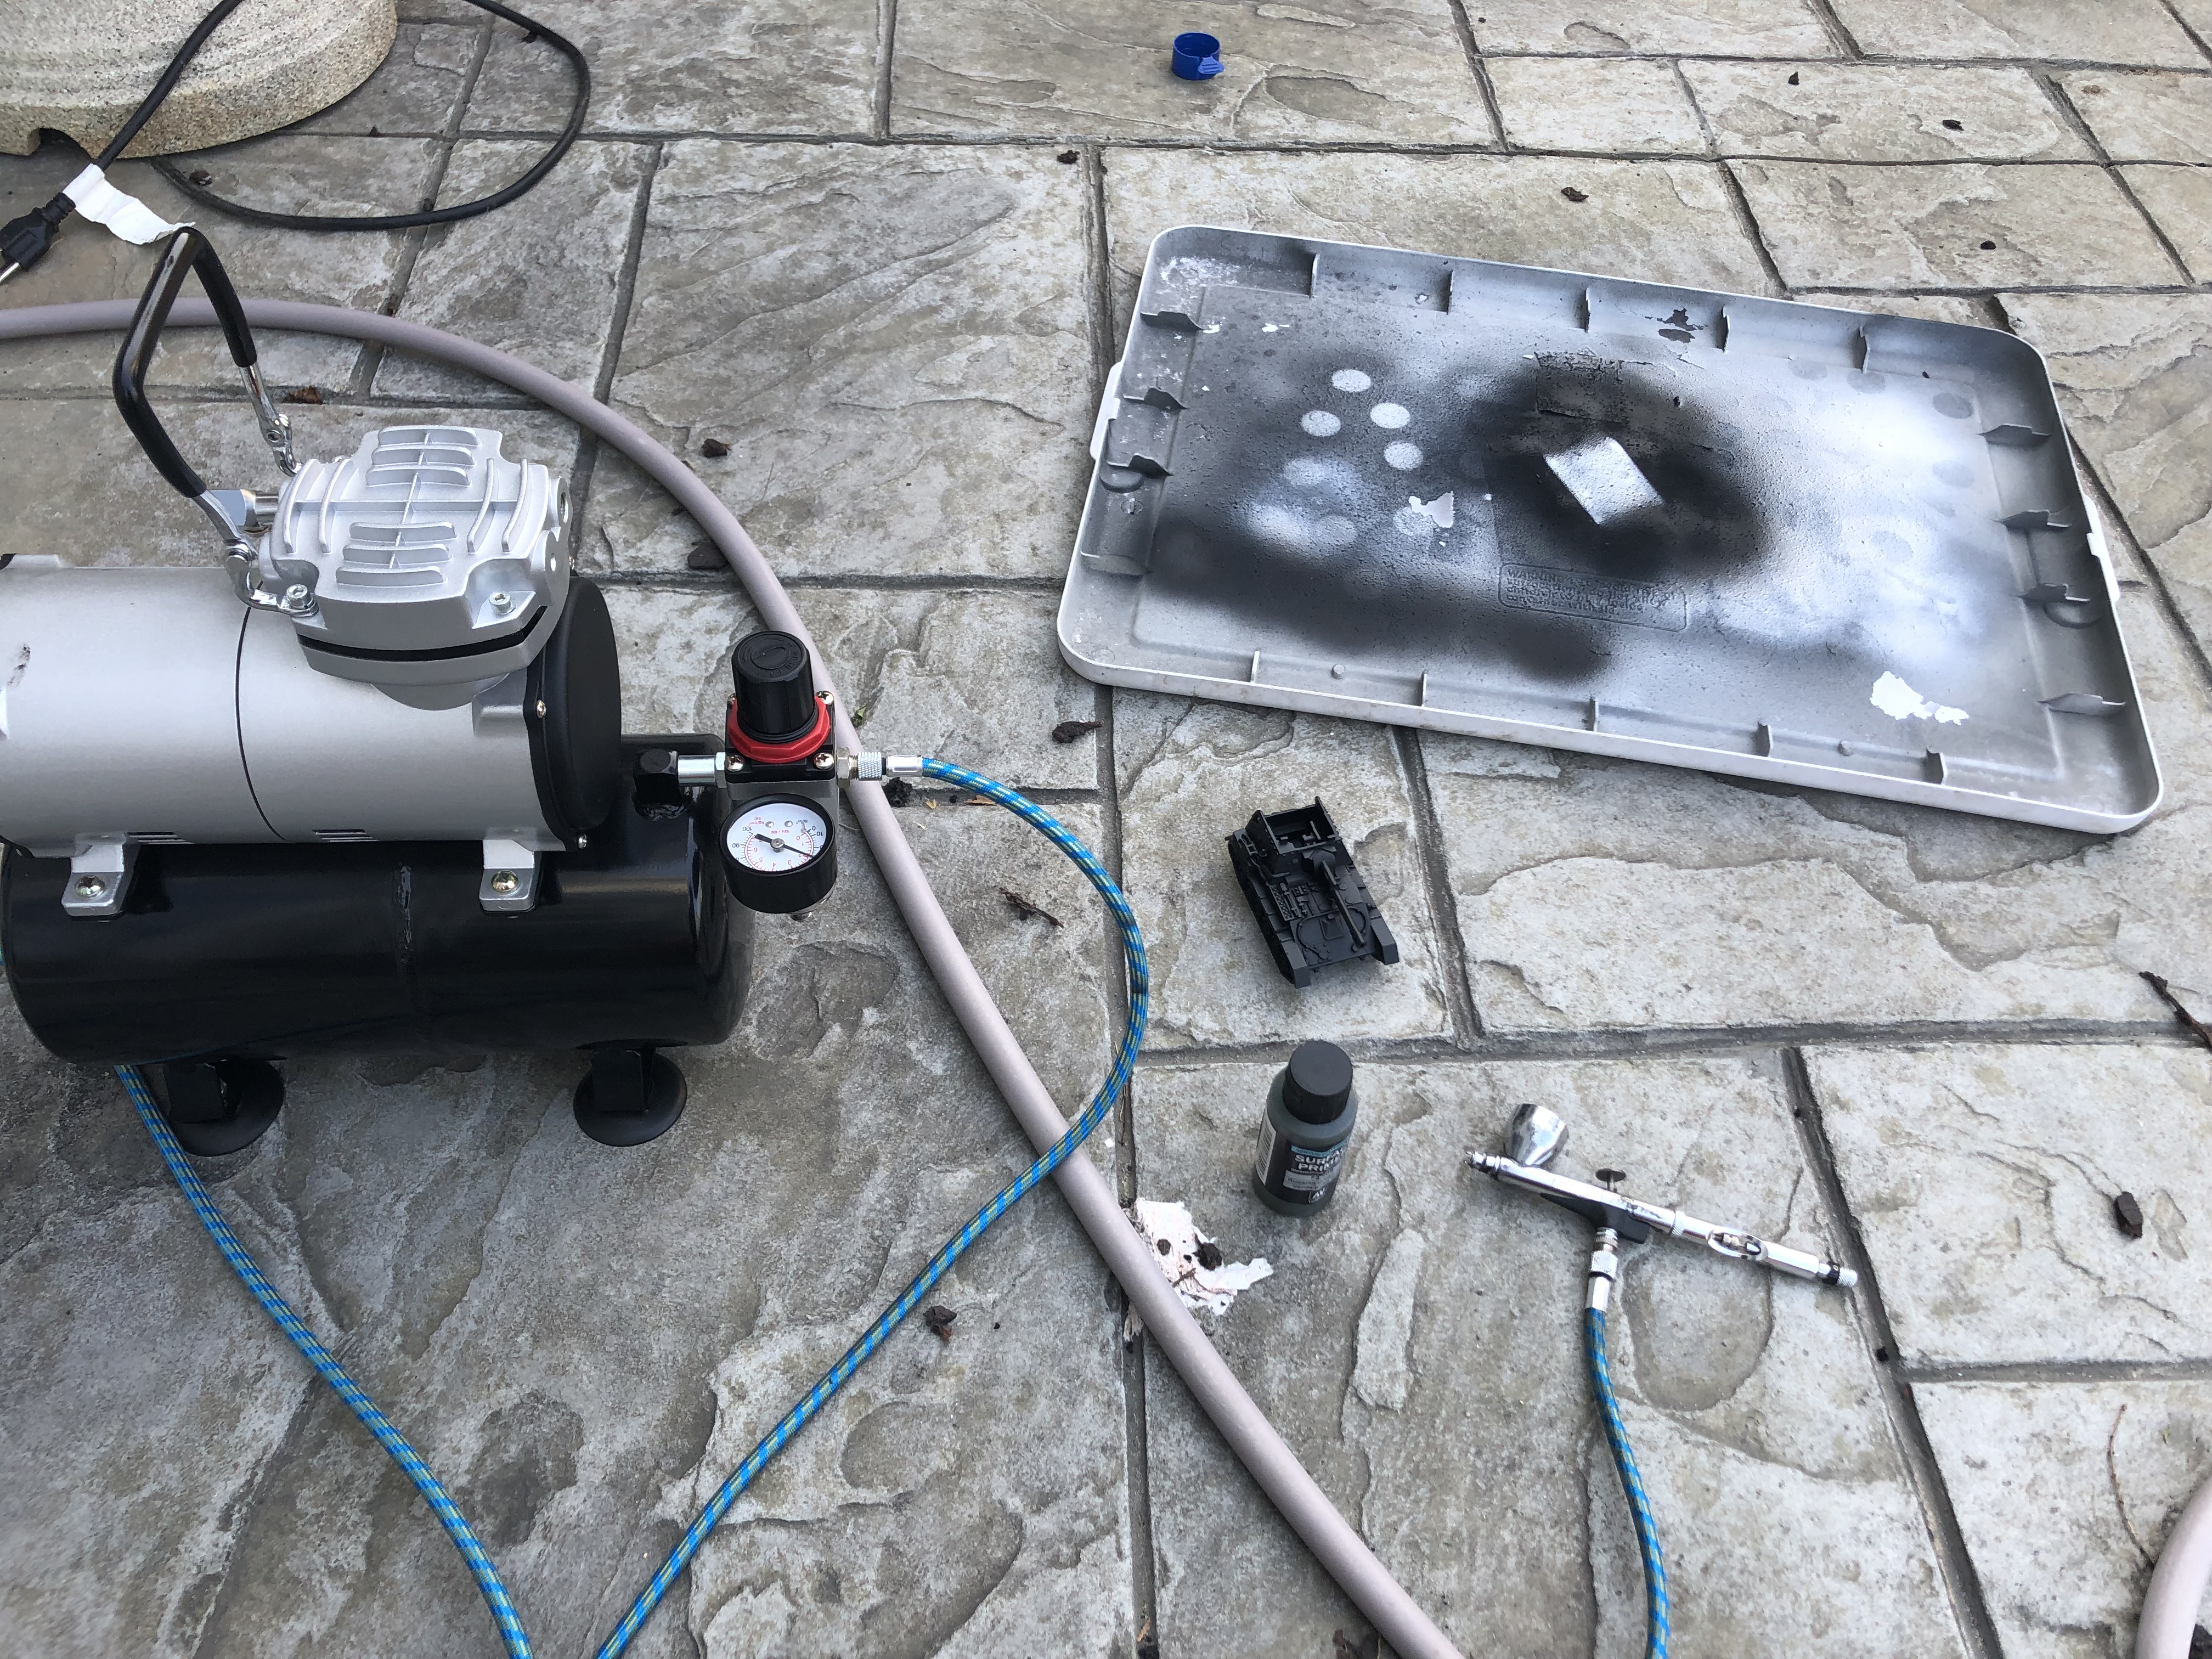
We had lovely weather today so I decided to take my airbrush outside to prime. I am going to commit my hobby heresy to the forever medium of the internet - I do not like airbrushing. Its annoying,
requires too much setup, the airbrush is constantly clogged, and I really dislike being banished to the “airbrush station” to paint. That being said, it is good for priming
“year round” (Virginia gets very humid summers and cold winters that make rattlecans act odd).
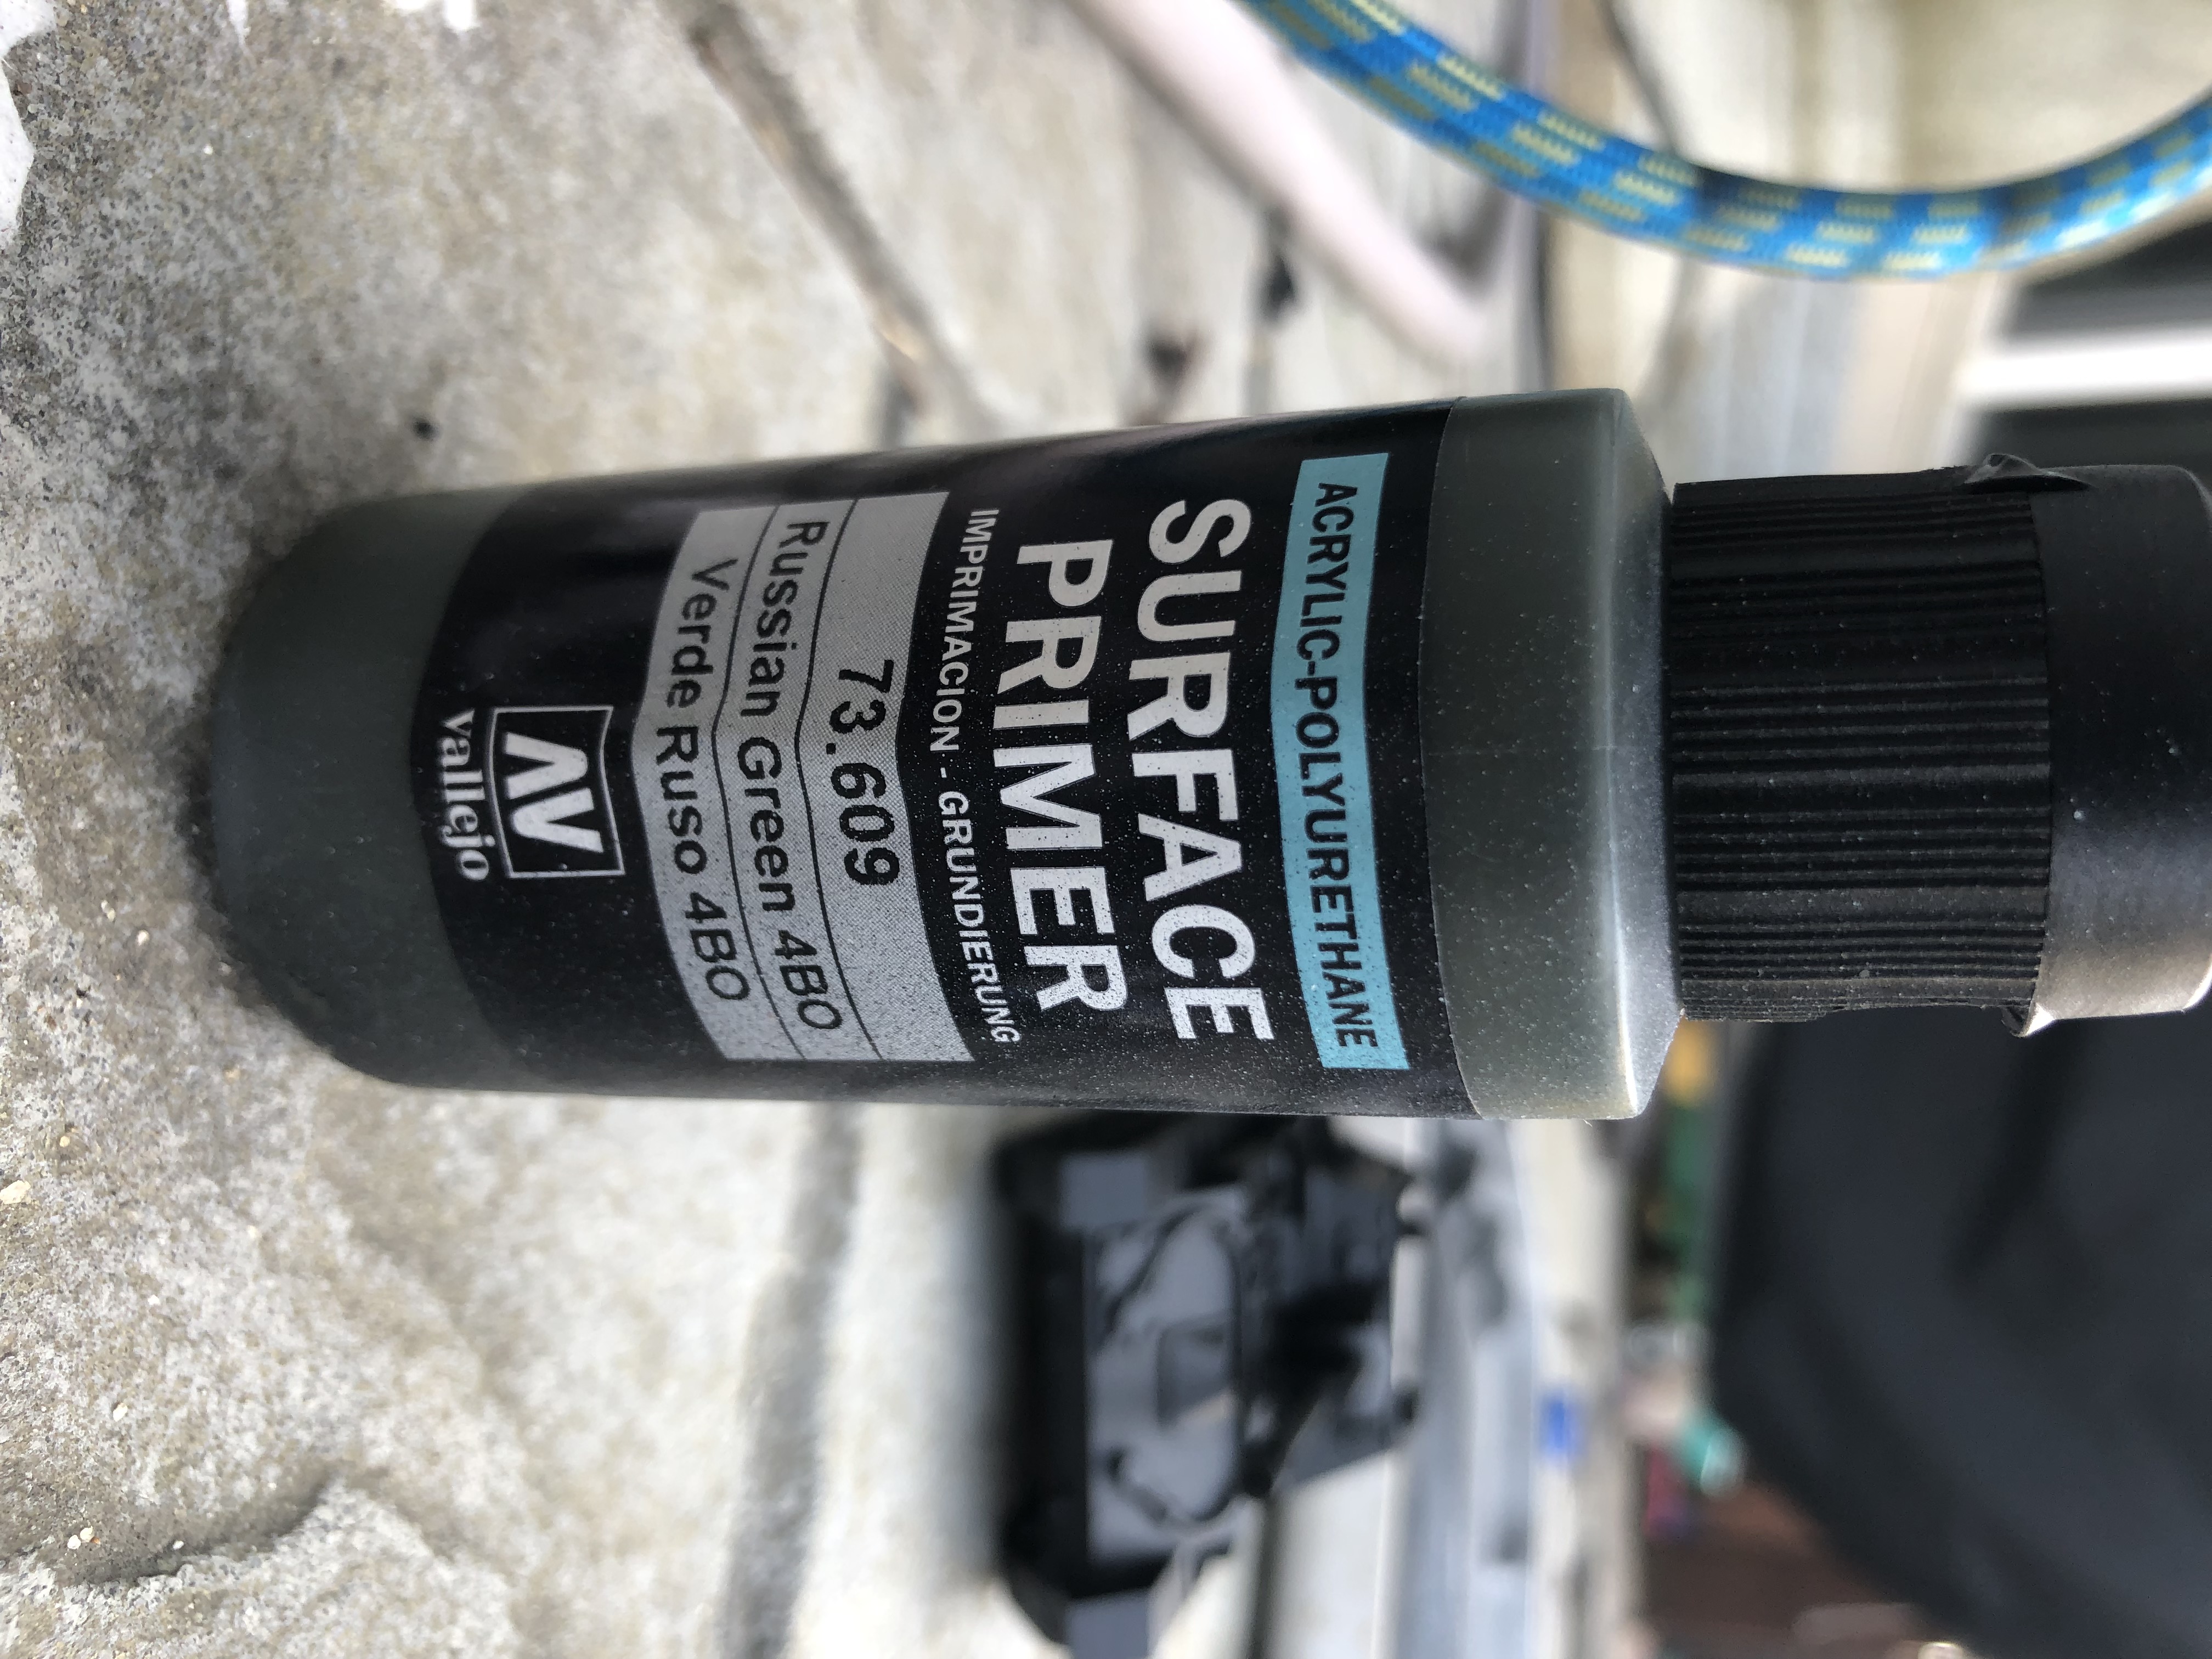 This Tamiya air primer is my go-to for Soviet vehicles, its a great base to build from and perfectly matches the examples I’ve seen in person and in photographs (though Russian vehicles varied
wildly in color so anything “green ish” is going to be “right”).
This Tamiya air primer is my go-to for Soviet vehicles, its a great base to build from and perfectly matches the examples I’ve seen in person and in photographs (though Russian vehicles varied
wildly in color so anything “green ish” is going to be “right”).
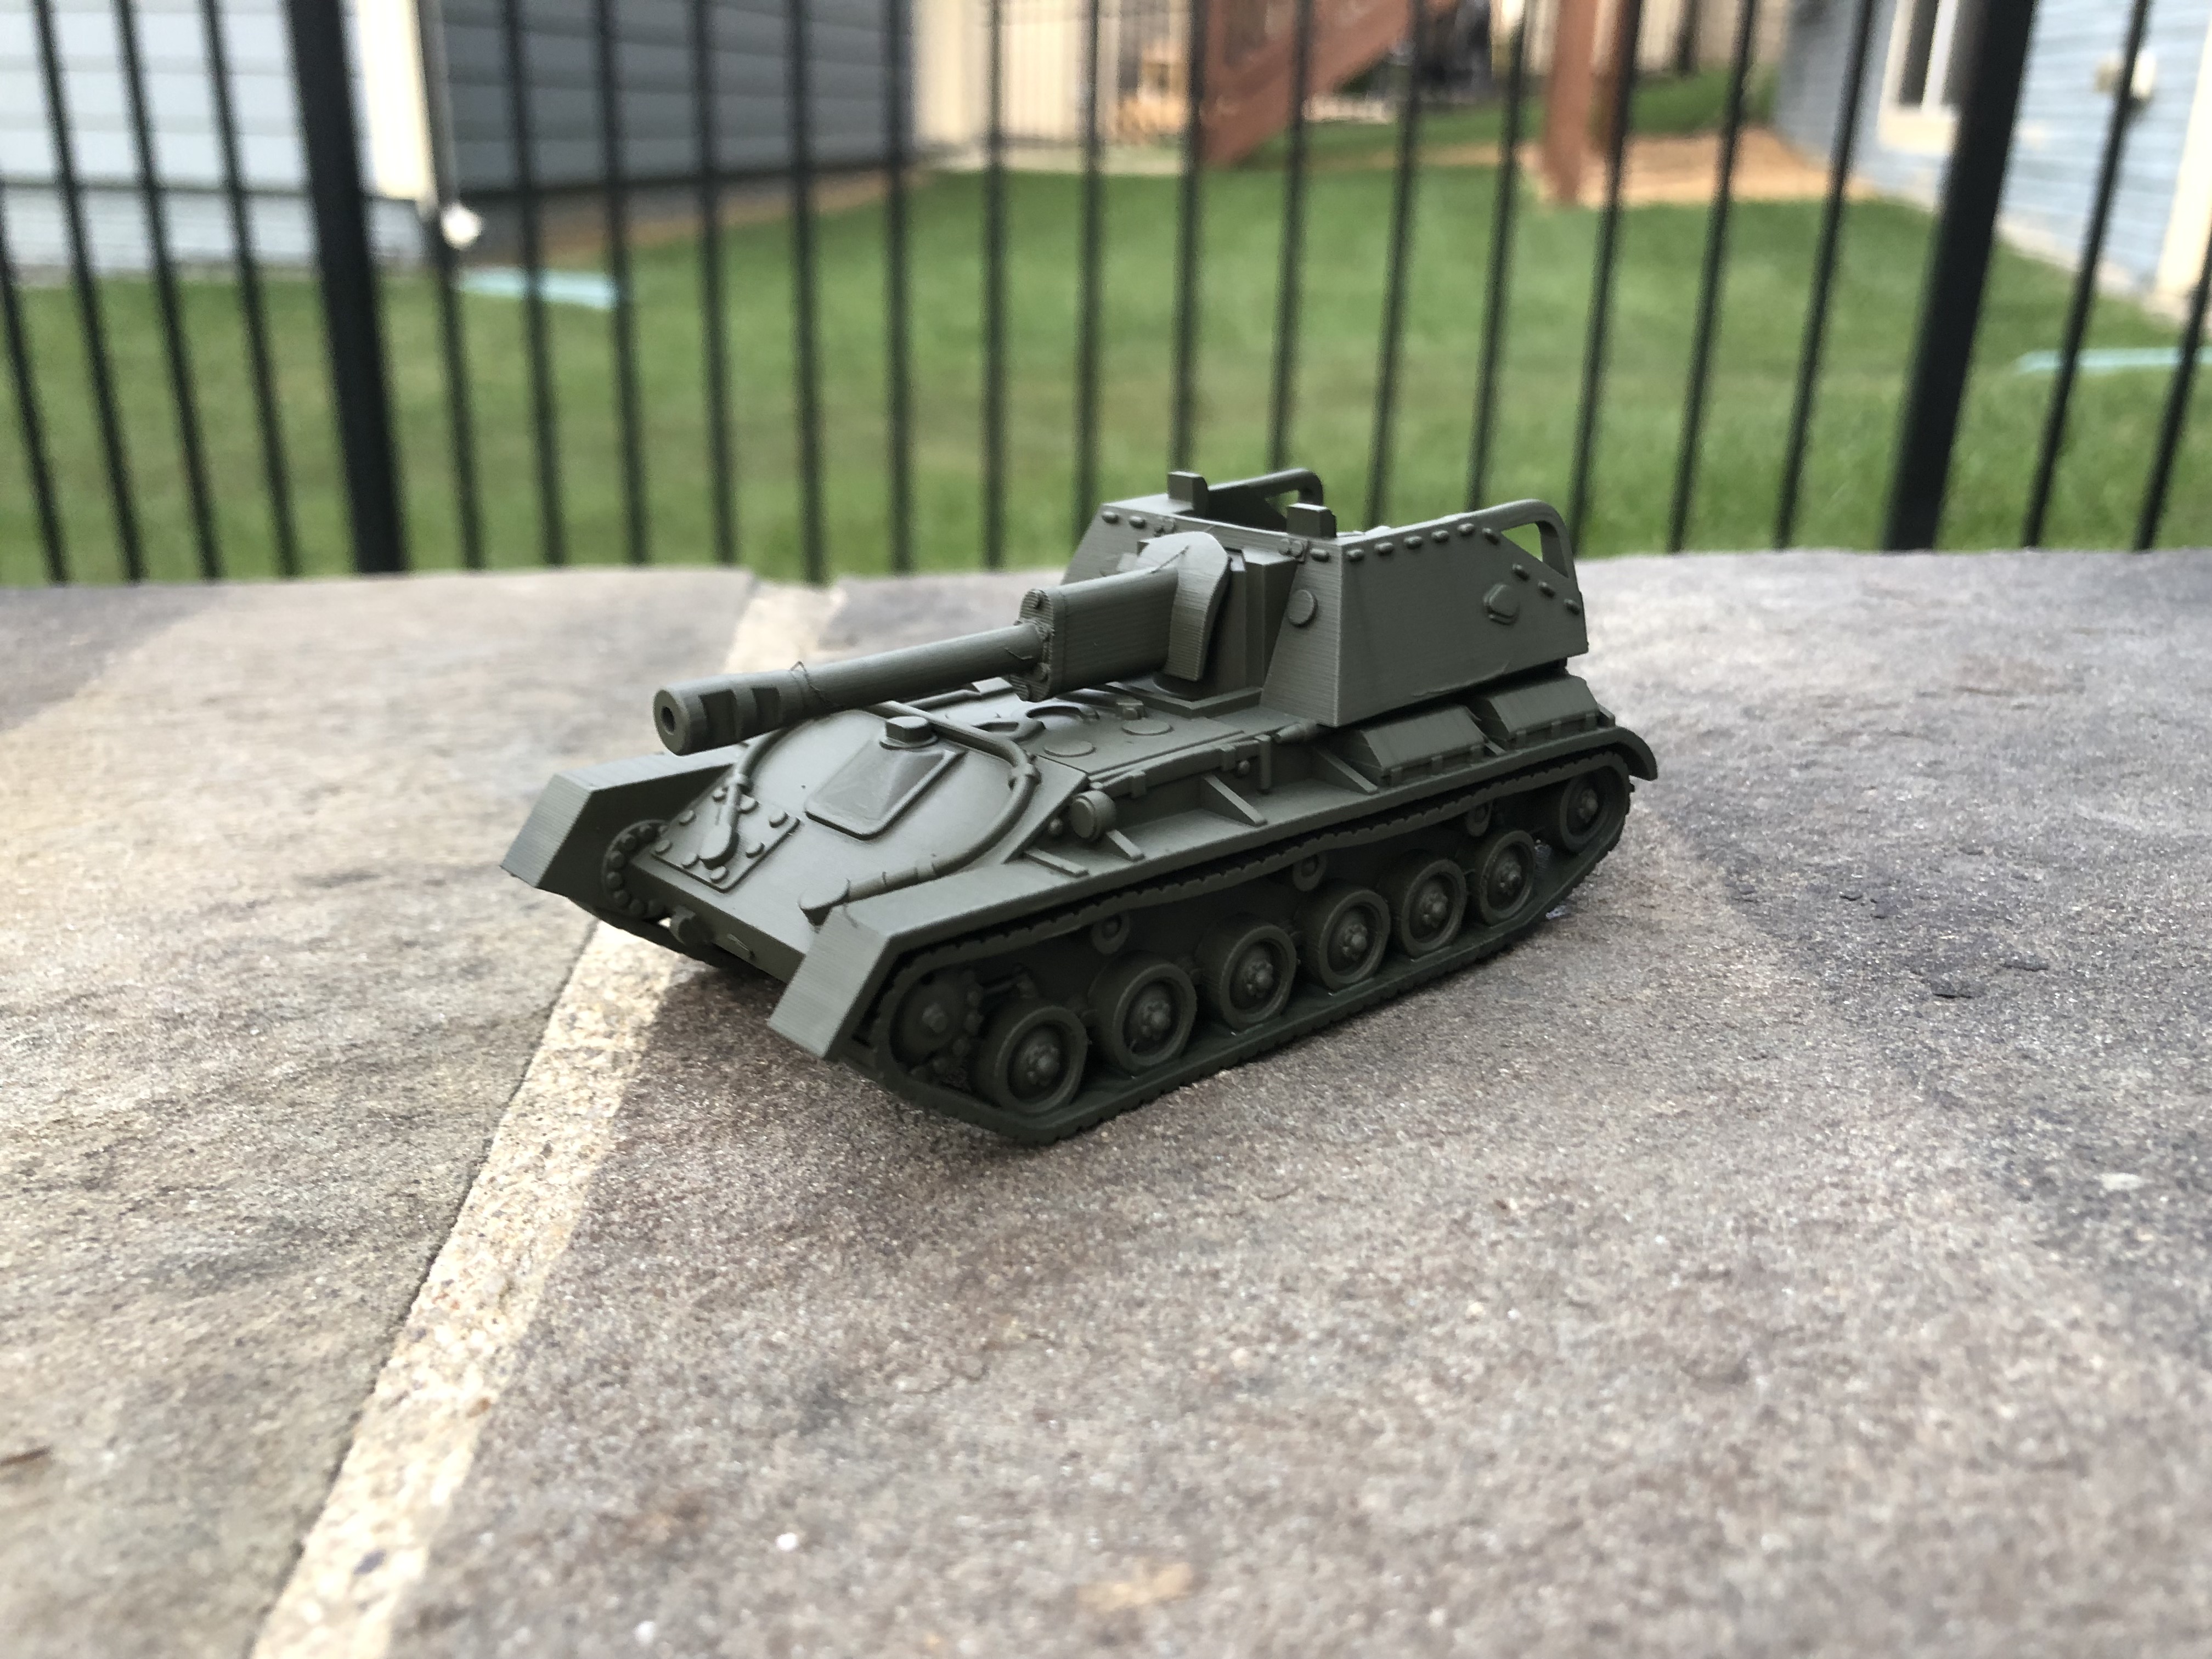 And all done! This vehicle is ready for painting up. I’m really enjoying working on this model, I can already picture it alongside the rest of my 28mm Red Army guys.