SU-76 Sliced To Finished - Painting Tutorial Part One
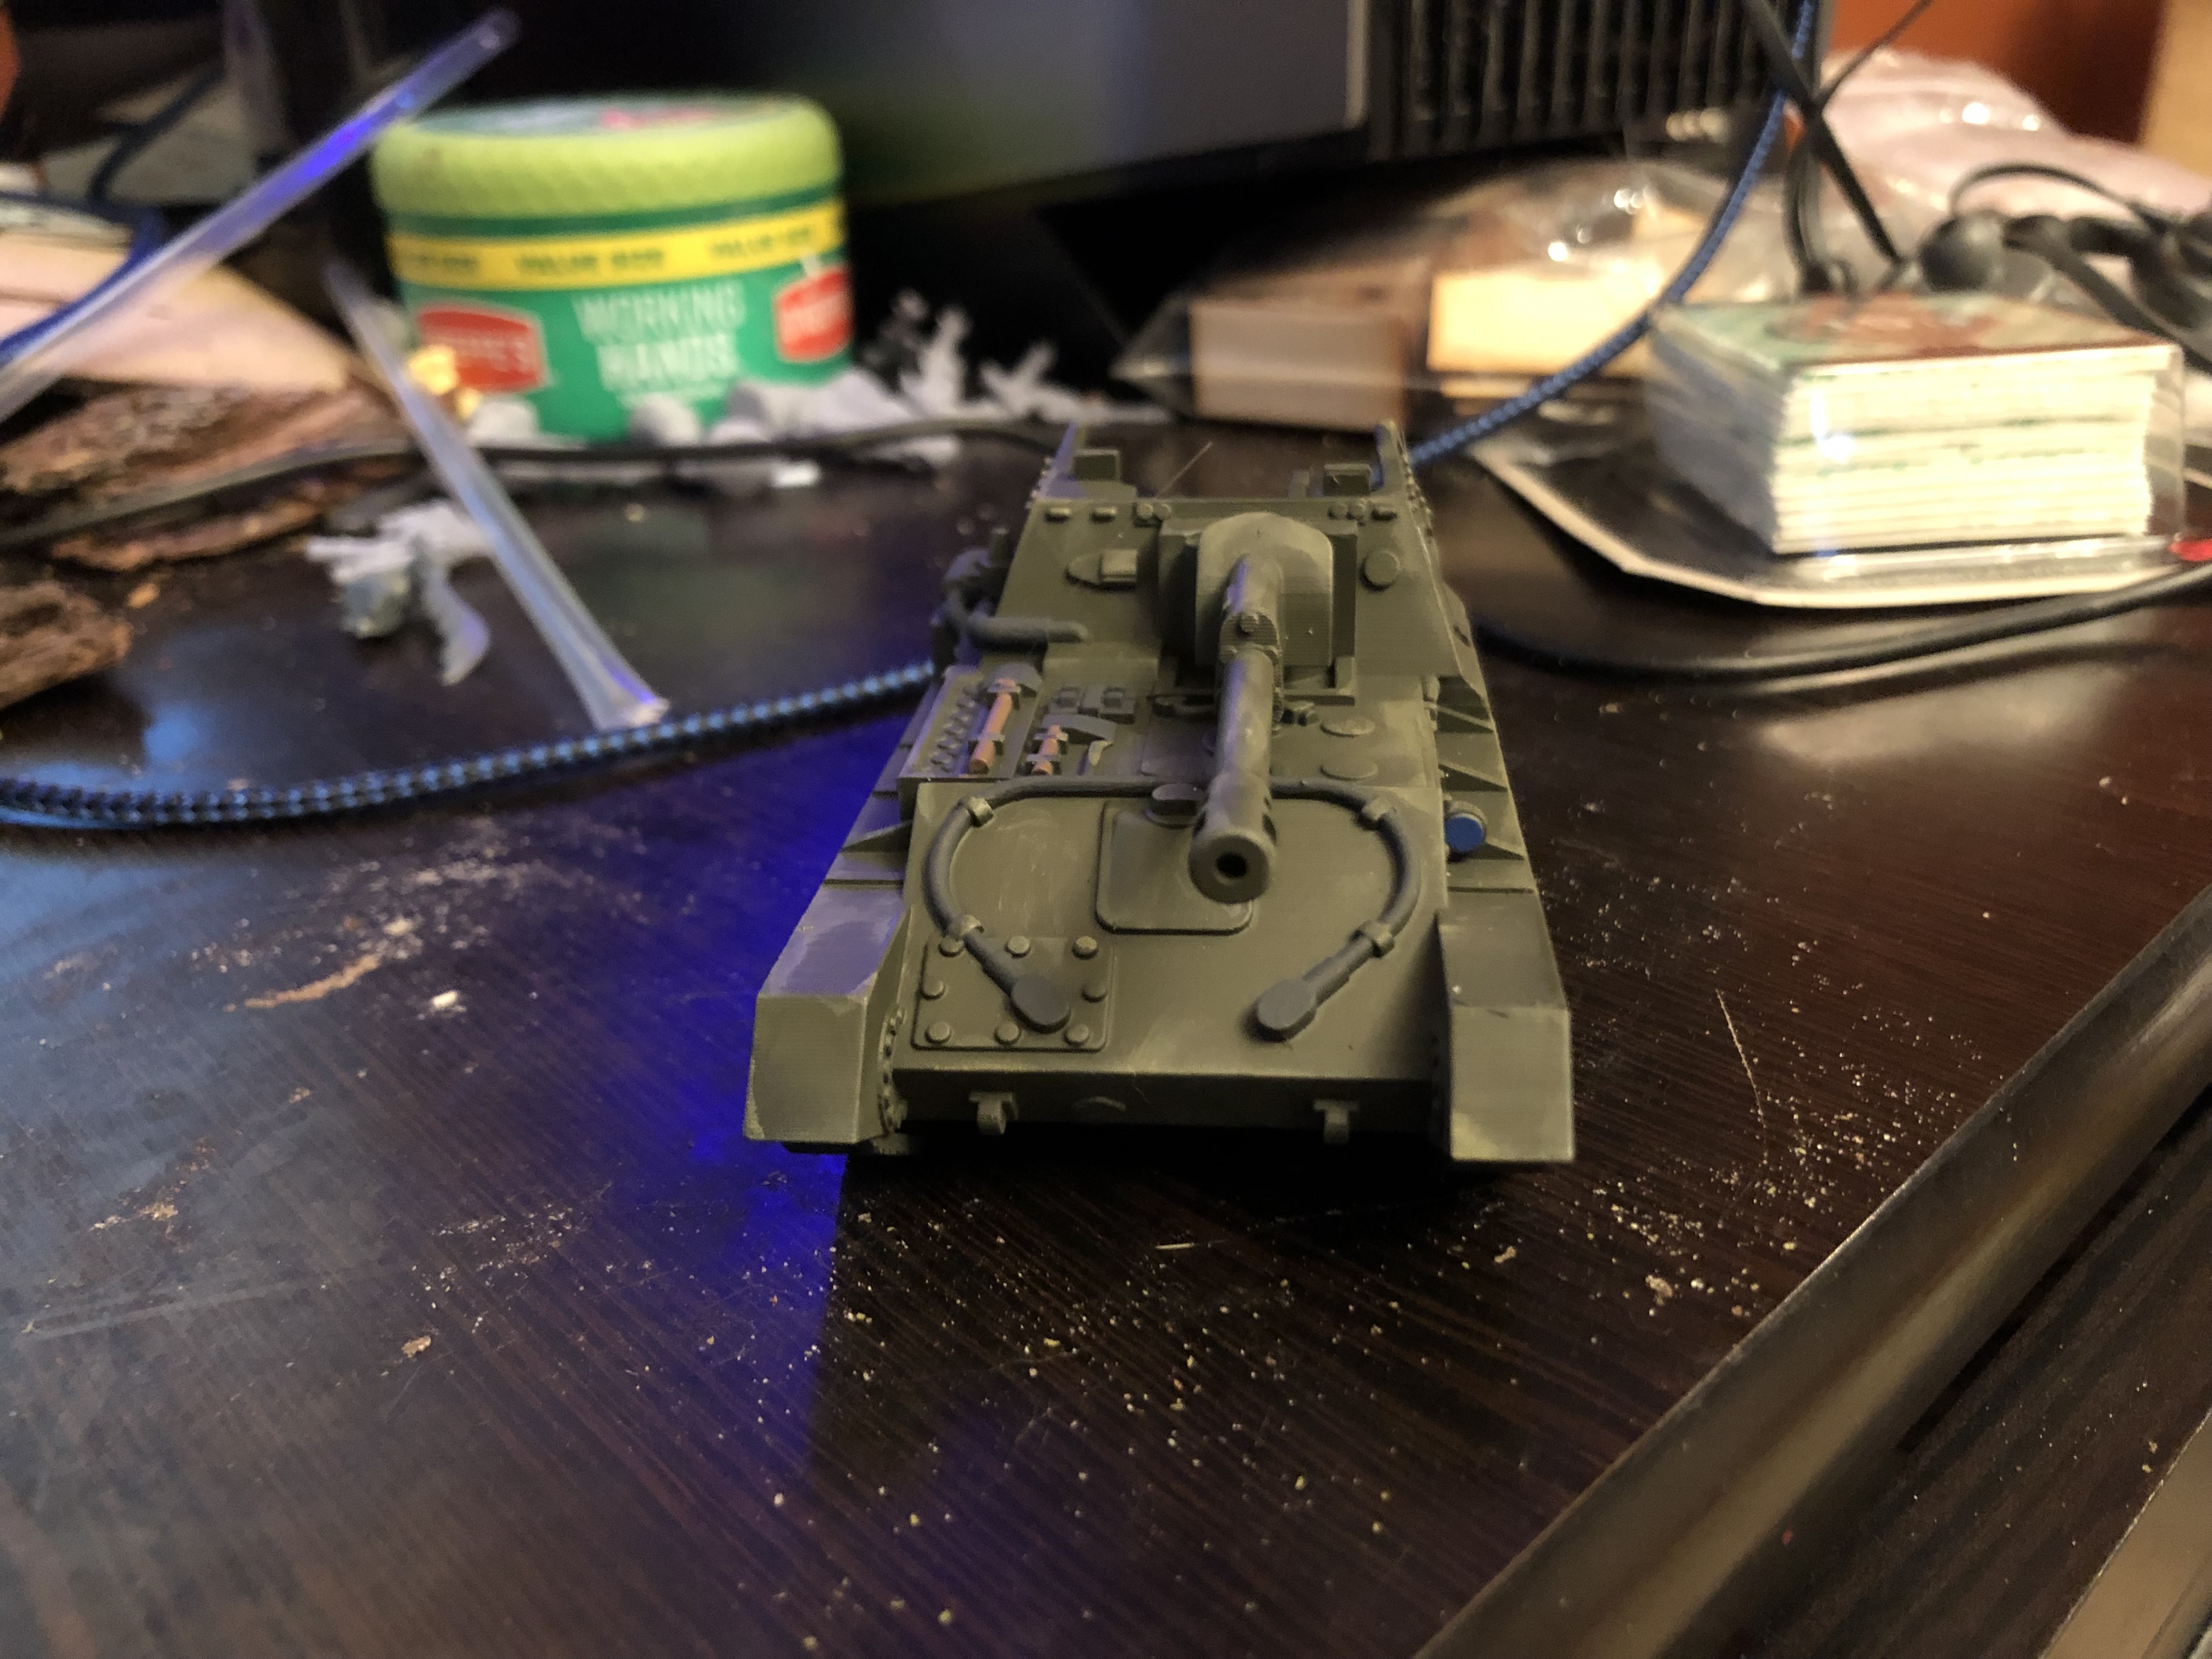
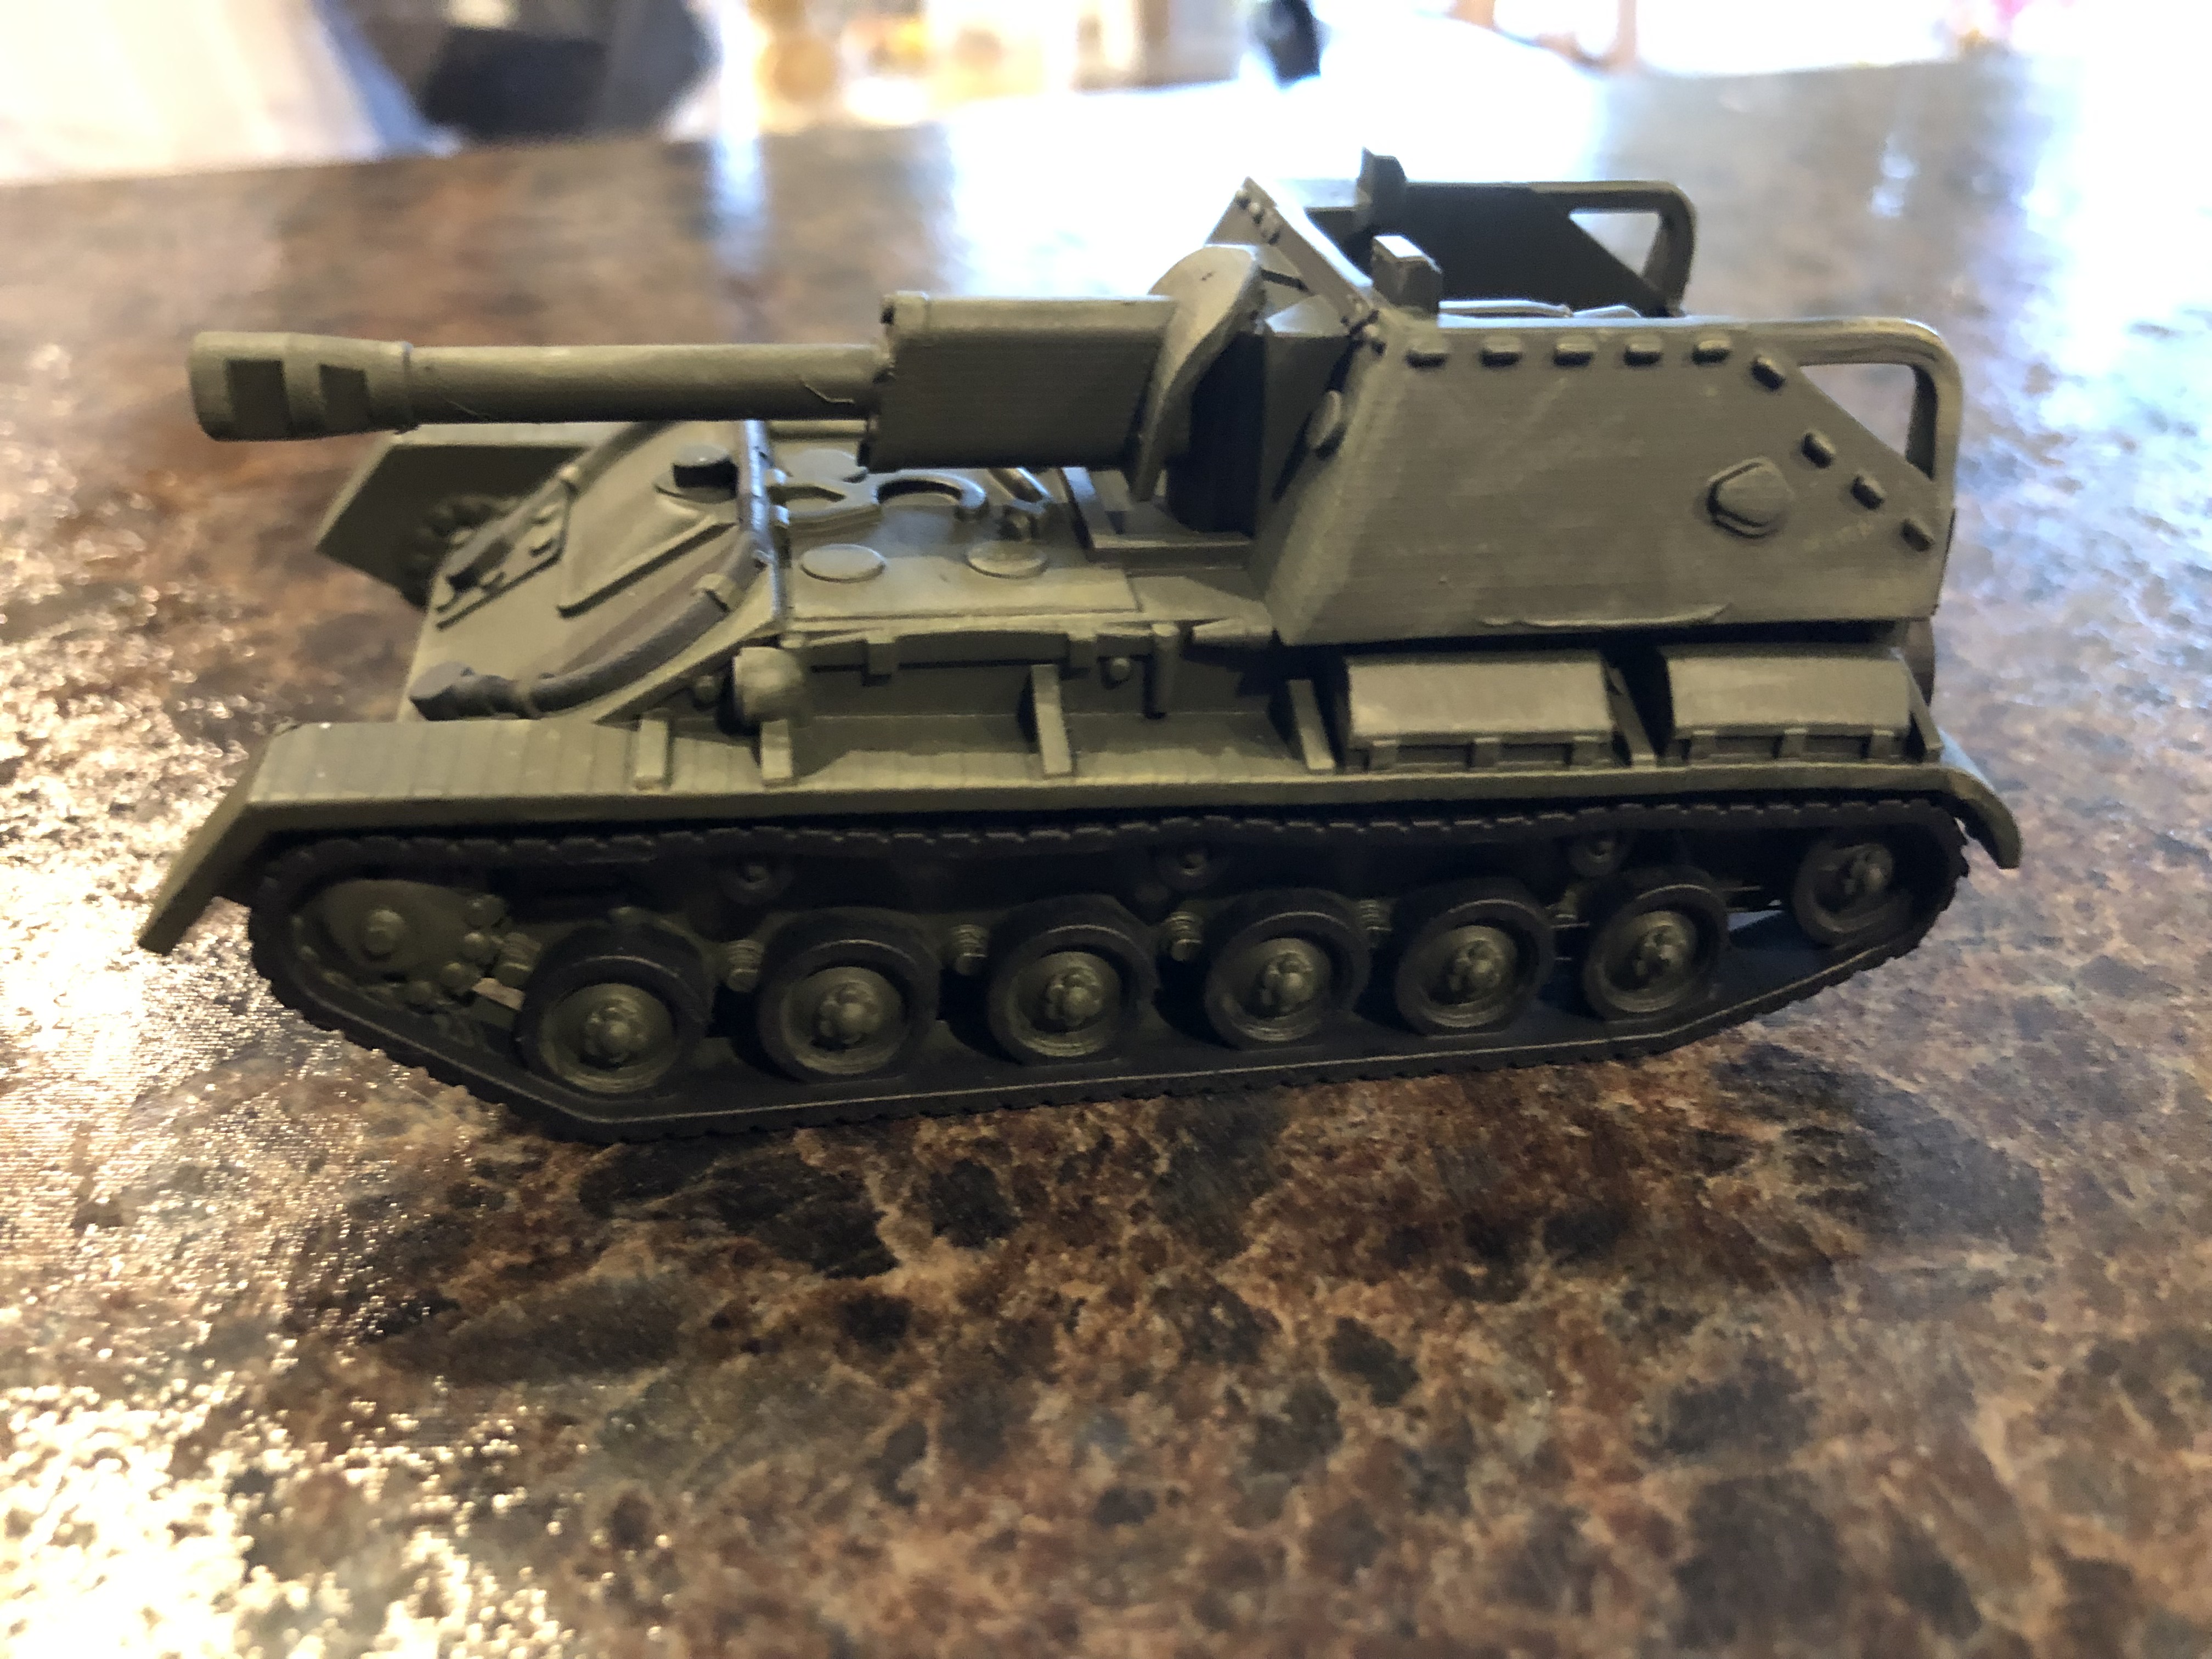
With my SU-76 primed, its now time to get the base colors on. The primer I went with basically handles the green - from here its just blocking in details and adding highlighting to the green to make it less flat. I like a pretty heavily weathered look to my Soviet vehicles so I work towards that look even before getting to the official “weathering” step. Here is a quick walkthrough of the steps I took:
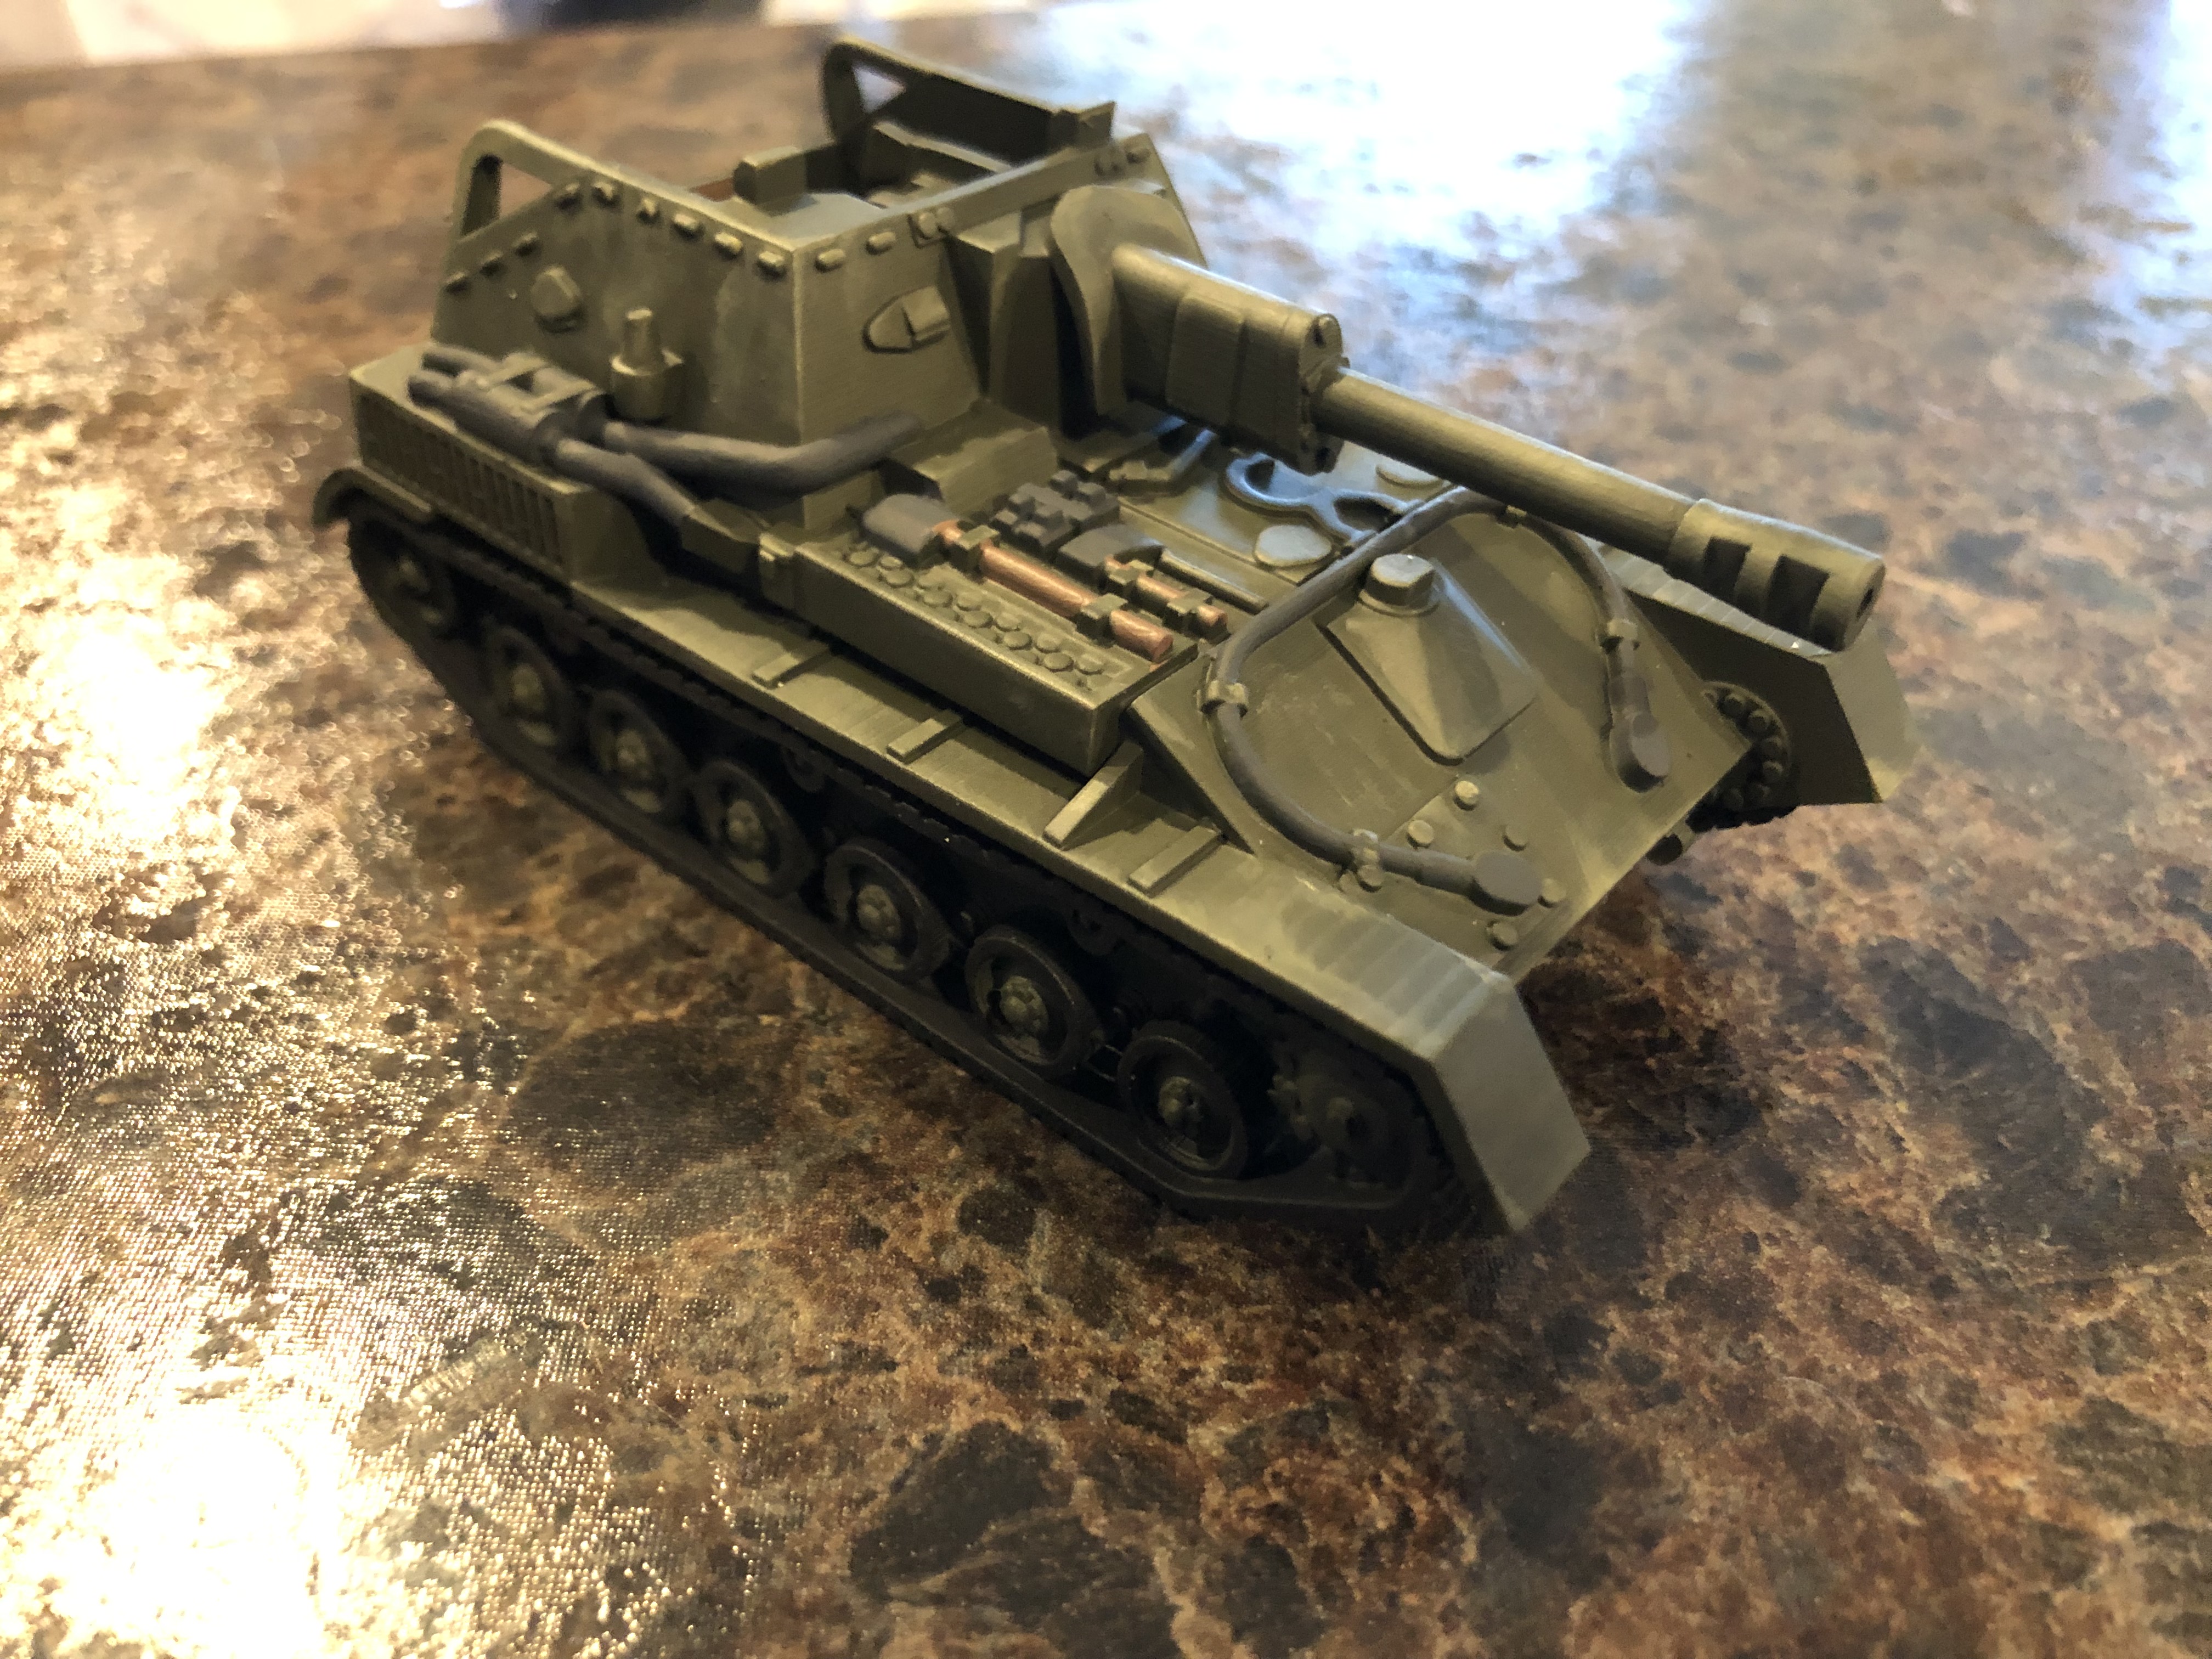
- Light drybrush with Vallejo Khaki - I like this color paired with the Russian green (gives a dust effect that looks rather nice for no effort). I focus on the raised areas: edges, rivets, hand holds, as well as the upper parts of the armor panels.
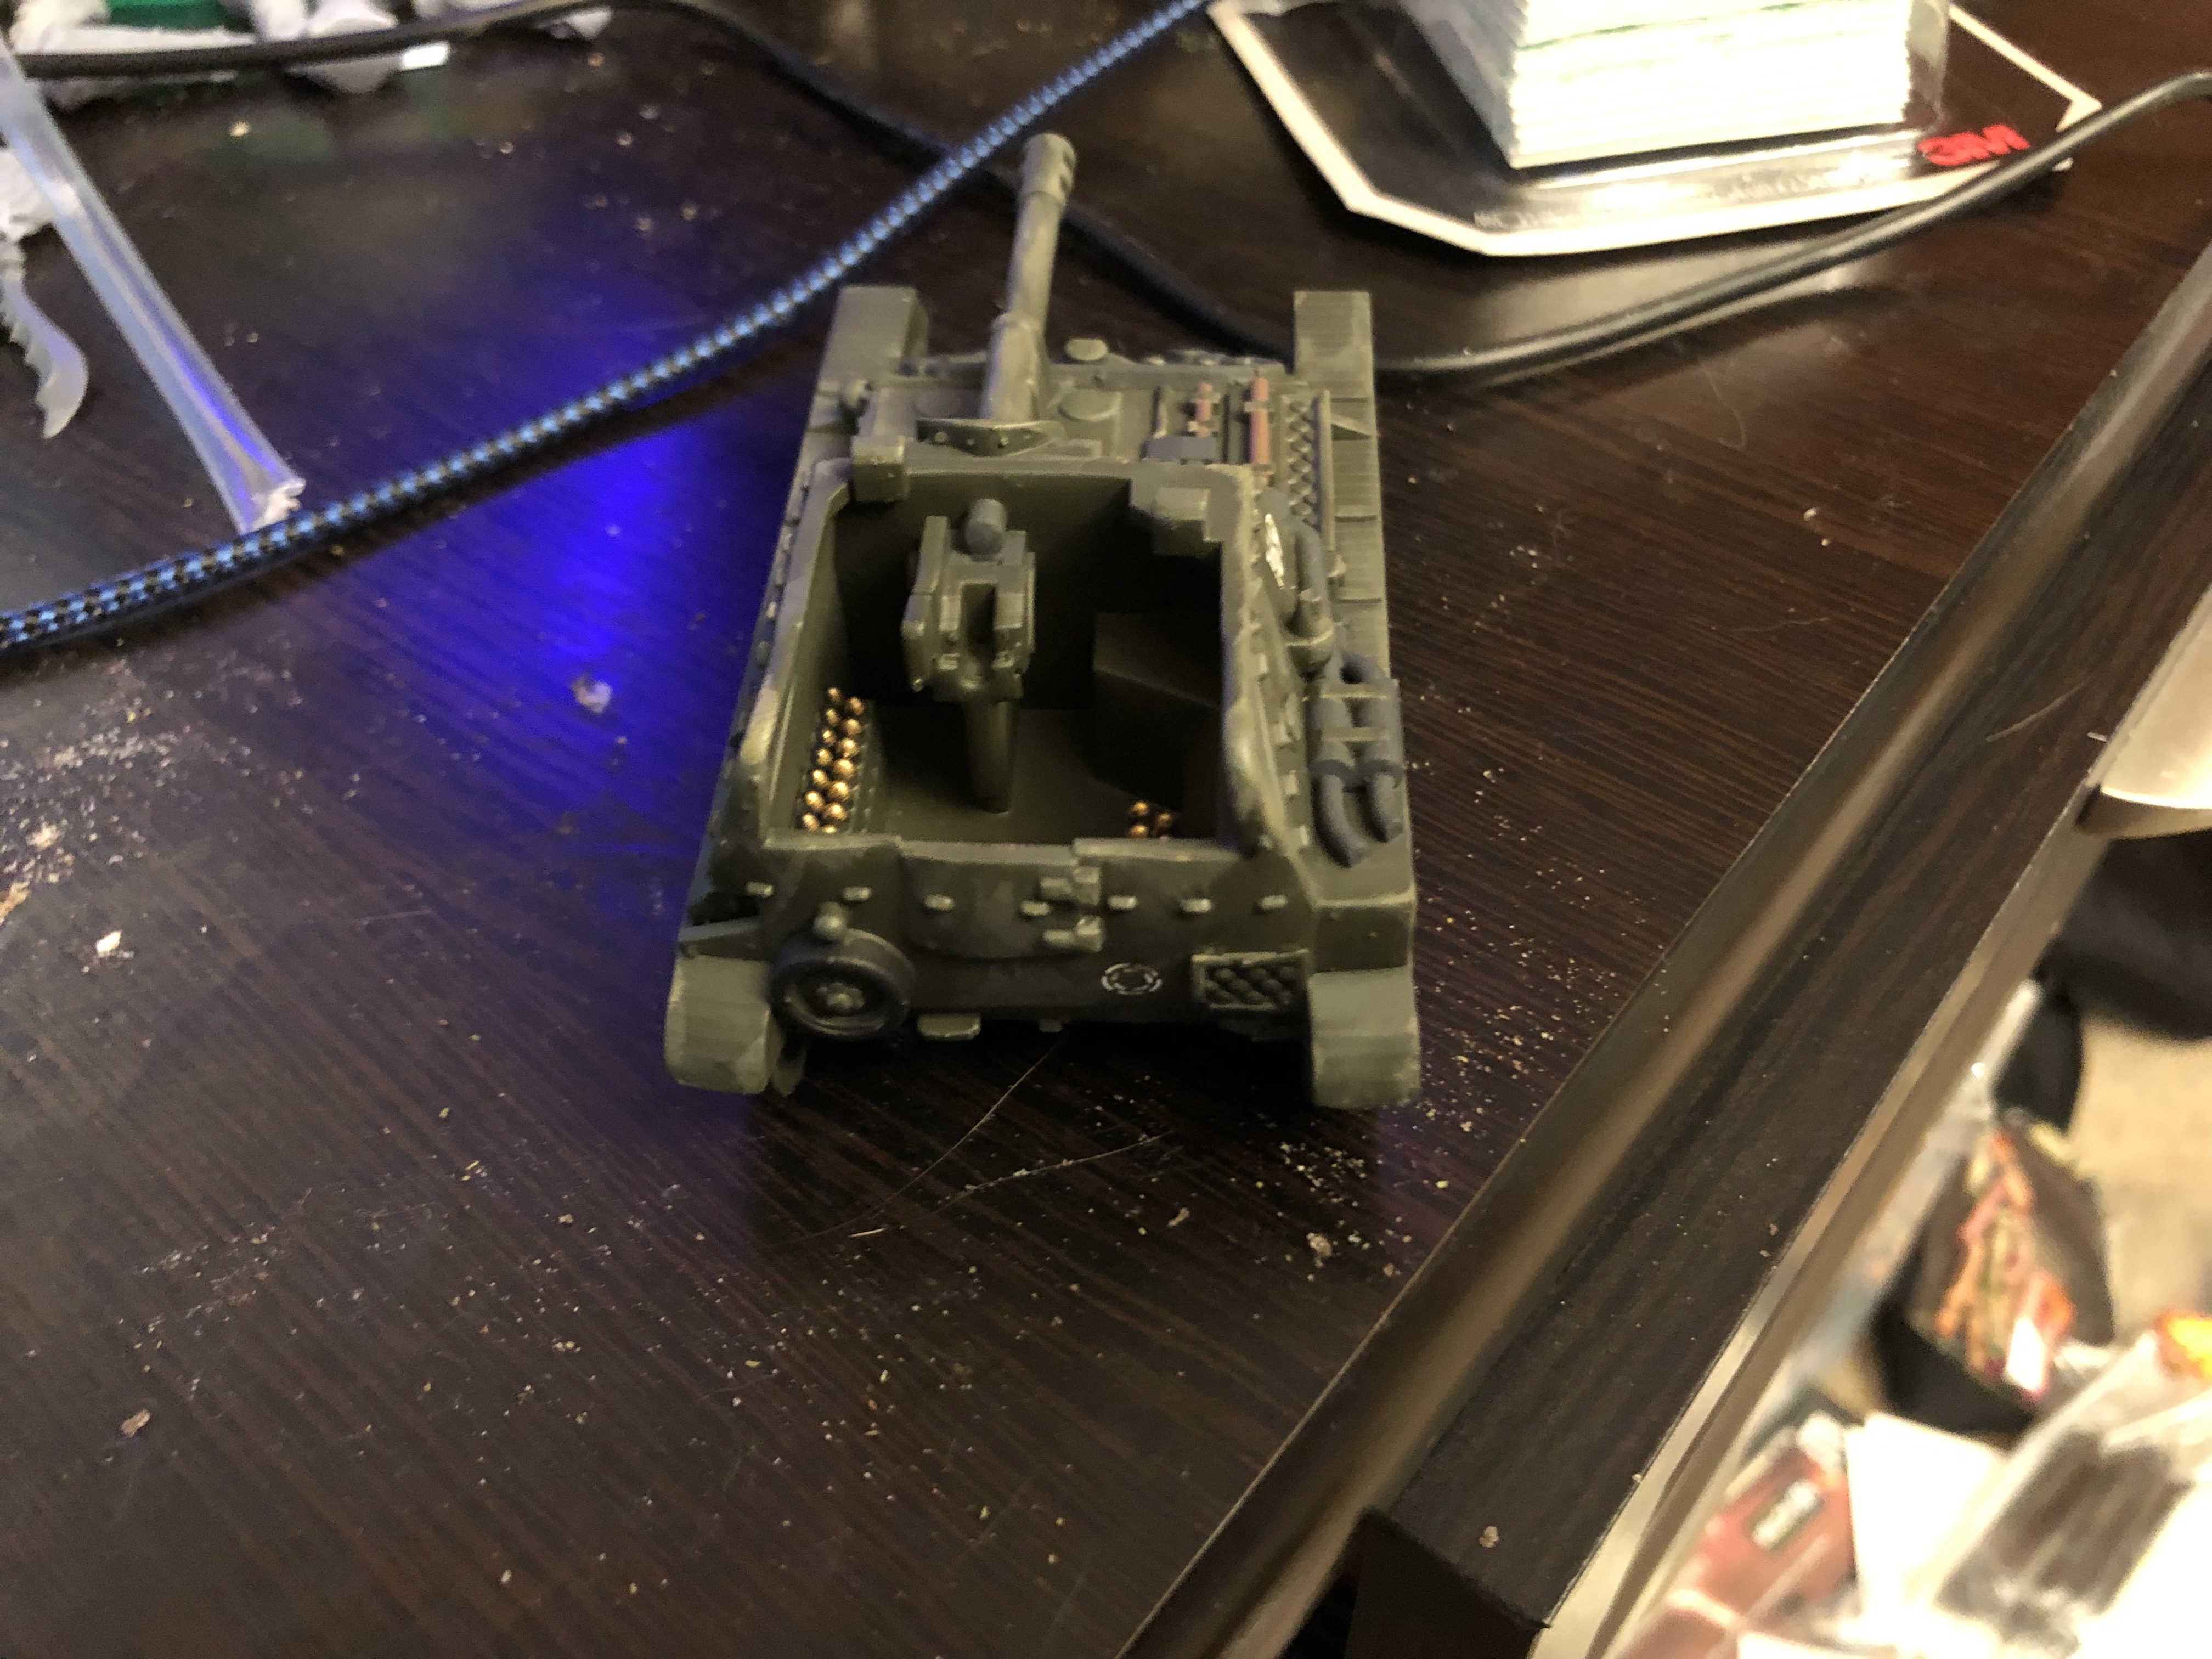
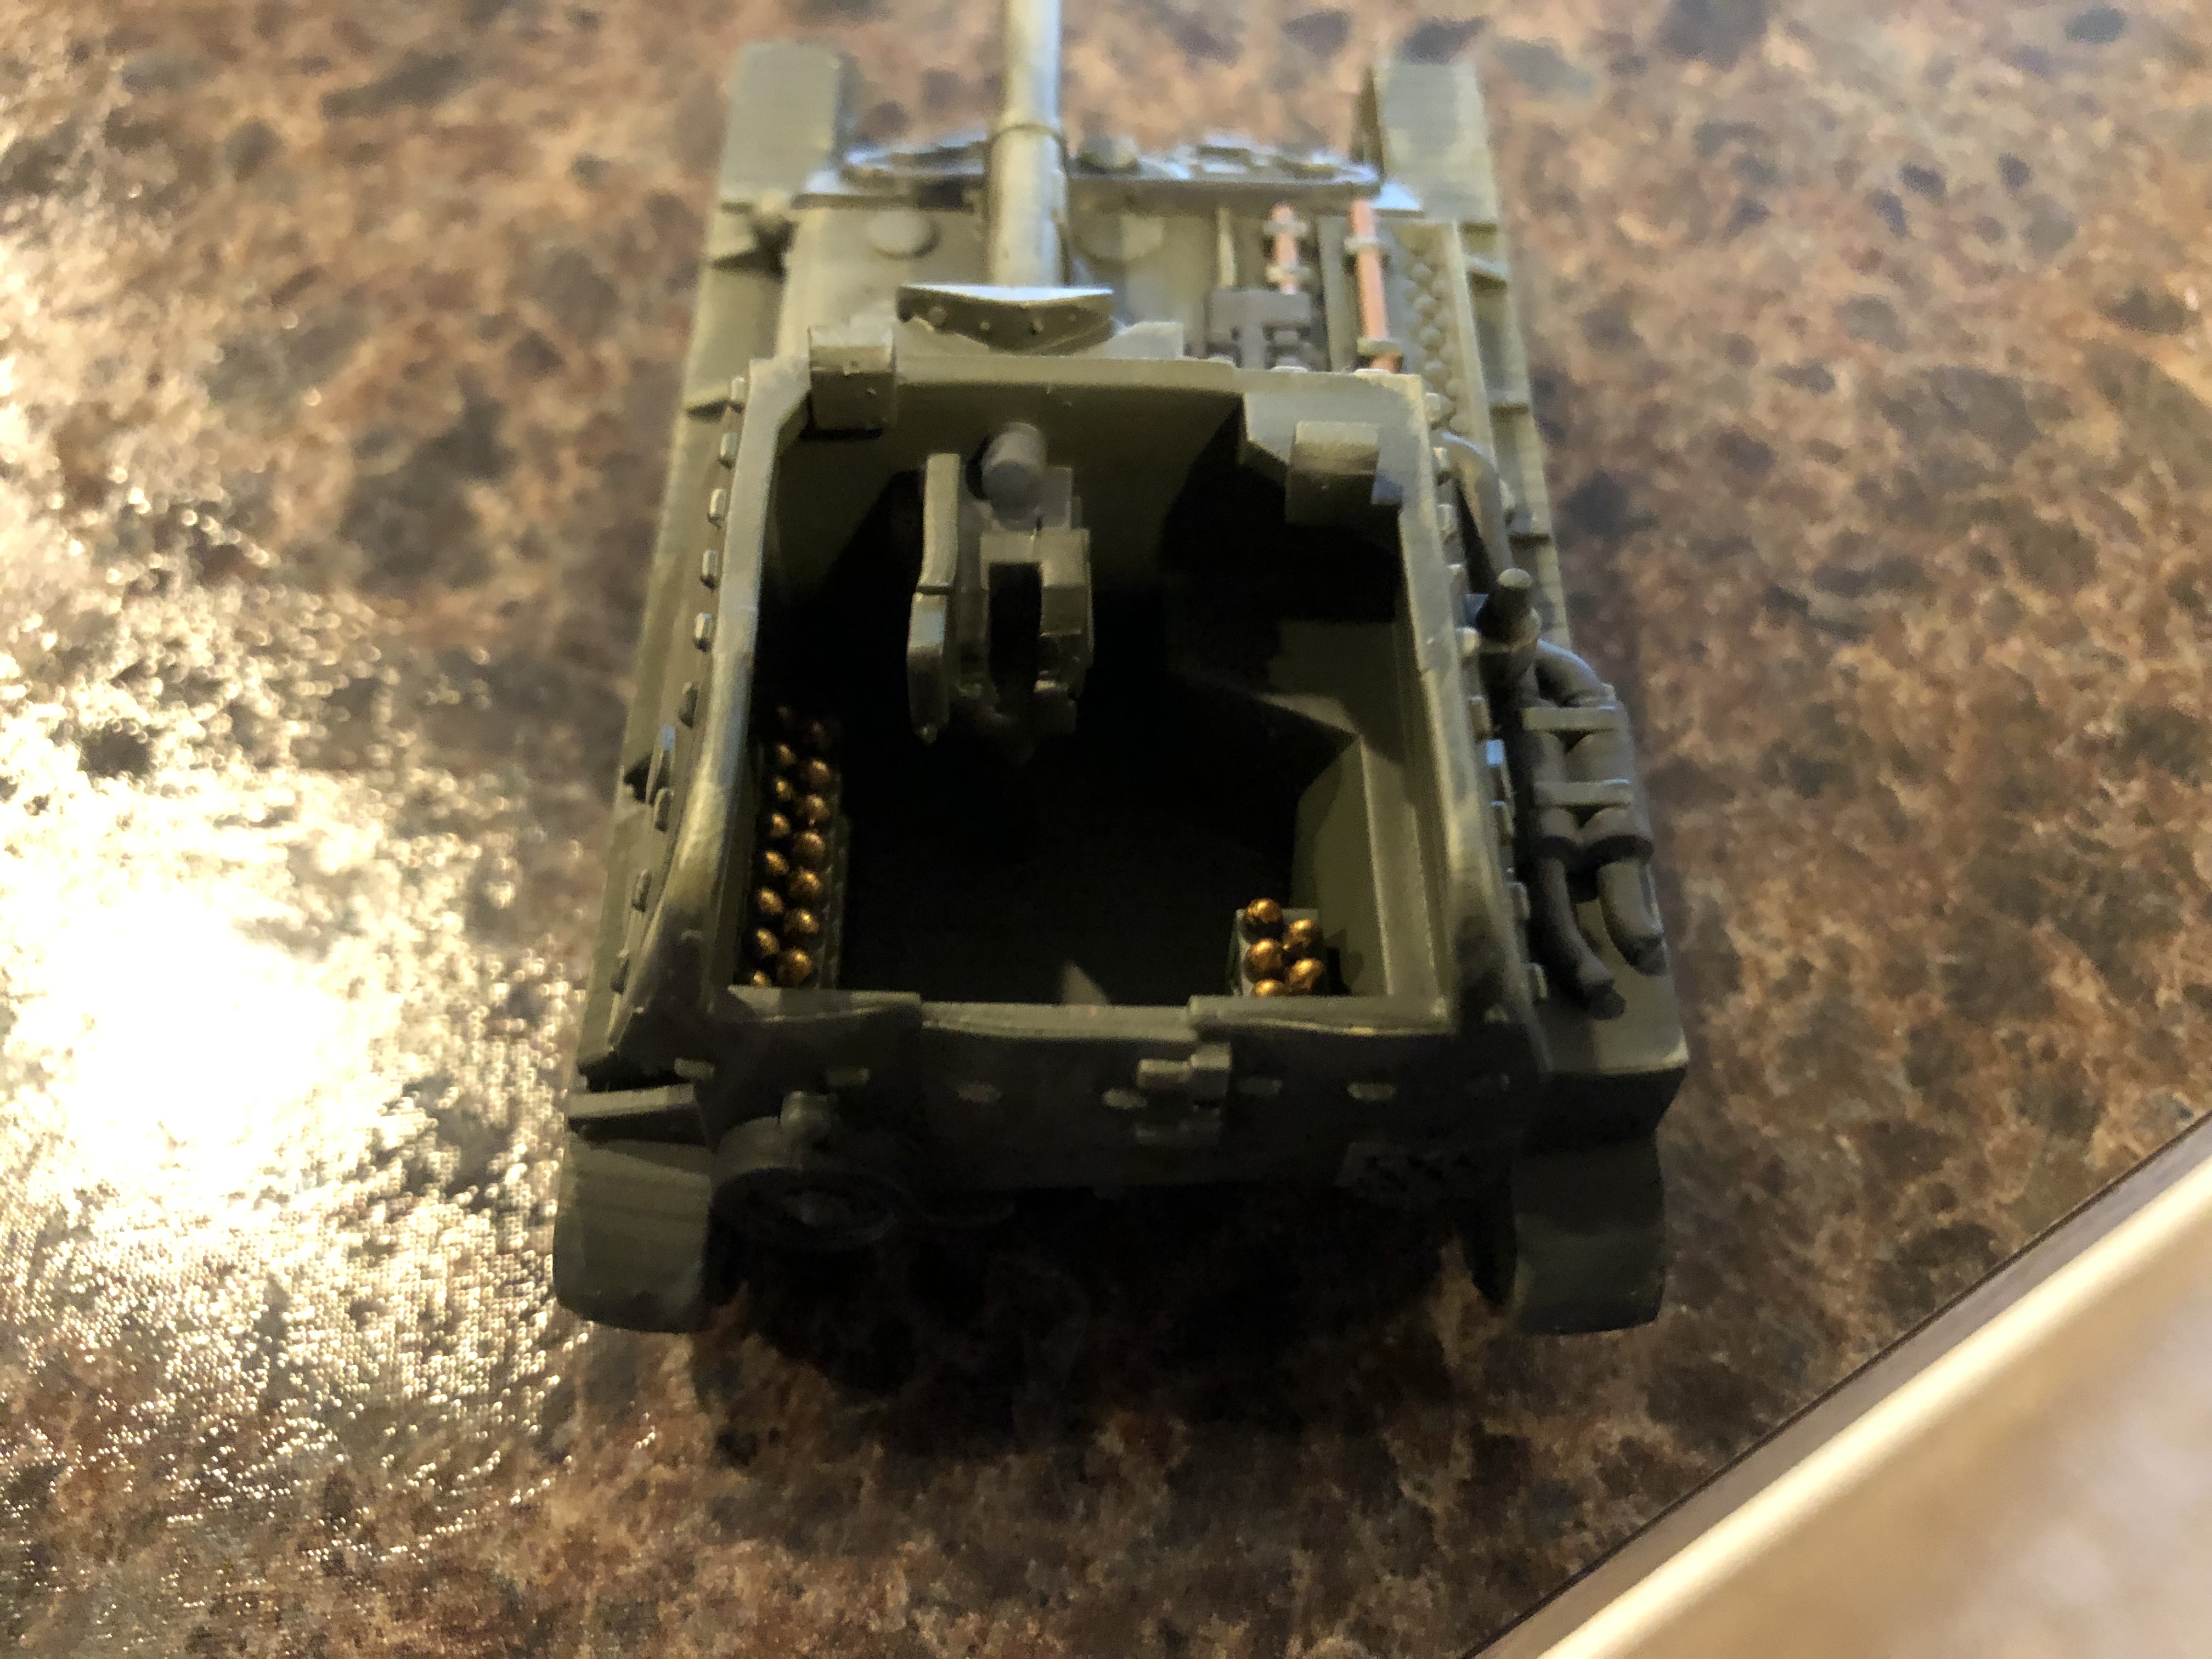
- Paint the tracks and road wheel rims black. I use Vallejo black but any color you like will work. I’m not overly bothered by super precise work here as a lot of this will be covered by weathering later on - making sure all the road wheels stay clean and the tracks are covered is the most important part. I also paint the shells black for a later step
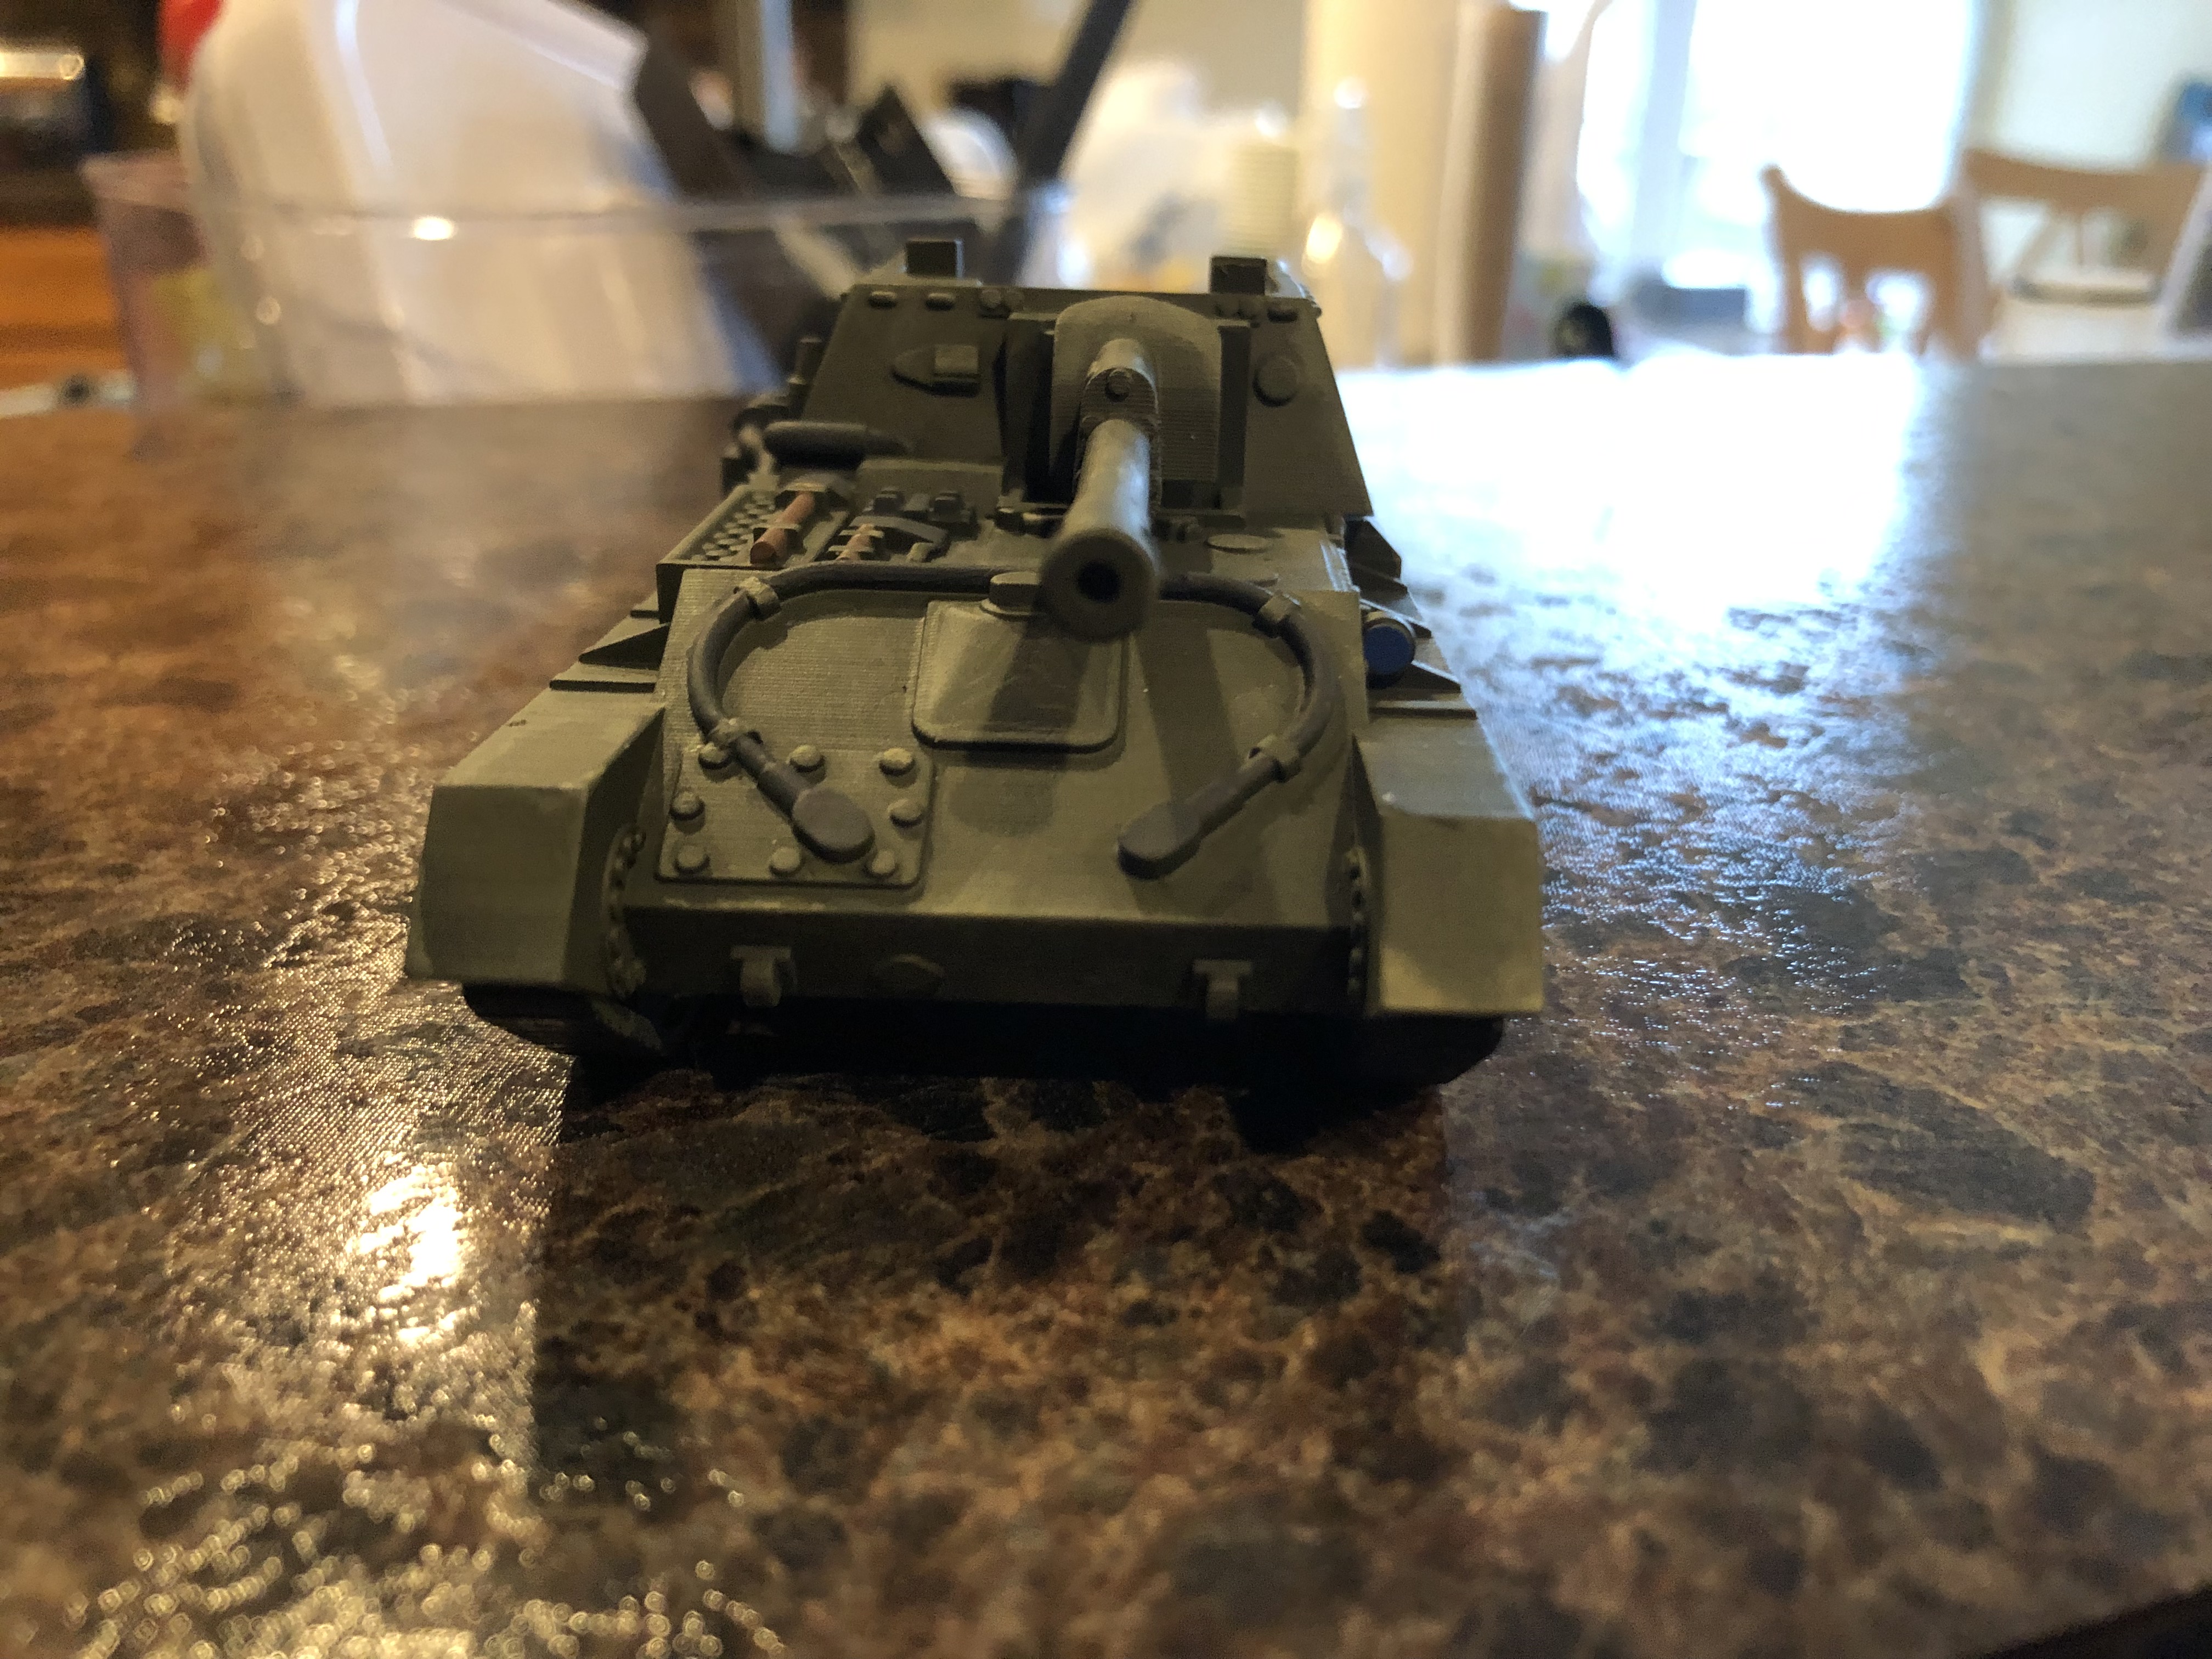
- Paint the “grey” parts with Vallejo German Grey. This is stuff like shovel…shovels…the diggy part of the shovel…I don’t know what its actually called….pipes, axes, etc.
- Paint the “wood” parts - I use Citadel Gothor brown but any brown-wood ish color will work. The example I’m loosely basing my model on had wood seats/paneling on the back of the door but a quick search through google images of surviving examples shows a lot of variation here.
- Paint the shells gold/brass. I use Citadel Retributor Armor which is probably too bright but I like the pop it gives on the tabletop.
That’s actually it for the base colors - simple!
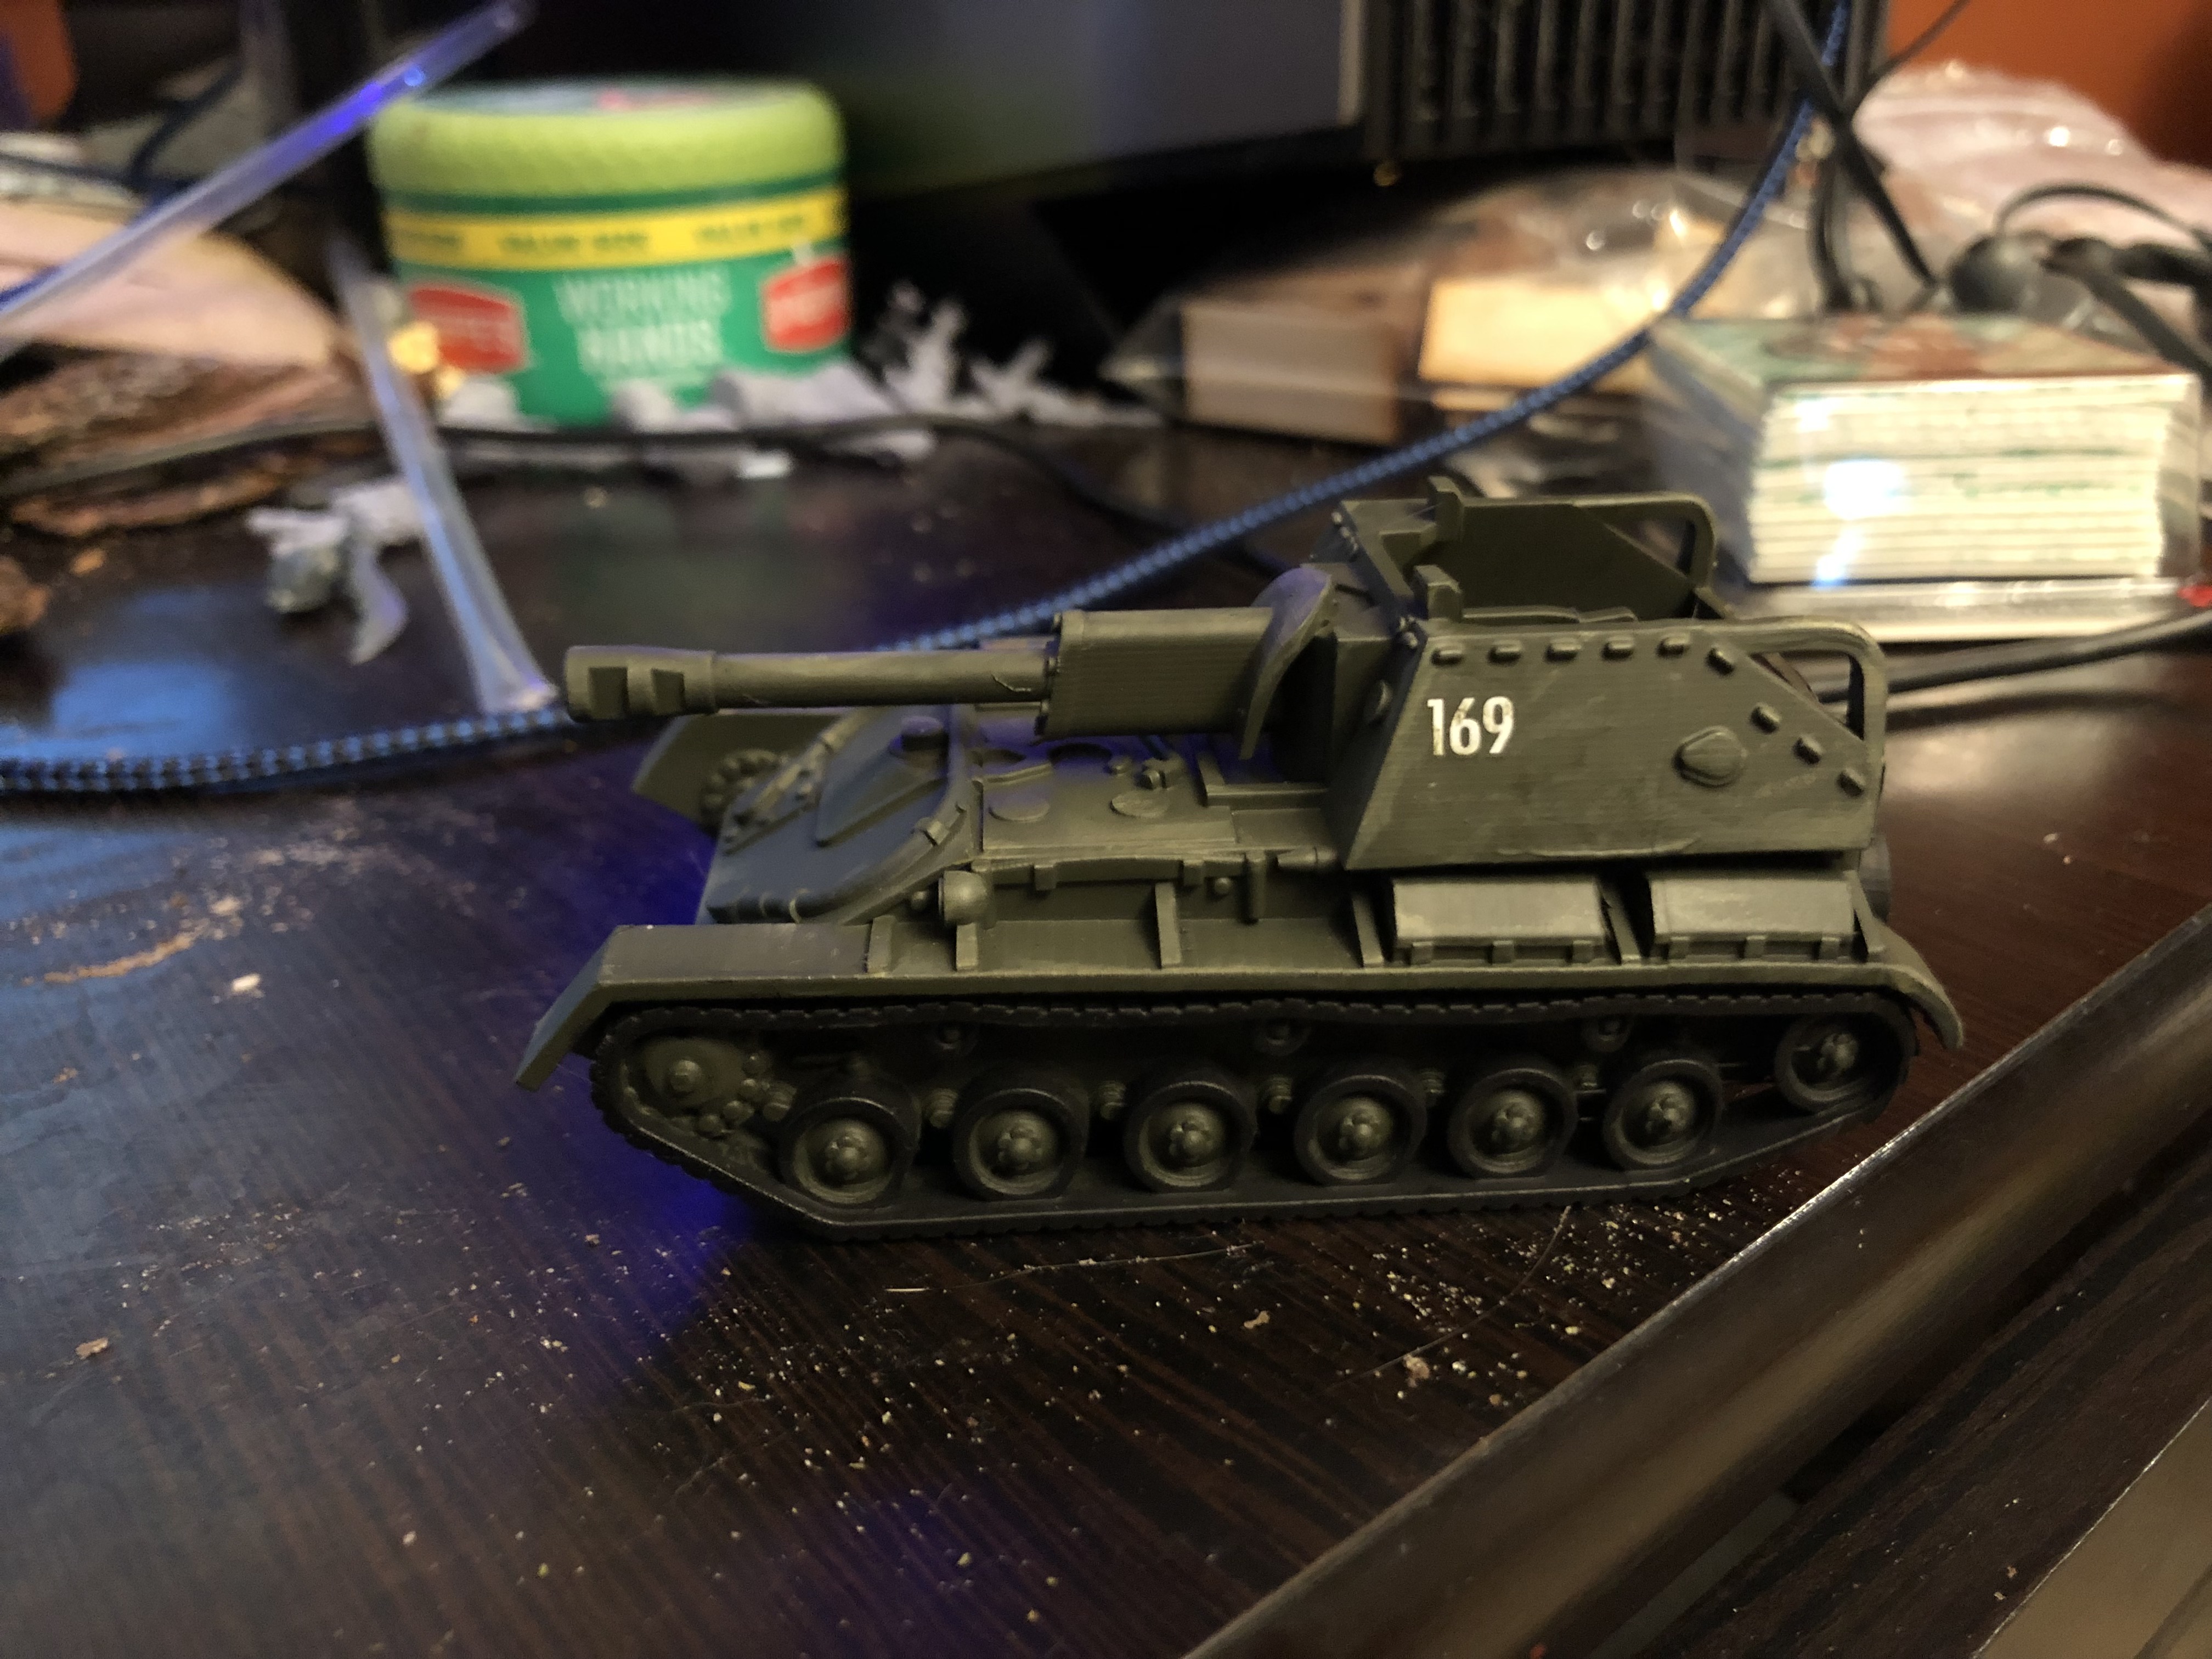
Next up is decals. I’m a “less is more” person for Soviet vehicle markings. Looking at photos from the period SU-76’s seem to have numbers more frequently than stars so that’s what I went with, along with a small tactical marker on the rear of the vehicle.
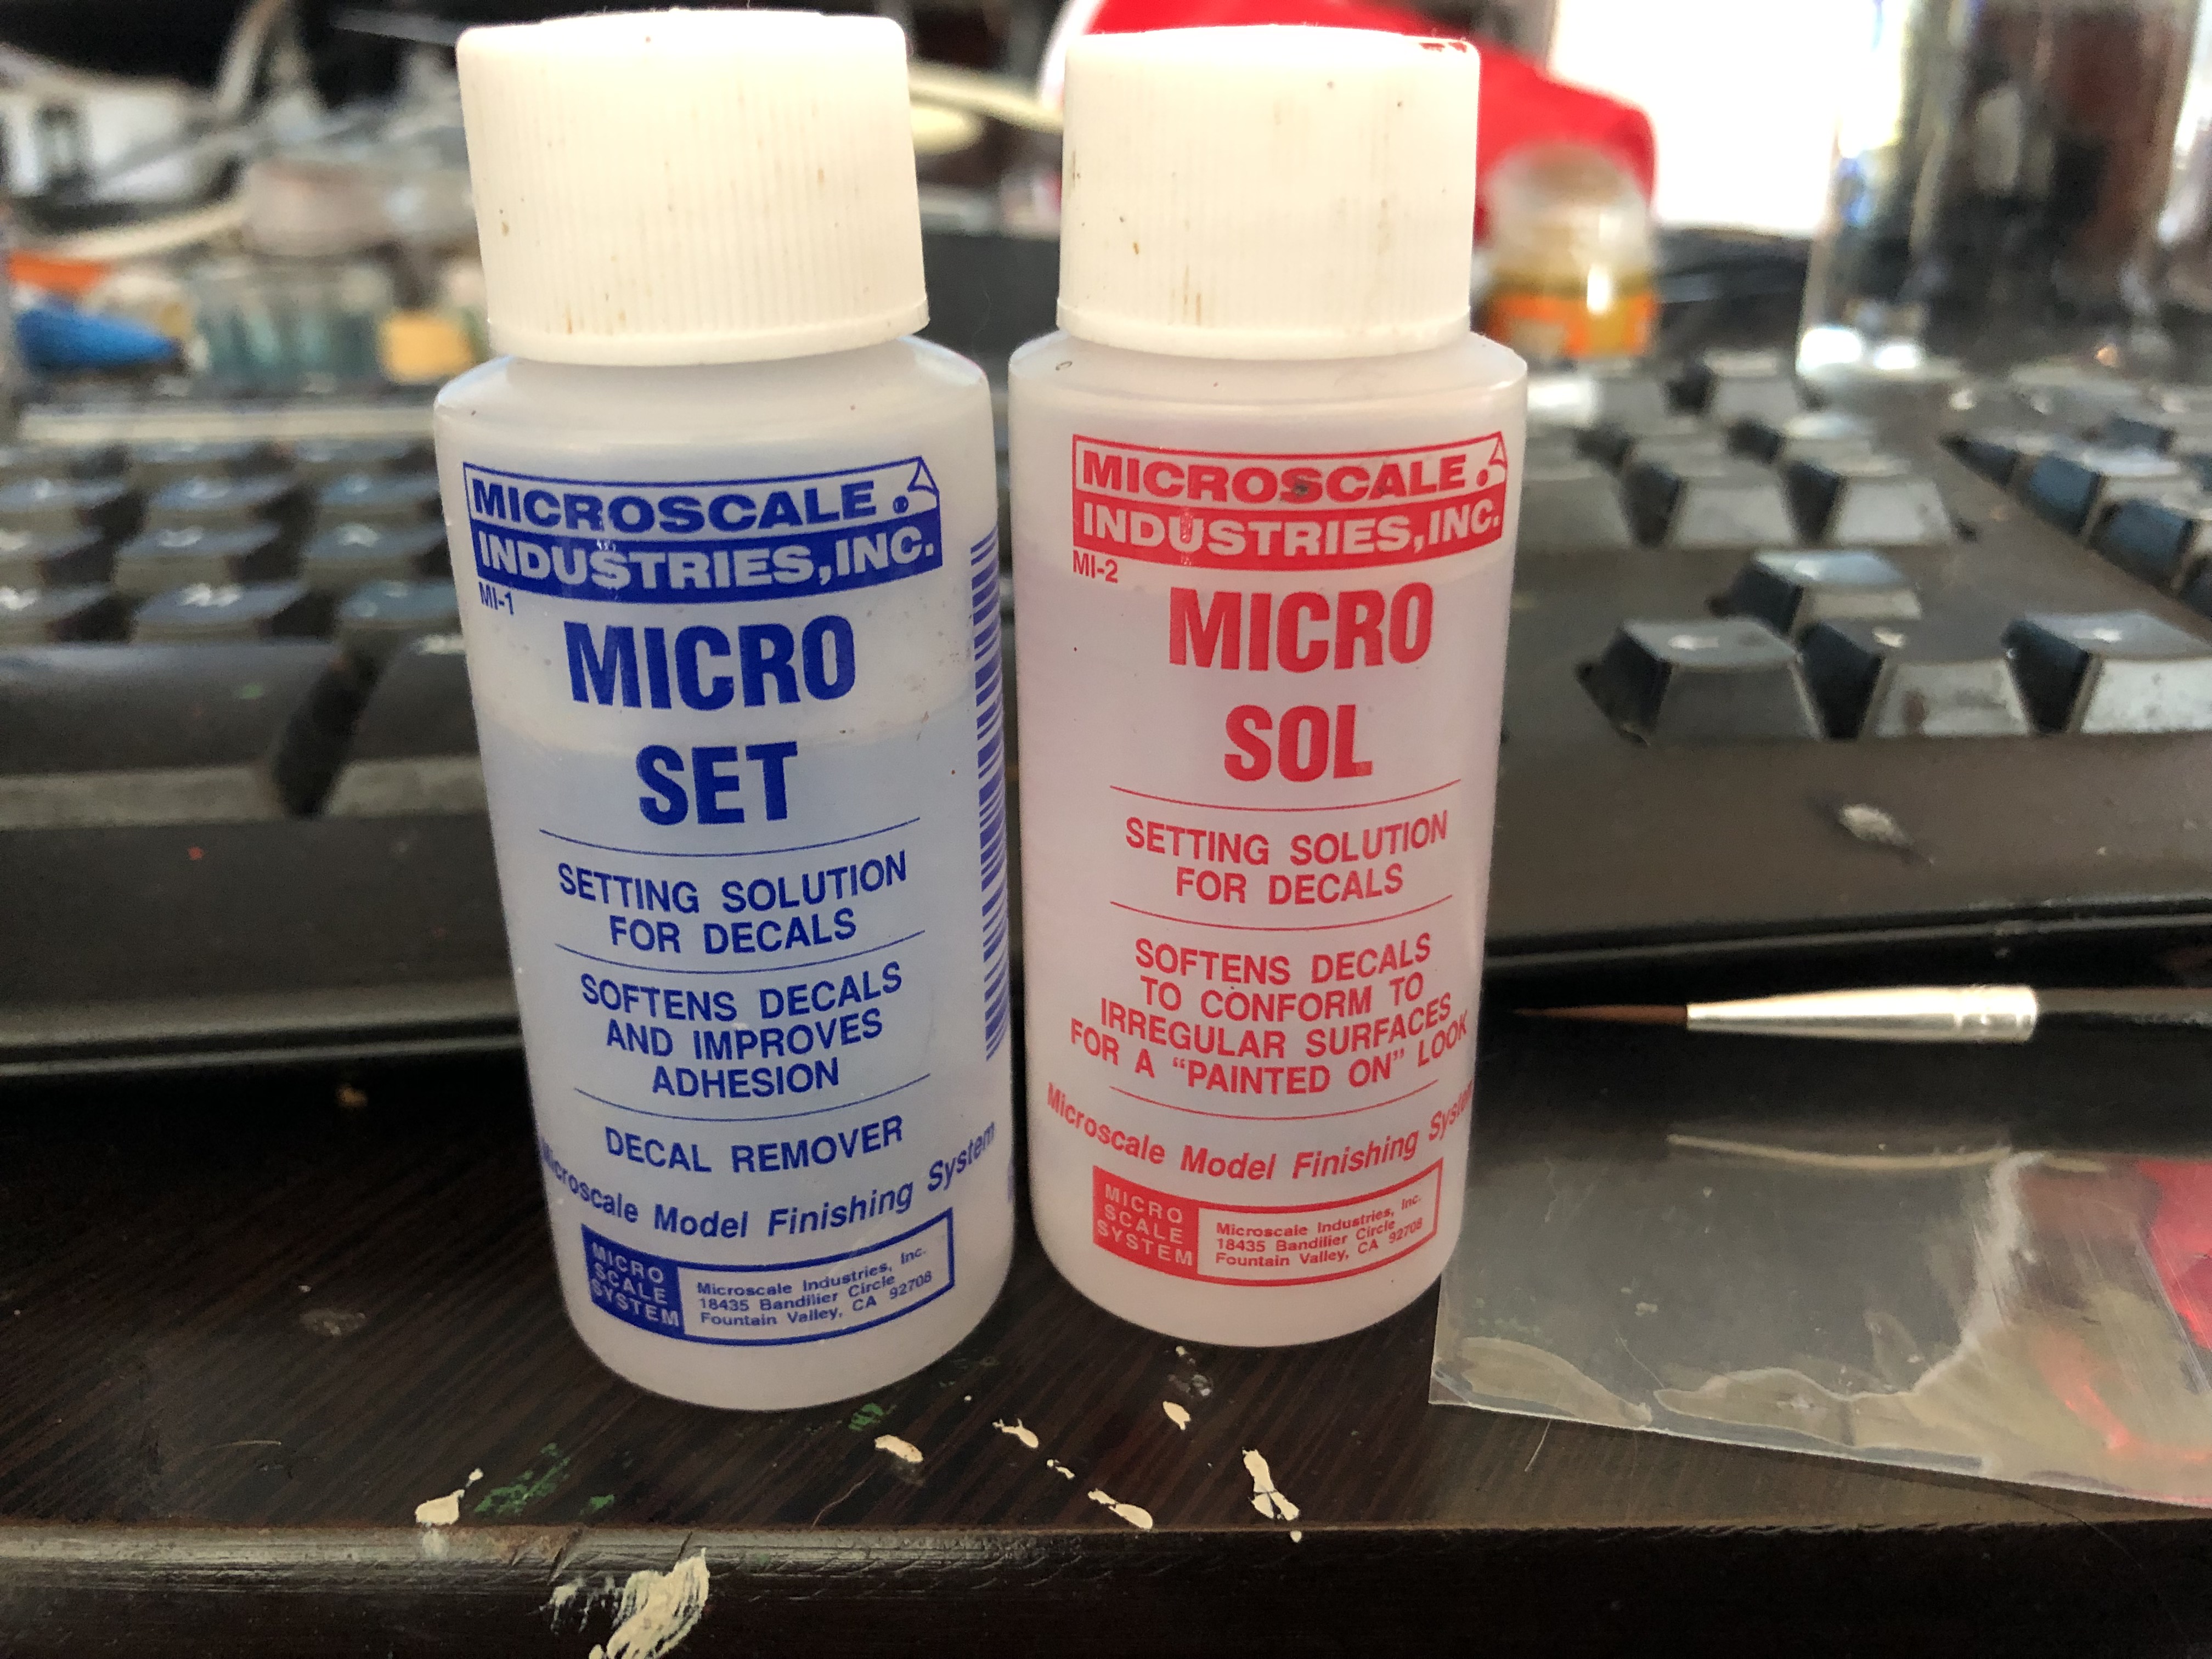
I apply my decals using the MicroSet/MicroSol method - I HIGHLY recommend these products, they make working with transfers much nicer and give a really great finish with no silvering or whitelining.
- Brush MicroSet on the target area for the decal.
- Dunk the decal in water, let it soak for a few minutes.
- Pull the decal out and brush a little MicroSet on it.
- GENTLY brush the decal off. This part is the most tedious, it can take awhile. Ideally your decal with stick flatly to your brush - if it doesn’t don’t panic, you can sometimes smooth out a “rolled” decal.
- Carefully apply the decal from the brush to the model.
- Using small gentle movements, adjust the decal to be right where you want it.
- Brush some MicroSet on top of the decal, again with small and gently movements.
It’d be easy to call the base colors done here and move on to weathering with the fun products (streaking grime washes, rust washes, glorious mud) but there is one final step to do here that REALLY adds to the effect of the model for very little effort.
Taking a small brush, I gathered a little bit of the primer color on the bristles. I very gently made dots, lines, and streaks over my decals This creates a chipping effect and really helps the decal look like part of the model instead of well, a decal.
Here is where all that work got us - not too bad for pretty minimal effort. Next time, we will really step up the game with weathering and get this guy ready to take on some crew!