Eagle of Empire Skirmish Rules AAR
Almost 8 months after starting the blog, it finally features an AAR!
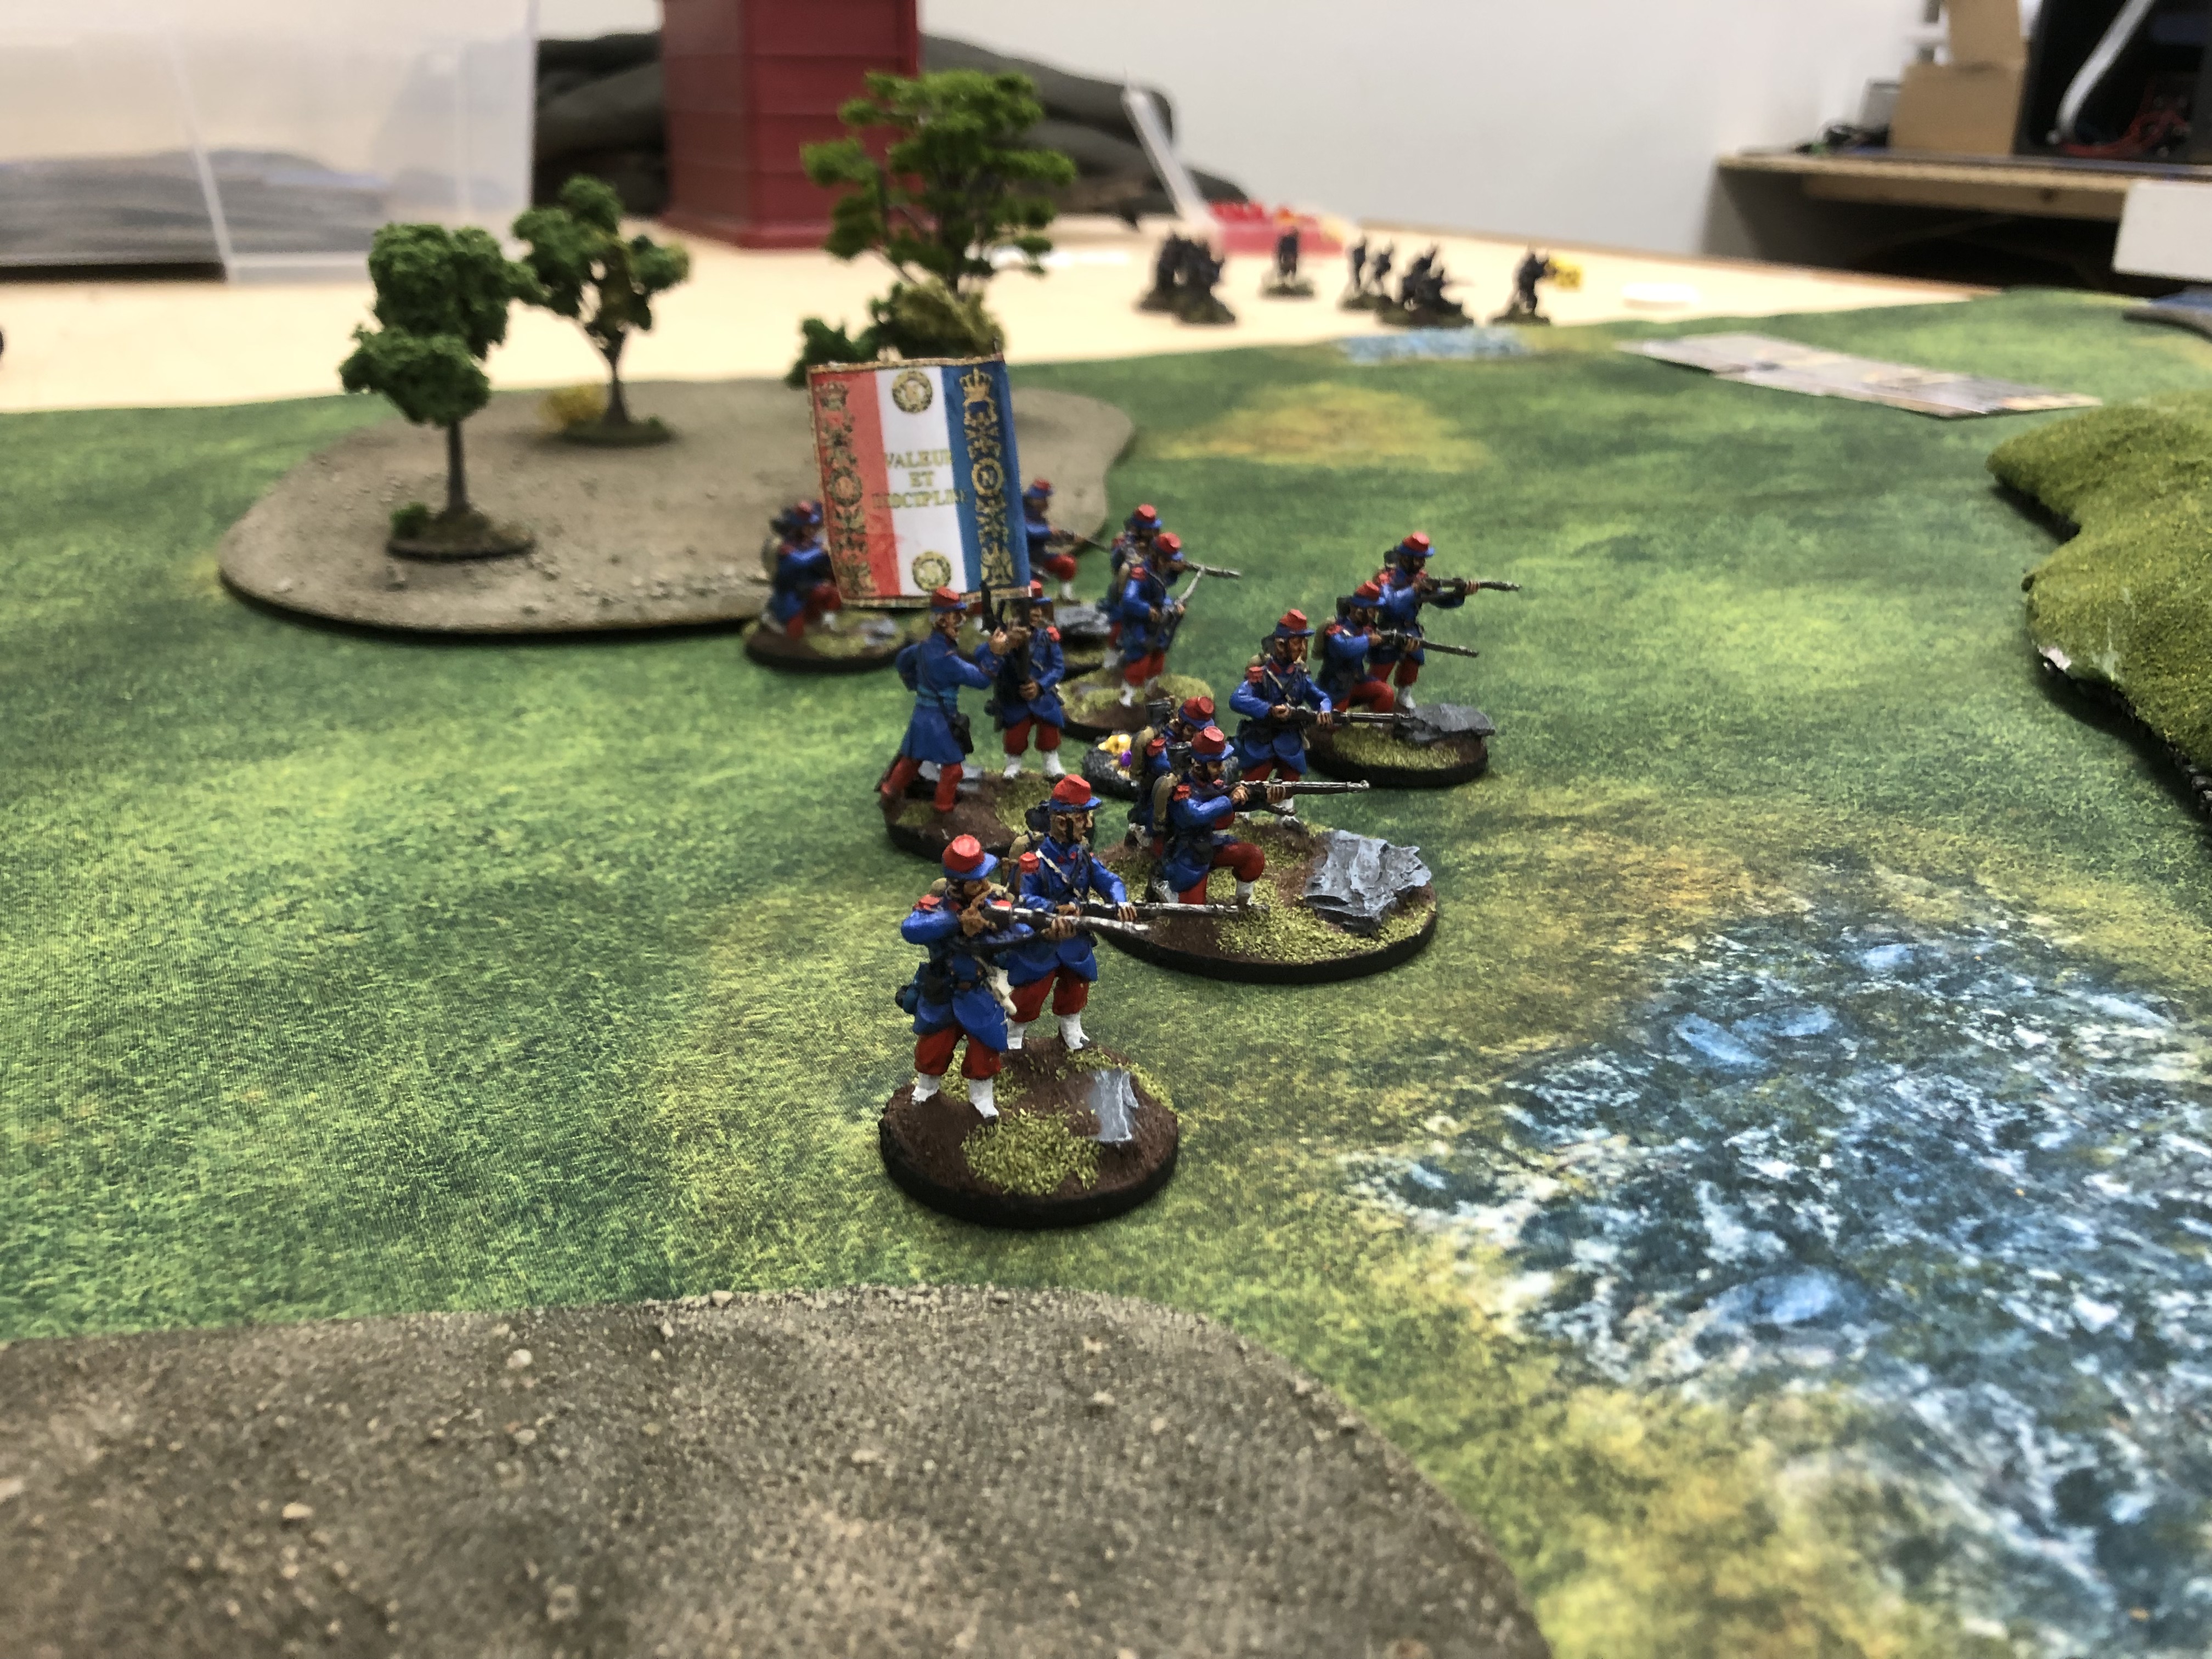
I got out last Friday to play a game of Eagle of Empire Skirmish against my friend’s Prussians (and some Saxons in their lovely green jackets who we just used as Prussians). This was our first go at the system so I’m sure we made a fair few mistakes, but it was a lot of fun. We played the basic scenario laid out in the Infantry Drill Manual with just Prussian and French line infantry available to each player. I took the French - I was very excited to get them on the table! I was bad and did not take exact notes so this will be a loose recounting from memory.
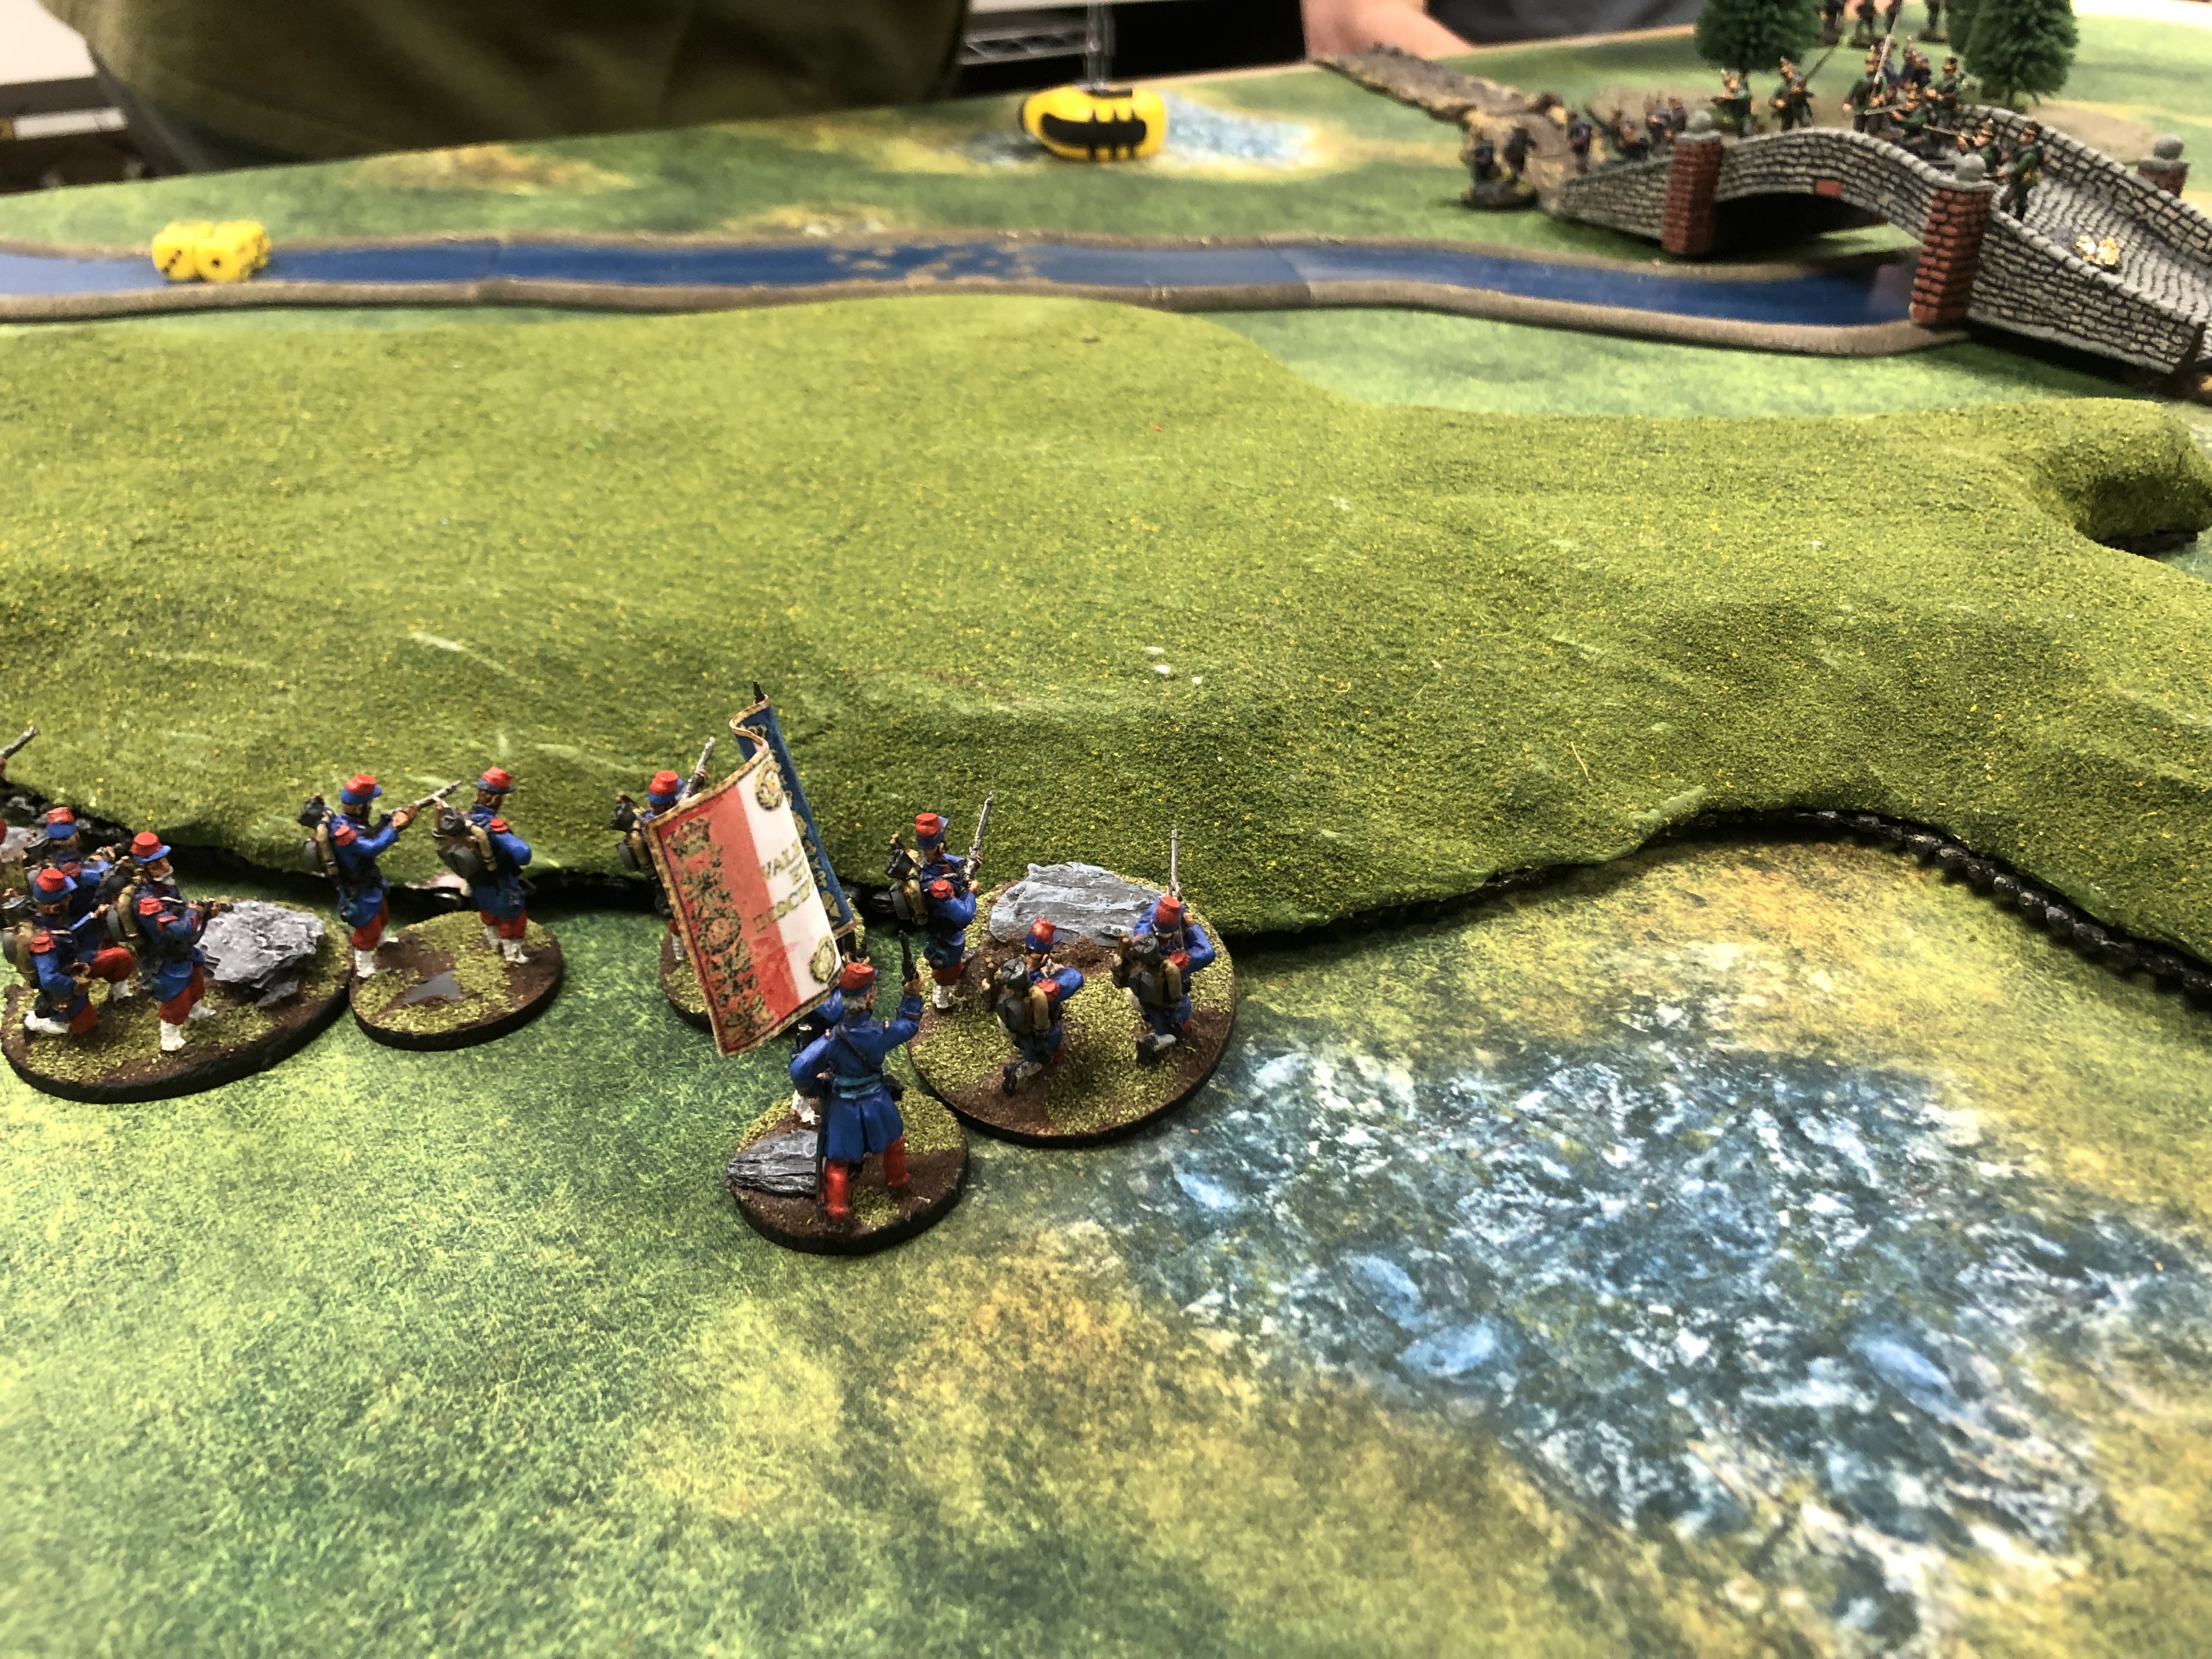
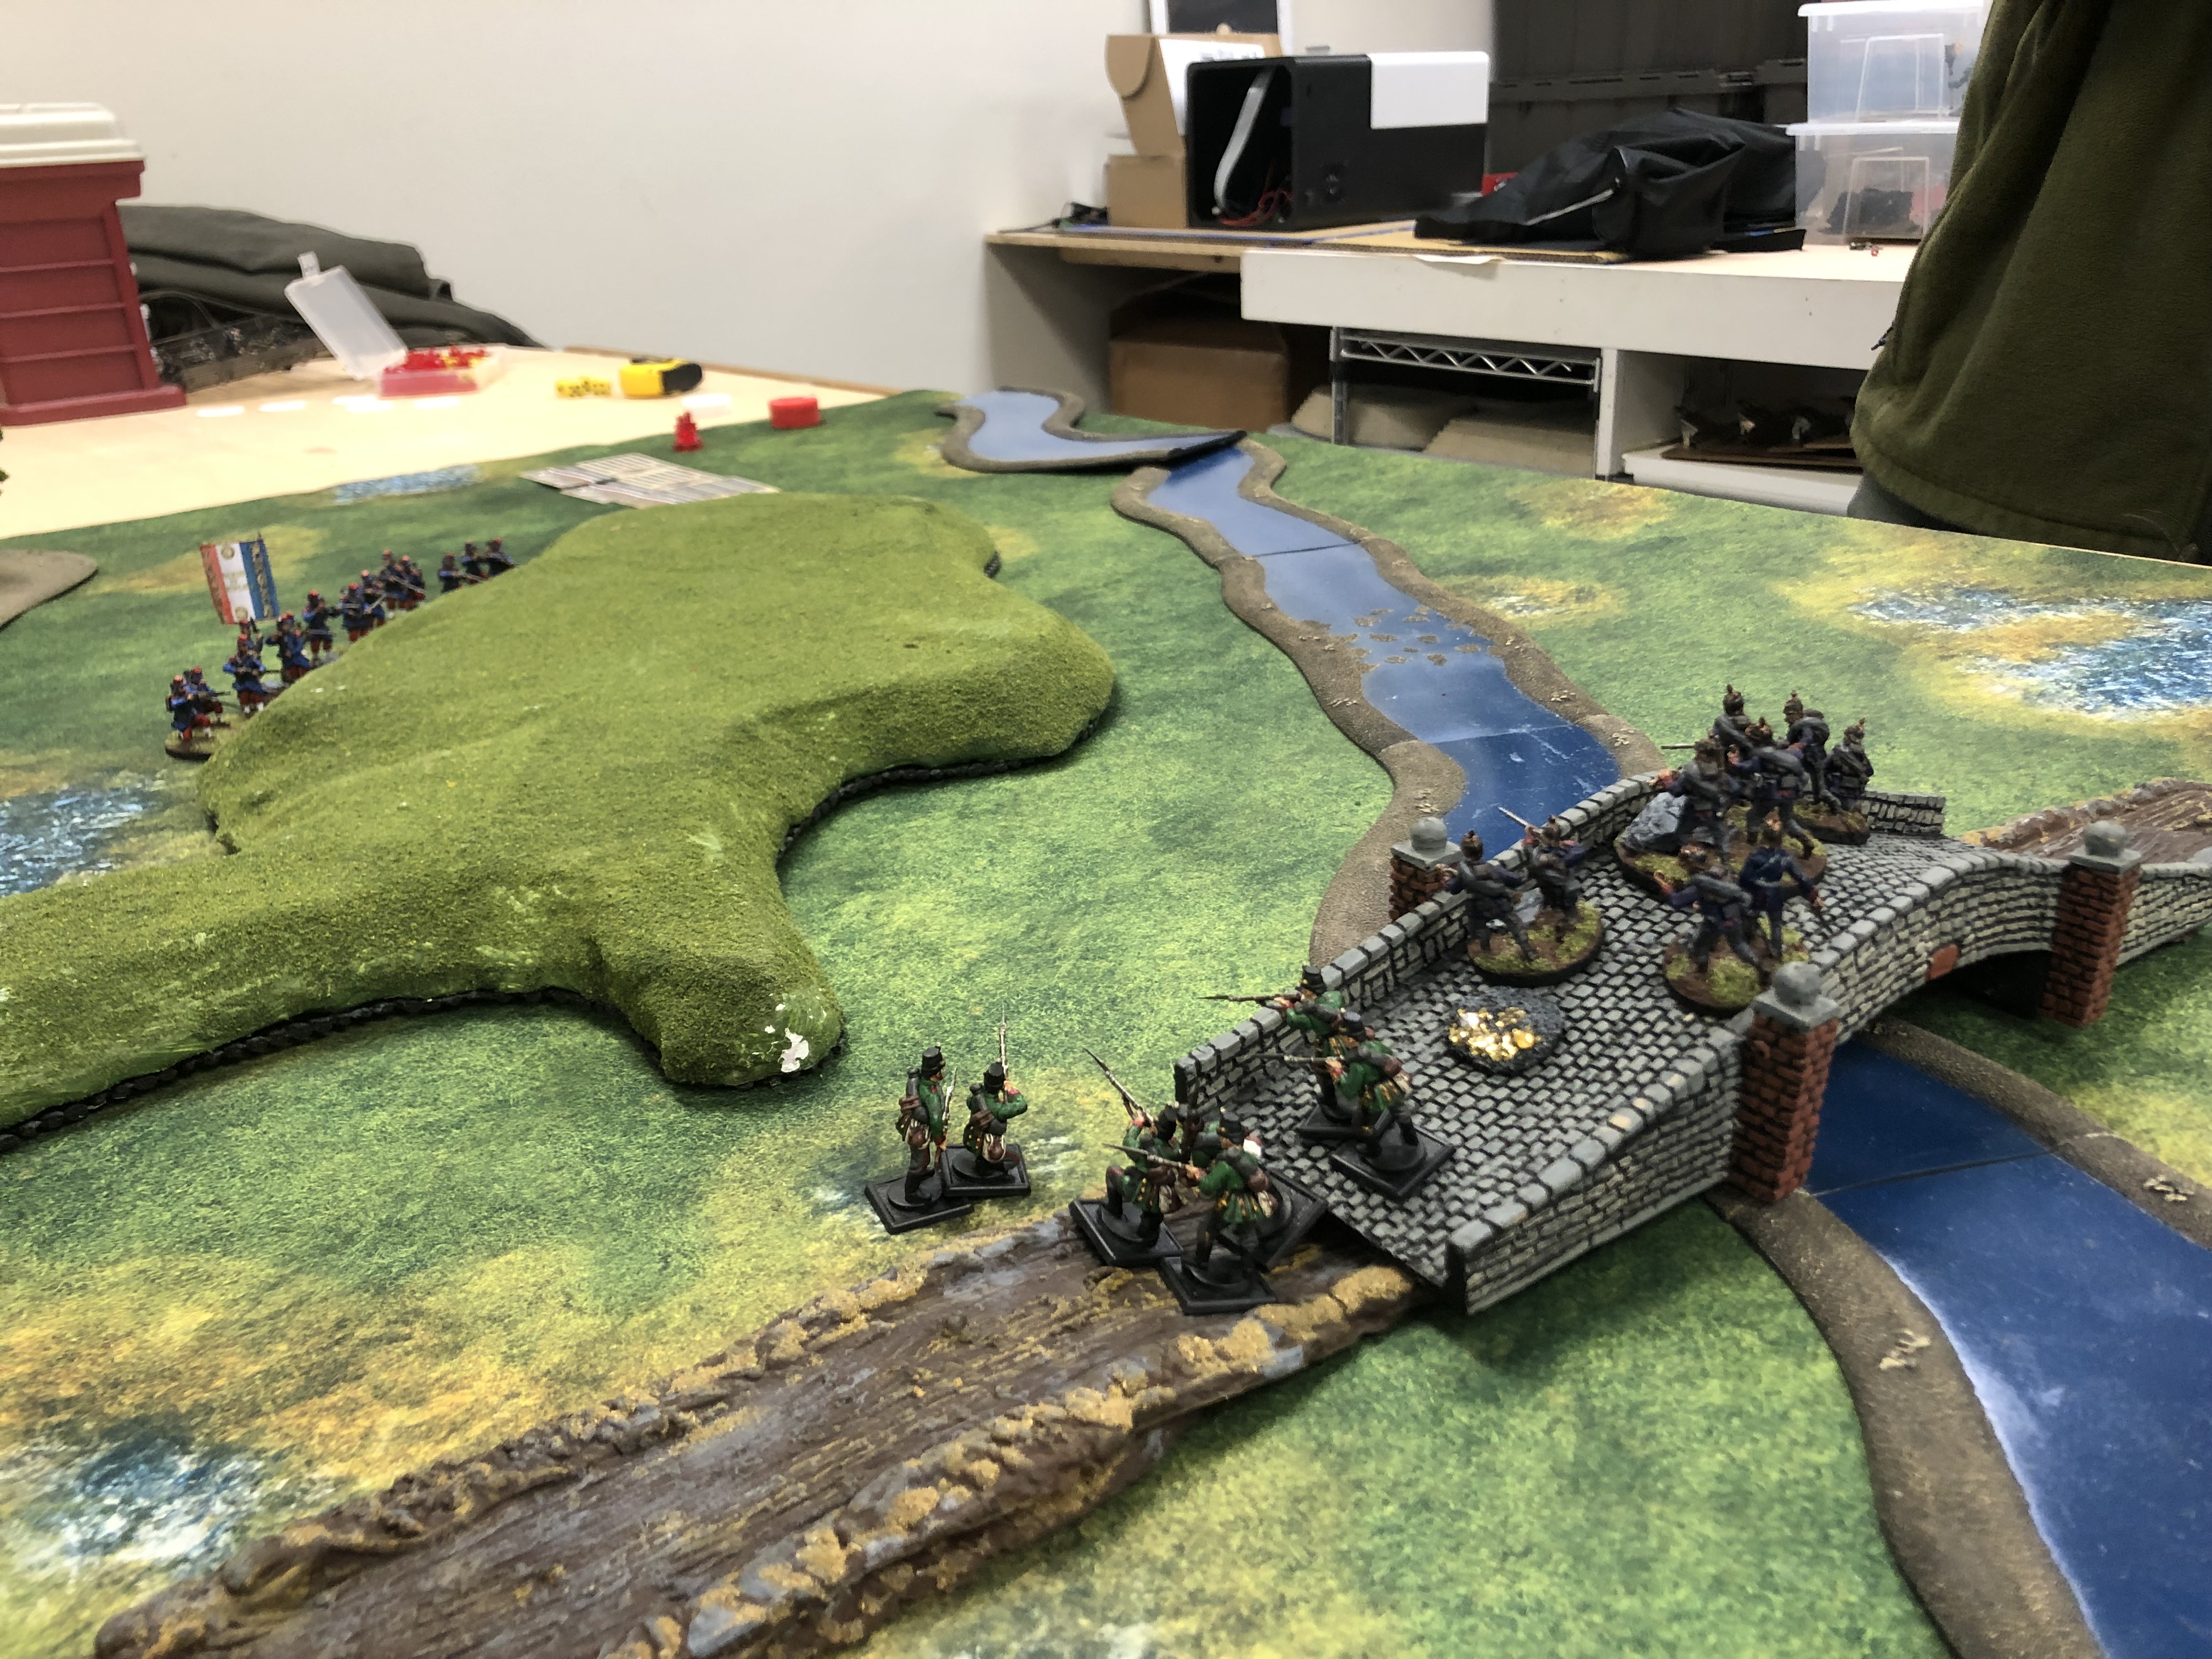
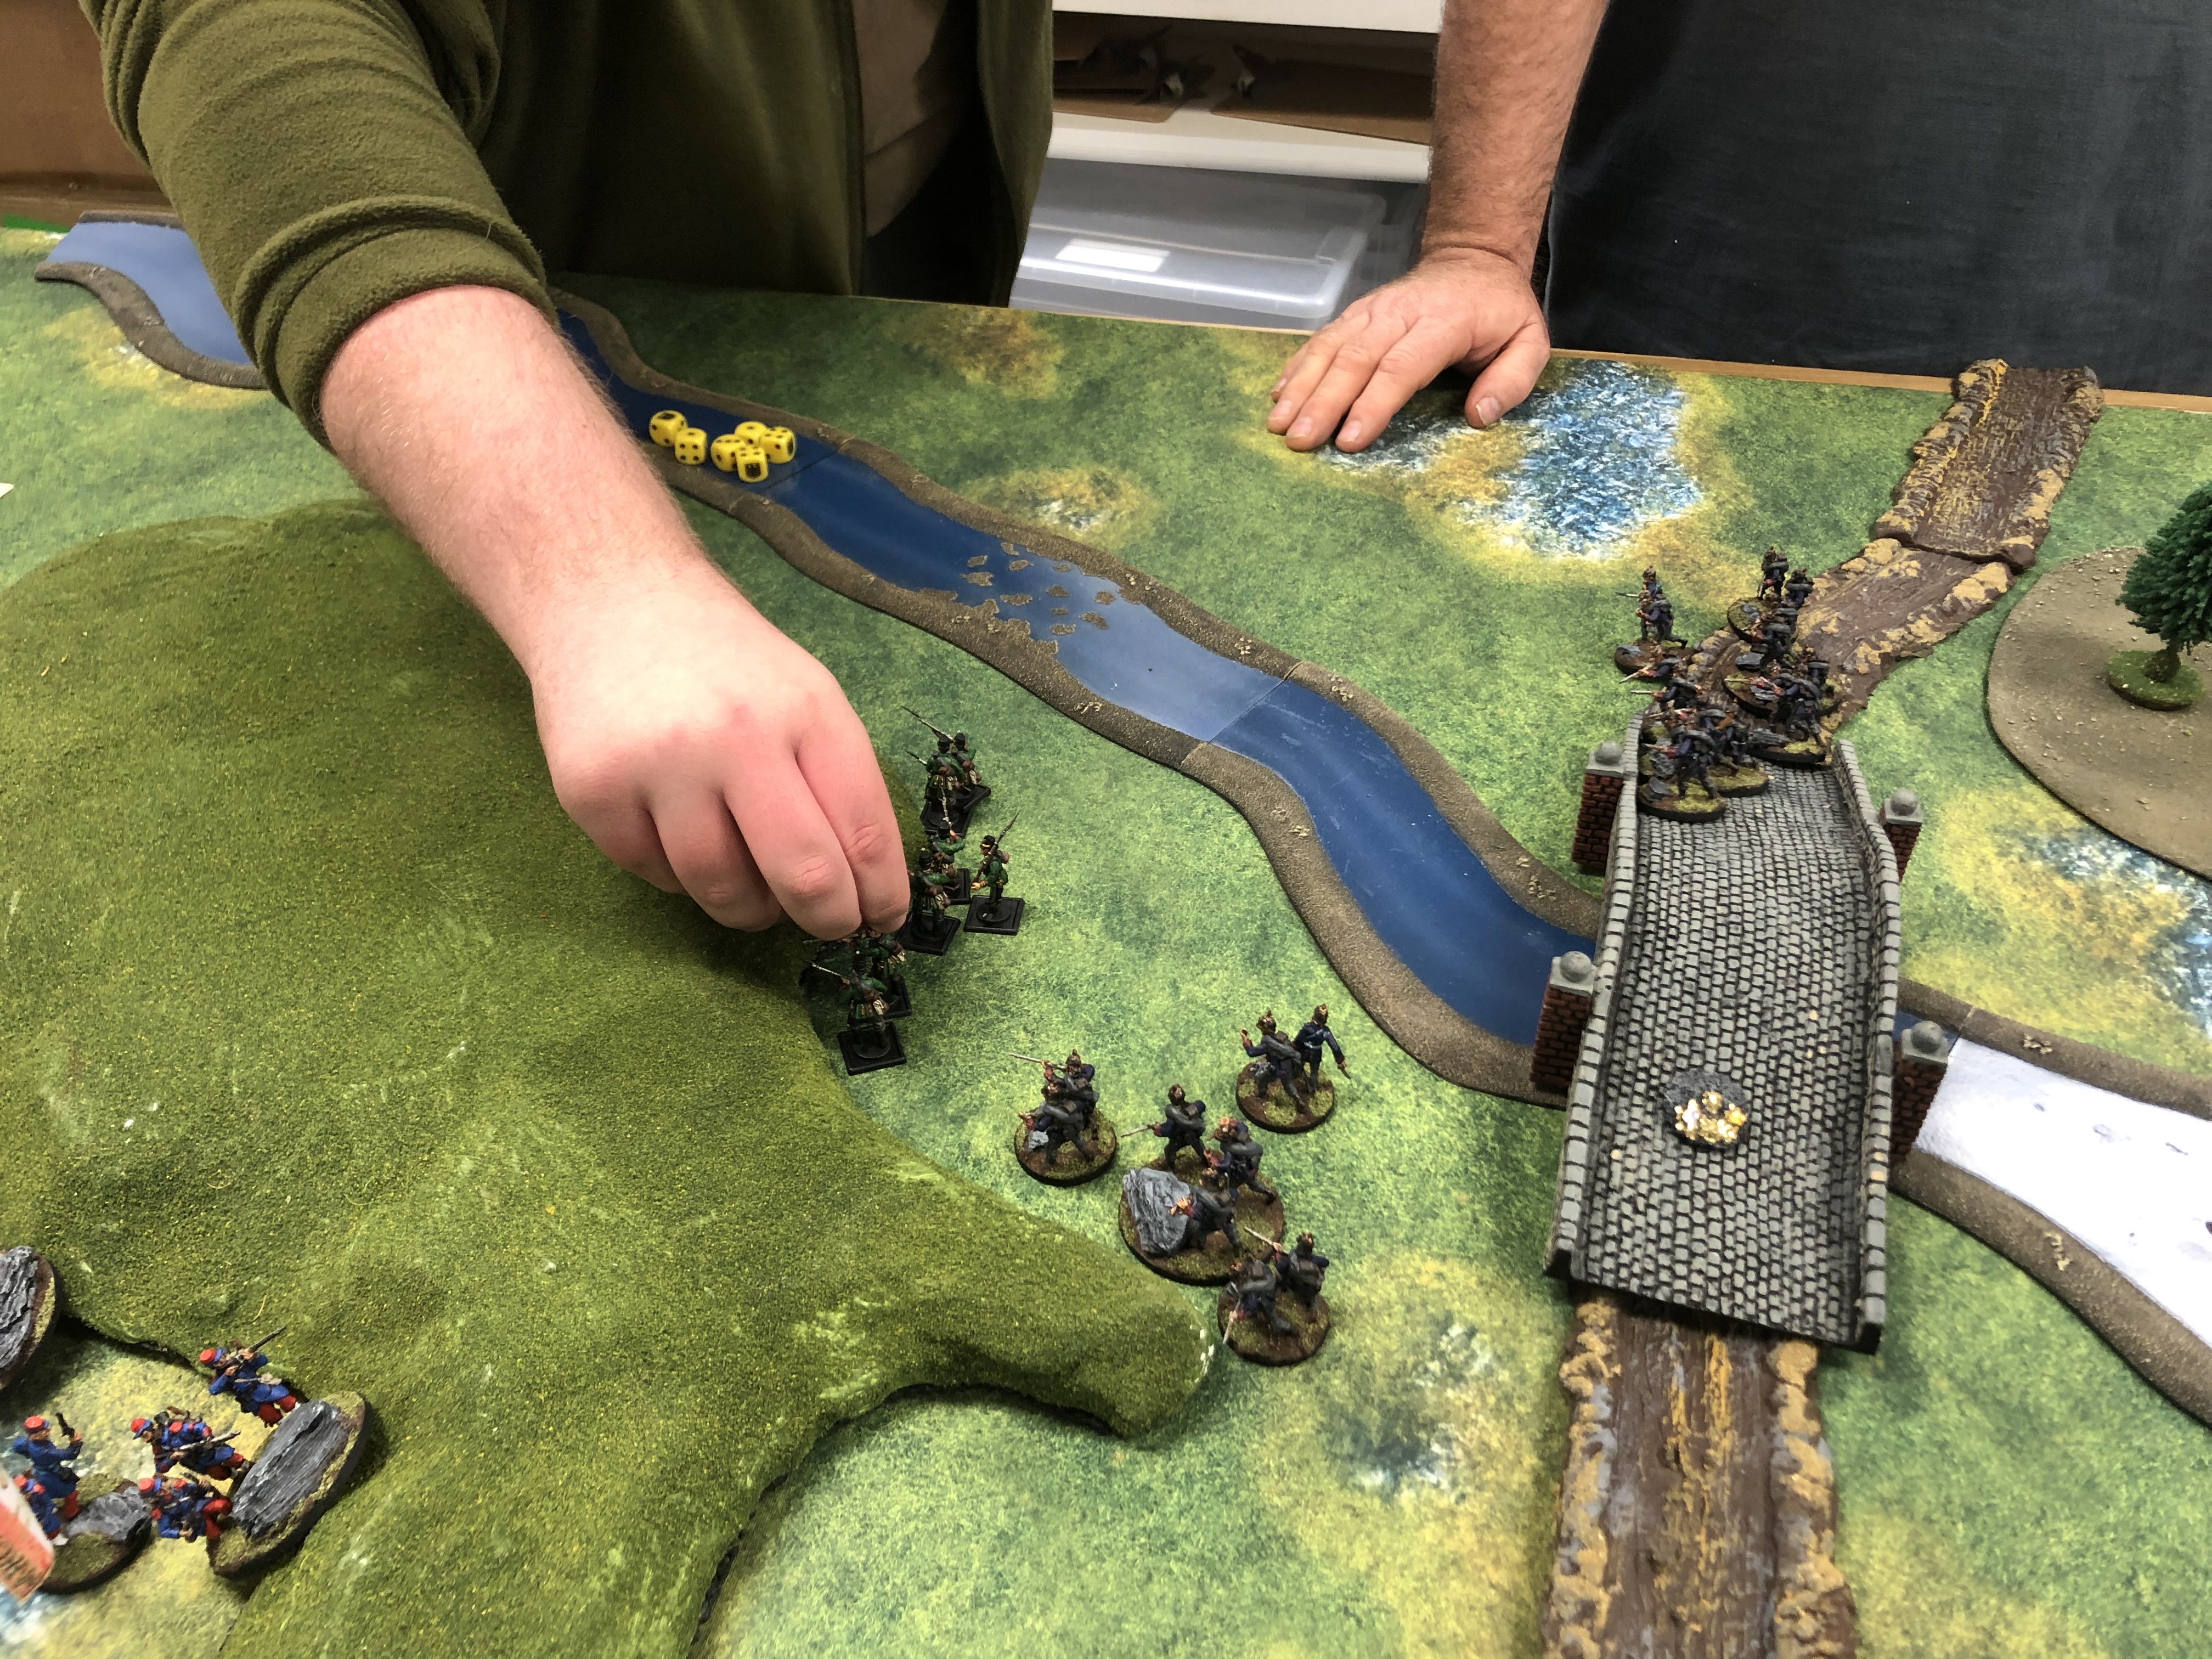
The board setup was basically as pictured in the scenario, a road with a bridge crossing a small stream in the middle, a smattering of woods, and a prominent ridge just to the west of the bridge. The “ammo” big objective was placed on the bridge. The French were hampered by woods fencing in their deployment zone and the ridge immediately in front which would prove decisive.
The French won initiative and I bought a section and placed them on the edge of my deployment zone, they then advanced towards the objective, claiming it (note: I think we deployed objectives too close to the deployment zones). The Prussians did likewise.
I cashed in Command Points for Victory points aggressively early, this allowed me to grab the initiative and hold it for the majority of the battle. I pretty much always made the Prussians do their “buy stuff” phase first, I’m not sure I see a reason where the player with initiative WOULDN’T do this.
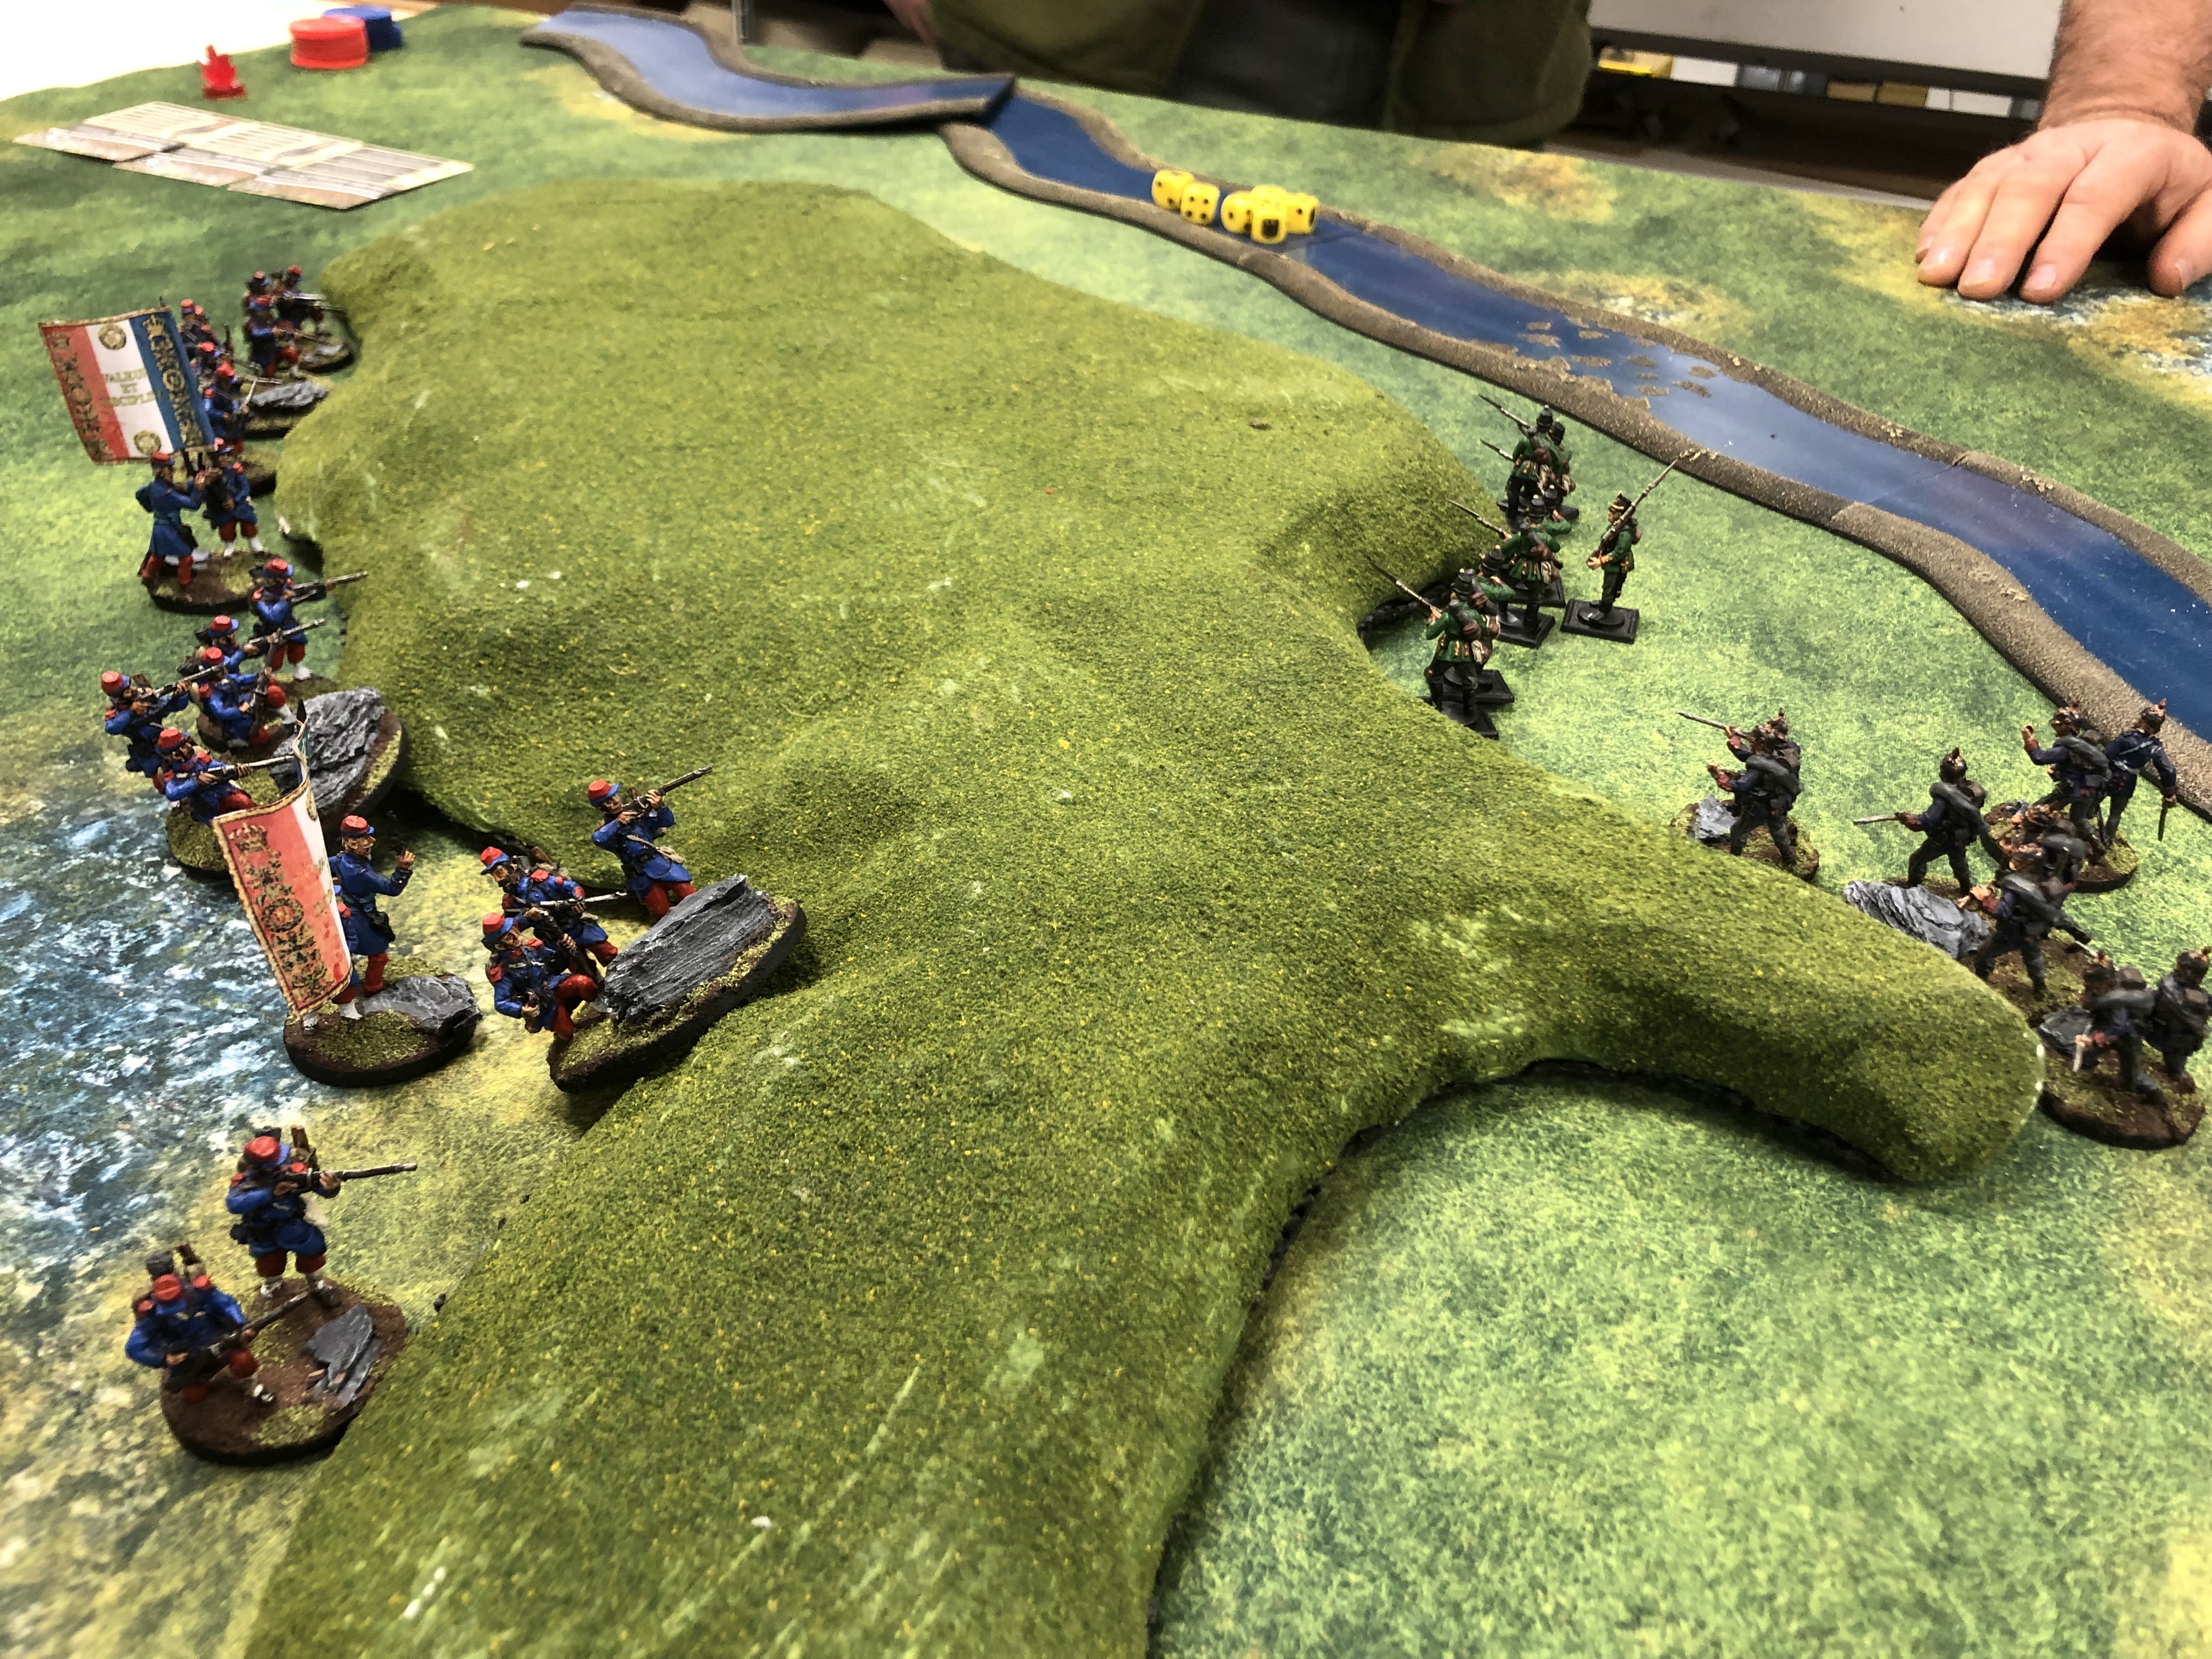
The French struggled with the terrain, no way forward towards the bridge avoided difficult going. I had my first section advance towards the ridge to take up firing posts while the other section I bought would run towards the bridge.
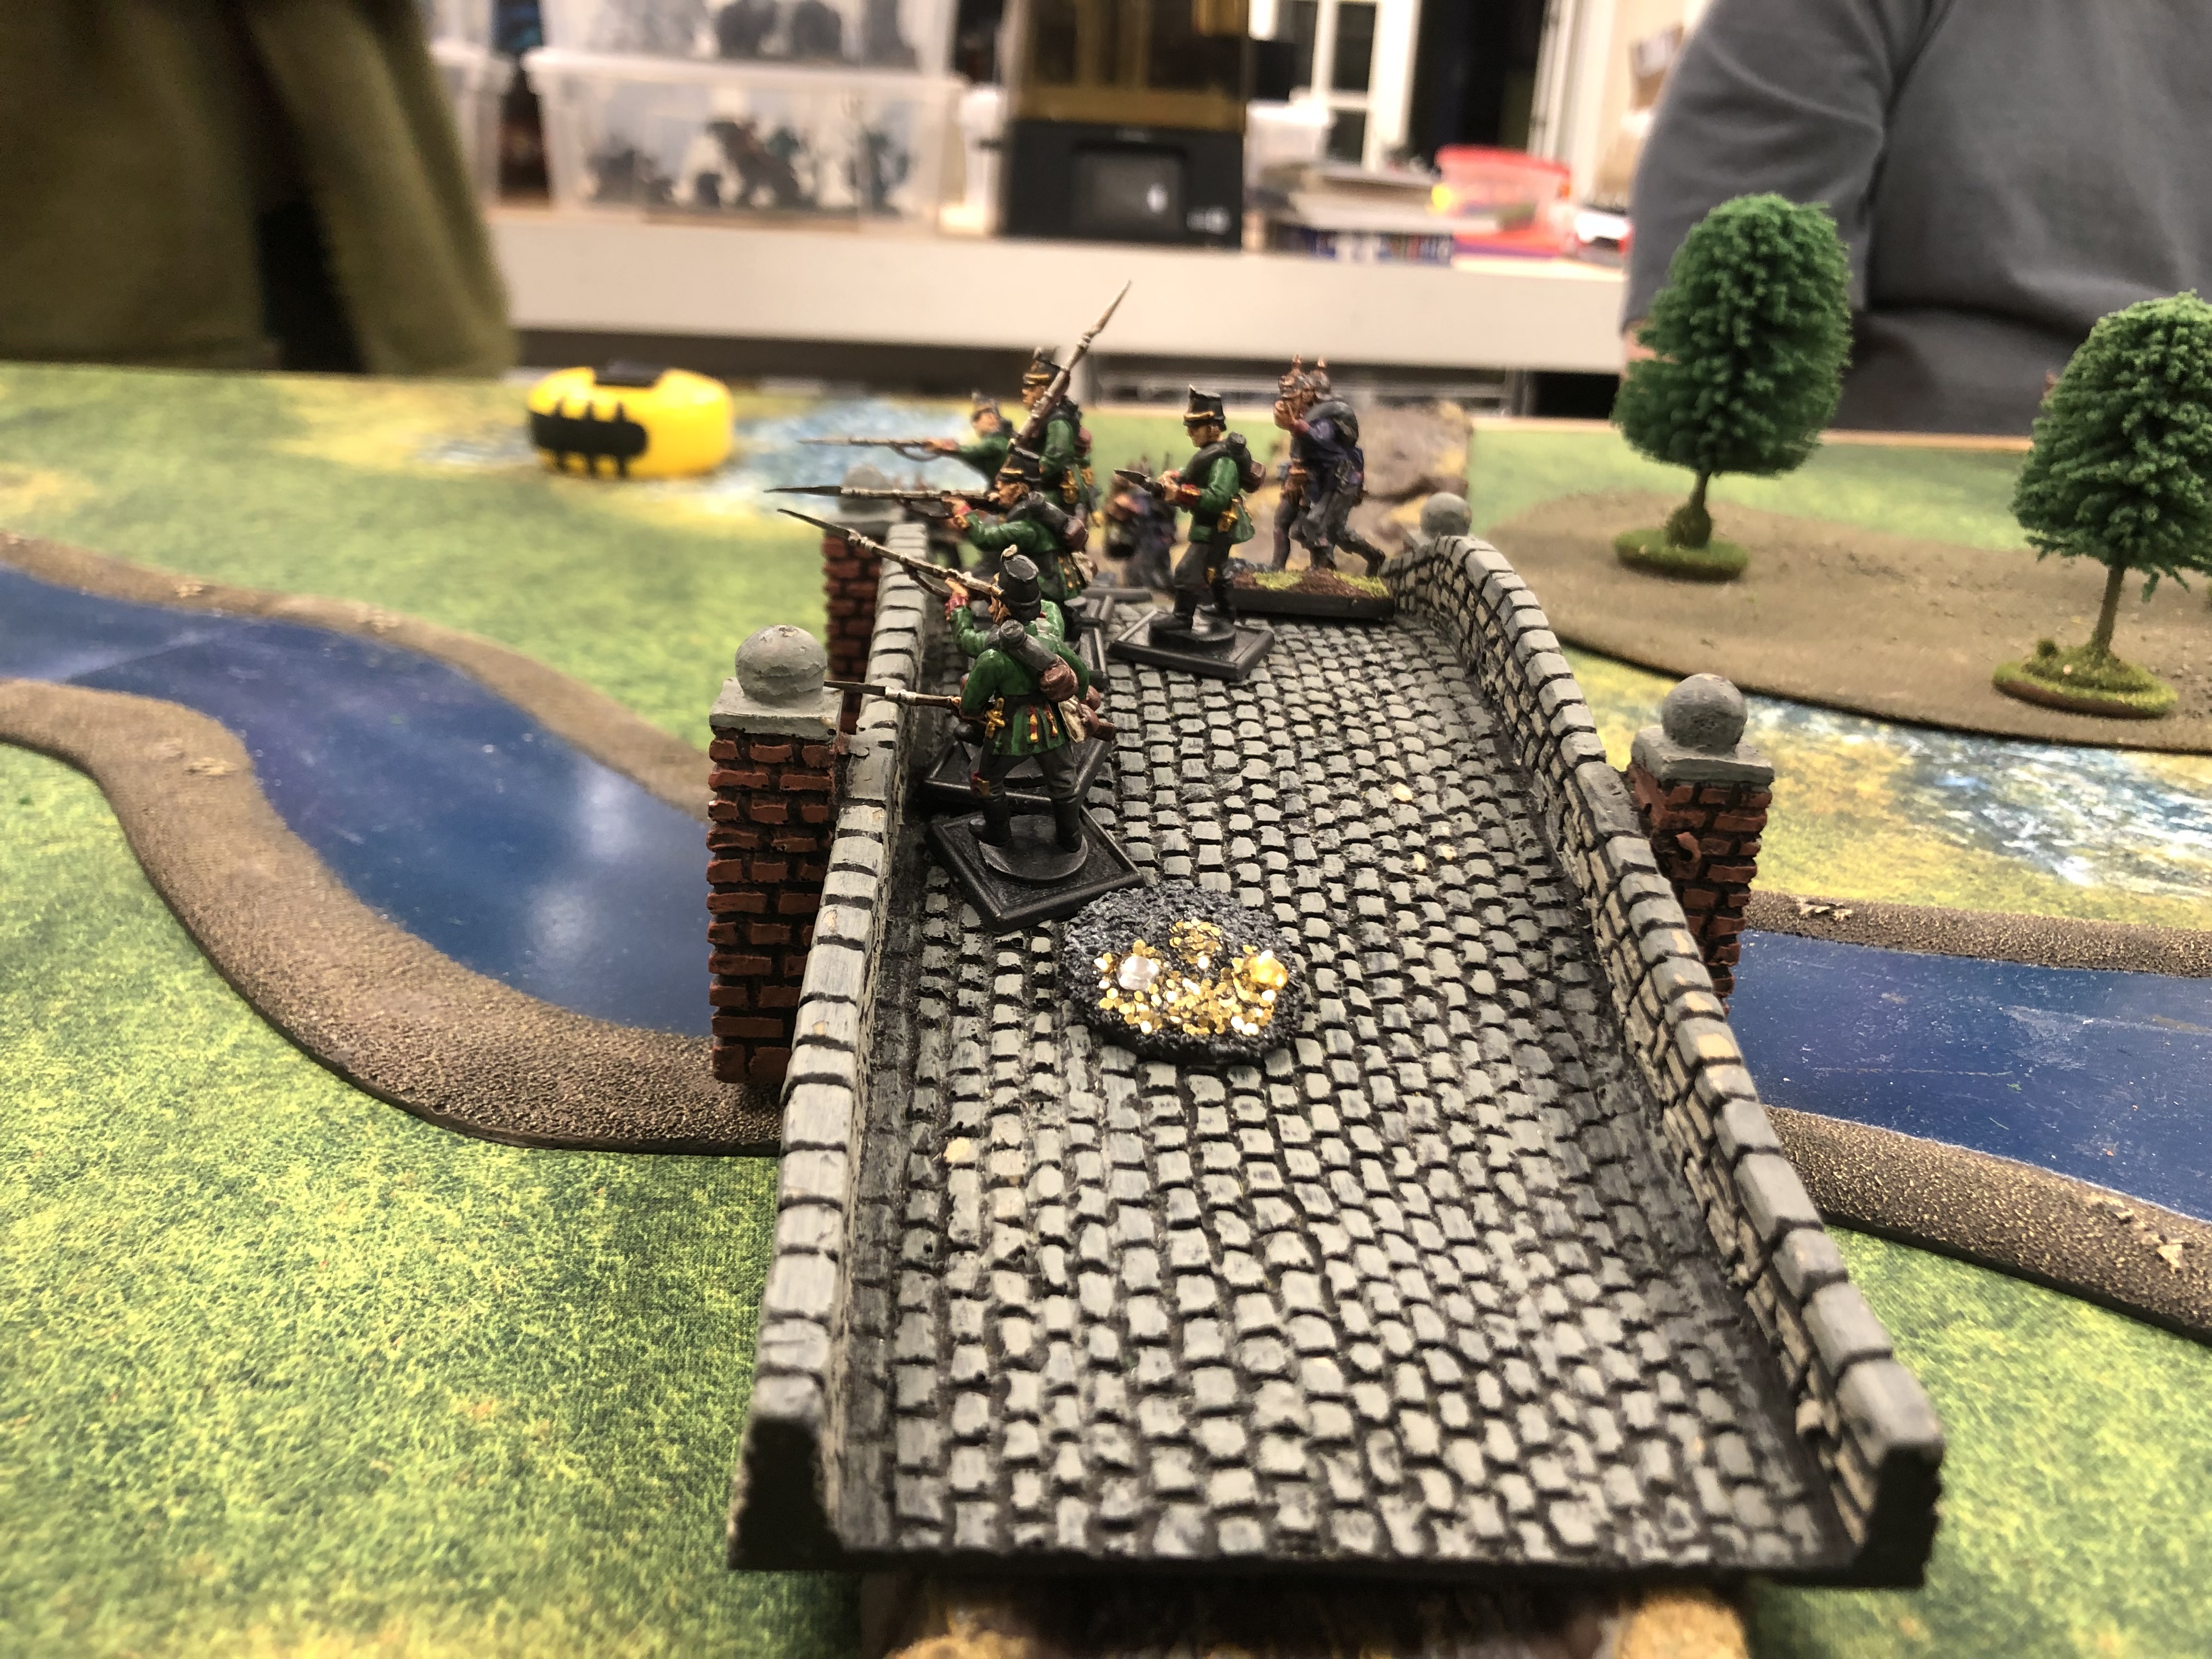
The Prussian commander meanwhile wisely used the most powerful ability in his arsenal to rapidly advance his section to the bridge, claiming the big objective! His Dreyse rifles just barely reached my French and managed to knock off a unit strength!
I slightly moved my “fire support” section to outrange his rifles and a firefight ensued, I was able to claim a unit strength back with some good rolls.
The French continued to aggressively buy VPs, I didn’t think I would be able to easily get to the middle objective with my troops stuck in terrain. Prussian reinforcements poured in from the road, double timing with Prussian tactics, while the section holding the bridge broke cover to consolidate!
At this point we were very close in VPs, the Prussians began aggressively buying to catch up whilst I spent almost everything just to stay ahead. The Prussian’s huge advantage in CPs proved decisive as he was able to leverage powerful abilities (using a cannon barrage to decimate an entire squad) while I was not. It all came down to if I could contest the middle objective, which would have led to a tie. Unfortunately my badly mauled first section was unable to put a dent in the Prussians, and though my “assault” section wiped out an entire squad of Prussians in a round of very lucky shooting (in hindsight I should have recognized getting to the middle was vital and assaulted with everything) the Prussians won a slight victory.
Conclusions
Overall we both really liked the rules. The command point system is a winner, its a very engaging gameplay mechanic. It kept both of us interested and thinking. The models interact with each other in ways that generally make sense and as you can see we played with varying basing styles and it caused no trouble at all. The unit strength, firepower, and dice modifier system all were easily picked up after a round.
The starter scenario was very short, we finished it in about 70 mins with a lot of banter and talking to other folks in the club curious about the game (we may have gotten the deployment zone wrong). We have some suggestions to try in future - making VPs cost 2 CPs instead of 1 for instance (or increasing the VP count for a win). Varying deployment zones might be interesting as well (I certainly would be wary of terrain in the future!)
All in all a great evening gaming, I am very excited to check out the artillery and cav rules next. The rules are written as a 1:1 skirmish but could easily be thought of at a larger level - I had no problems imagining that the units were companies instead of squads as the interactions were all abstract enough that it just works. Furthermore, this set could easily work for almost any 19th century conflict - I’m already planning Austro-Prussian war Austrians once my French collection is completed.